41
11) Make the blade turn by hand to check if there are some obstacles.
12) Connect the machine and start it for a while without using it with the material to be
cut, in order to check that there is not any problem.
DANGER: REPLACE THE BENCH INSERT IF IT IS WORN OR CUT
CAUTION: Before any adjustment, repair or maintenance work, and before changing the
blade, switch off the machine and disconnect it from any current source by removing the plug
from the socket.
Insert the riving knife, in order that the two hexagonal screws pass through the two slots of the
riving knife (Fig.11). Do not completely tighten them yet.
Adjust the knife in order that there is a space from 2 to 5 mm (Fig. 12) between the blade and
the riving knife by using a ruler.
Tighten the hexagonal screws, then check again that the saw blade is perfectly fixed and re-
assemble the bench insert.
Afterwards, assemble the protective cap as illustrated in Fig. 12.
DANGER: The protective cap must always be used during all cutting works in order to
avoid any risk of coming into contact with the blade.
It raises automatically when the workpiece passes through the blade.
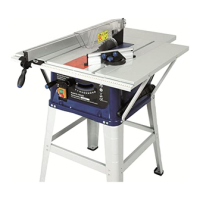
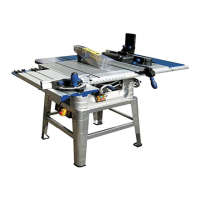
Bench insert
ASSEMBLY OF THE RIVING KNIFE