12
RECOMMENDATIONS FOR THE INSTALLER
RECOMMENDATIONS FOR THE INSTALLER
ELECTRICAL CONNECTION
• The device must be connected to the main electricity grid only by authorized
electricity technicians in accordance with the laws and regulations in force.
• Make sure that the power from the main grid is enough to supply the power
stated in the information tag placed on the front bottom of the device.
• If the current of fuse in your house is less than 16 Ampere, have a quali ed
electrician connect a 16 Ampere fuse.
WARNING:
The device must absolutely be grounded.
• Your oven includes a grounded plug mounted on the grid cord. This plug
must be used with a grounded line. Have a licensed electrician do the
grounding installation.
Before supplying electricity to the device:
1. Place the oven in a way to make reaching the plug used for electricity
connection or double pole switch easier.
2. Do not let the electricity cable touch hot surfaces when placed and do not
pin it to the oven lid.
3. Contact the nearest authorized service if the electricity cable is damaged.
Make sure authorized service makes the chance with a new cable with plastic
insulation at the same size and that can withstand the electricity current the
oven needs.
• A double pole switch with at least 3 mm between the contact points
between the device and the electric wire and suitable for carrying the
desired load in accordance with the laws in force must be installed if the
device is to be connected directly to the electric wiring. Ground wire must
not be cut be double pole switch.
• It is not advised to use adapters, multi plugs
or extension cords. If absolutely necessary,
adapters or extension cords in line with safety
laws can be used. However, never go beyond
the maximum current capacity and maximum
power stated for the adapter.
• Test heating elements for 3 minutes after the
connections are done.
• Electricity safety of the device is guaranteed only if connected to suitable
source correctly with grounding in accordance with the rules. Our company
cannot be held responsible for the damages to people, animals or
properties due to the failure to ground the device properly.
WHEN THE DEVICE IS INSTALLED INITIALLY:
1. Set the Temperature Control to maximum level. (250 C MAX)
2. Set the Function button as Top and Bottom Grill (and + Fan if available).
3. Run the oven in this setup for 30 minutes.
4. Open a window for air circulation.
A smoke and smell resulting from insulation materials and heating elements can be
experienced for once during this period. If this happens, wait for the smoke and smell
to dissipate before placing food inside the oven.
After these are done, clean the interior of the oven with a slightly wet soapy soft cloth.
IMPORTANT: Always use the middle section of the handle when opening
the lid of the oven.
WARNING: Carefully wash parts such as tray, grid etc before the rst use
of the oven.
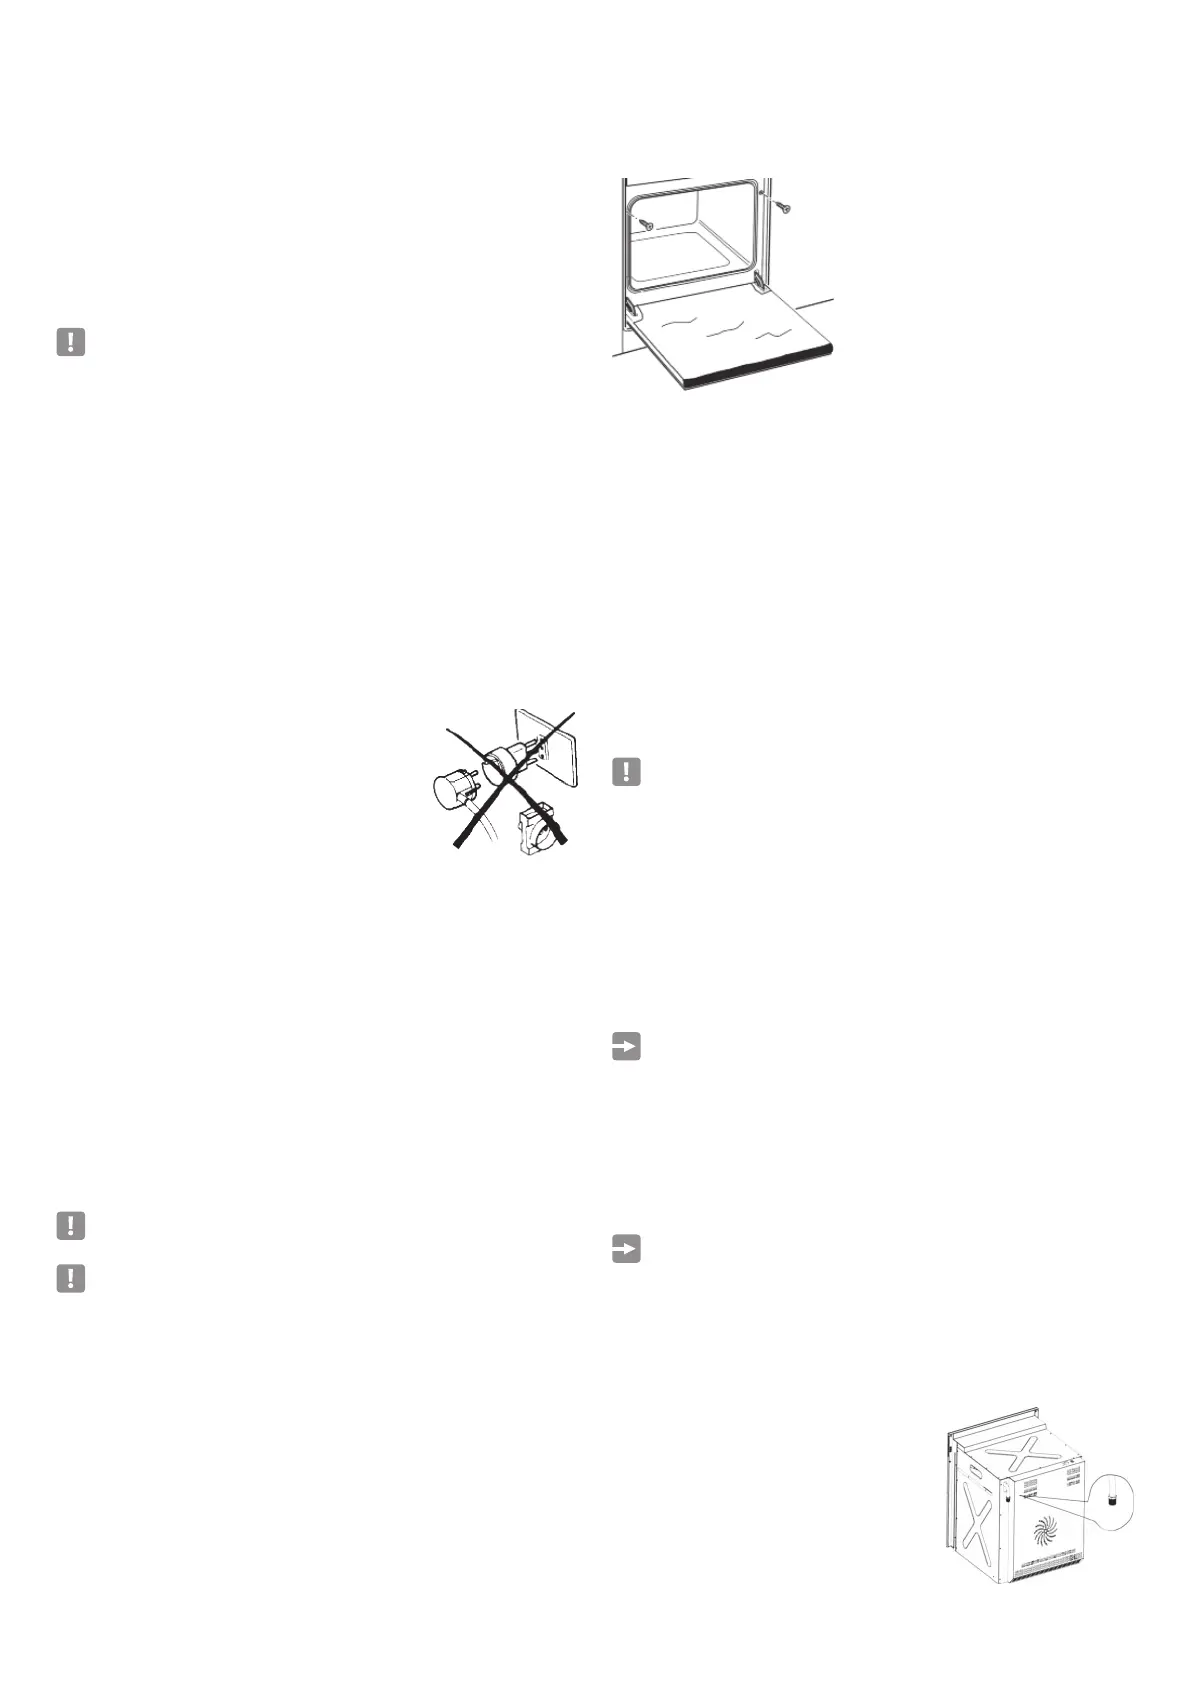
FIXING THE OVEN
Place the oven to the gap in the cabinet and x
with 4 screws, as shown in Figure 29.
As the purpose of the xing with screws is only
complementary, make sure the oven stands on a
surface that supports its weight. To allow 4-5mm
gap between the cabinet door and the oven
frame, adjust the hinged of the cabinet doors
next to the oven.
IMPORTANT:
To prevent the lower rail from being damaged,
follow the instructions below.
Lower rail is designed to ensure better ventilation and correct opening of the oven
door. To make sure that the rail is not damaged due to the appliances mounted on the
oor, the appliance should be supported as shown here.
After installation, the appliance door should be slowly opened to make sure no
damage has occurred.
If these instructions are not adhered to, no responsibility shall be taken for lower
rail damages.
VENTILATION CONDITIONS
• In rooms with a volume below 5 m
3
, continuous free air ventilation of
500 cm
2
is required.
• For rooms with a volume between 5 m3 to 10 m
3
, continuous free air
ventilation of 100 cm
2
is required. If the room has a door opening directly
outdoors, continuous ventilation is not required.
• Continuous ventilation is not required for rooms with over 10 m
3
volume.
Not: Irrelevant with the room size, all the rooms that the appliance is
installed in must have an opening window or direct access to outdoors
air through equivalent means.
• The conditions speci ed above allow the use of a gas oven and grill, but
if there are other gas appliances in the same room, consult a competent
engineer.
GAS CONNECTION
Warning: Appliance should be installed only by a competent and authorized installer
who also has knowledge of electricity. He/she will observe the regulations and
application laws that govern the installation of gas appliances.
Note:
The gas connection of the appliance must be made by a exible tube
- Flexible hoses may be used in places where the environment temperature of the hose
is not above 70° C.
The hose should not be crushed, squeezed and come into contact with sharp or
abrasive edges.
If the installation will be made using exible connections the points below shall be
observed:
Note: The nal connection to the gas xture pipes and appliance connection
pipe shall be in the size that can maintain the heat output speci ed in the
appliance installation hapter.
1. The exible connection of the appliance should not be subjected to
unsuitable forces neither during normal use nor when connected or not
connected.
2. The exible connection of the appliance must not be subjected to excessive
heat due to contact with hot surfaces or direct exposure to chimney products.
3. The socket that the exible connection of
the appliance shall be tted into must be
continuously connected to a gas xture
pipe that is strongly connected and the
hose freely dangling below.
4. The exible connection of the appliance
shall be placed as not to su er mechanical
damage, for example due to wear or
squeezing with xing device by kitchen
furniture like doors or drawers during use.
5. Plug-in connection should be accessible to be able to be cut o after the
device is moved.
Fig. 29
Fig. 30
 Loading...