40–01 Wheel Nut and Rim Nut
Checking
IMPORTANT: In addition to the maintenance
interval in this manual, check the wheel nut
torque the first 50 to 100 miles (80 to 160 km)
of operation after a wheel has been removed
and installed.
When checking wheel nuts on a dual disc assembly,
remove one outer nut at a time, tighten the inner nut,
then reinstall the outer nut. Repeat this procedure for
all of the inner wheel nuts in the sequence shown in
Fig. 1, then tighten all of the outer wheel nuts in the
same sequence.
CAUTION
Too little wheel nut torque can cause wheel
shimmy, resulting in wheel damage, stud break-
age, and extreme tire tread wear. Too much wheel
nut torque can break studs, damage threads, and
crack discs in the stud hole area.
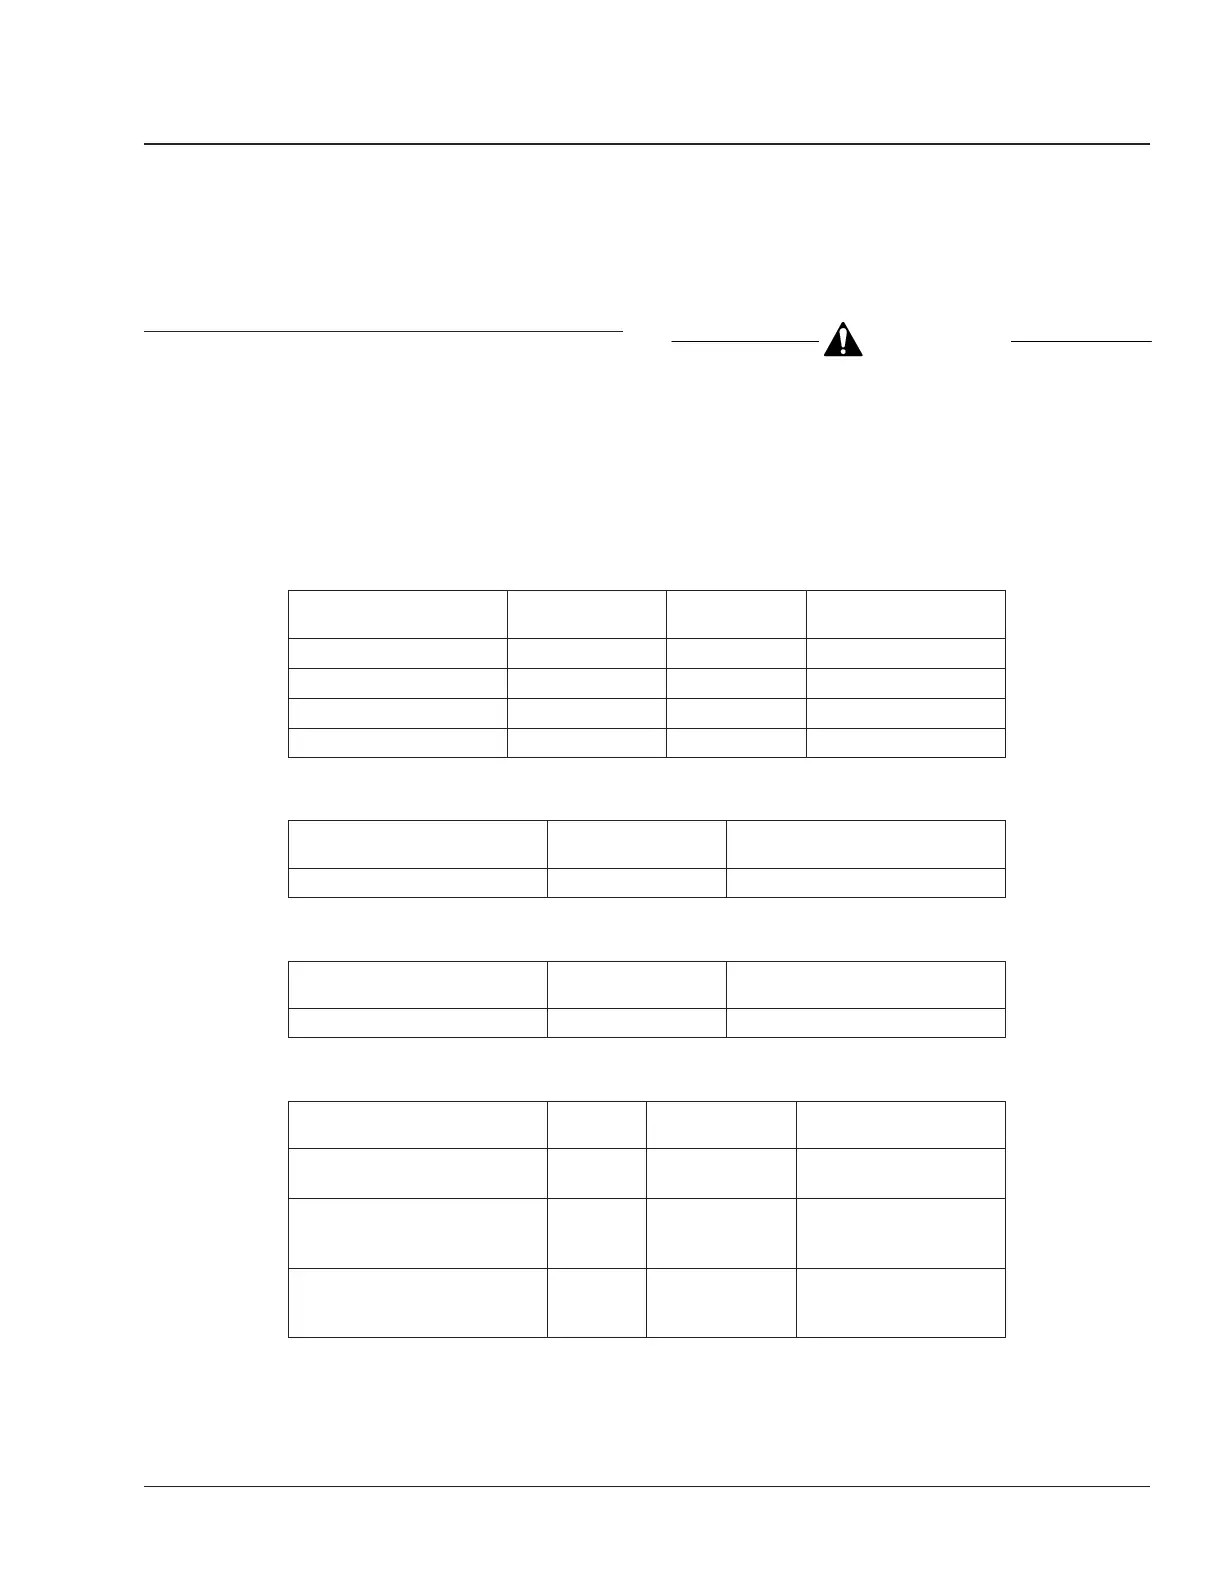
See Table 1, Table 2, Table 3,orTable 4 for wheel
nut torque specifications, and see Fig. 1 for the tight-
ening sequence.
Description Nut Size
Wheel
Manufacturer
Torque (dry threads):
lbf·ft (N·m)
Front Wheel Nut 3/4–16, 1-1/8–16 Accuride 450–500 (610–680)
Rear Wheel Inner Nut 3/4–16 Accuride 450–500 (610–680)
Rear Wheel Outer Nut 1-1/8–16 Accuride 450–500 (610–680)
Wheel Stud Retainer Nut 3/4–16 Accuride 175–200 (235–270)
Table 1, Fastener Torque for 10-Hole Disc Wheel With Inner and Outer Locknuts
Description Nut Size
Torque (lubricated threads):
lbf·ft (N·m)
Front and Rear Wheel Nuts M20 280–310 (380–420)
Table 2, Fastener Torque for 8-Hole Disc Wheel With Cone Locknuts
Description Nut Size
Torque (lubricated threads):
lbf·ft (N·m)
Front and Rear Wheel Nuts M22 390–500 (529–678)
Table 3, Fastener Torque for 10-Stud Hub-Piloted Wheels
Description Size
Wheel
Manufacturer
Torque (dry threads):
lbf·ft (N·m)
Front Wheel Nut, 5- and
6-Spoke
3/4–10 Gunite 200–225 (270–305)
Rear Wheel Nut, 5- and
6-Spoke With Channel Spacer
(Fig. 2)
3/4–10 Gunite 200–225 (270–305)
Rear Wheel Nut, 5- and
6-Spoke With Corrugated
Channel Spacer (Fig. 3)
3/4–10 Gunite 240–260 (325–350)
Table 4, Spoke-Type Wheel Fastener Torque
Wheels and Tires 40
School Bus Chassis Maintenance Manual, October 1996 40/1
 Loading...