Do you have a question about the Frigidaire FFAD3533W1 and is the answer not in the manual?
Key warnings and precautions to prevent fire, electric shock, injury, and property damage.
Guidance on choosing the optimal placement for effective dehumidifier operation.
Explanation of the dehumidifier's operating principle and internal components.
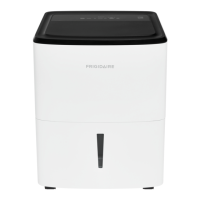
Overview of the electronic control panel and its indicators.
Steps to follow for initial setup and starting the dehumidifier operation.
Troubleshooting guide for error codes displayed on the unit.
Instructions for emptying the water bucket and dealing with the 'BUCKET FULL' indicator.
Procedure for setting up continuous water drainage using a garden hose.
Steps for cleaning the filter, cabinet, and water bucket for maintenance.
Instructions on how to store the dehumidifier when not in use.
Description of typical operational sounds and their causes.
Identifies common occurrences and provides solutions to resolve them before calling for service.
Details what the limited warranty does not cover.
Information on how to contact Electrolux for warranty service.
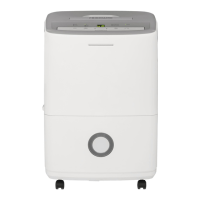
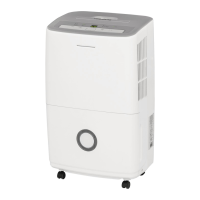
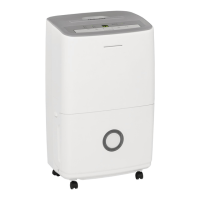
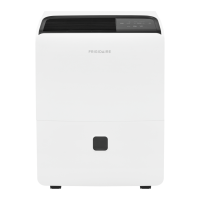
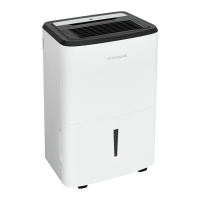
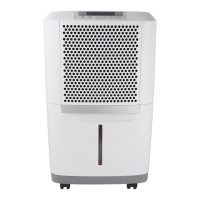
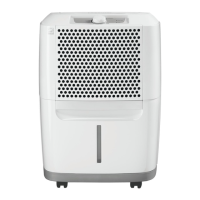
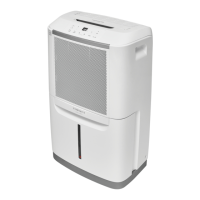
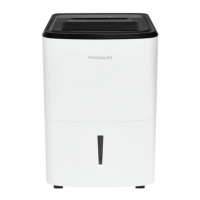
This document serves as a comprehensive Use & Care Manual for a Frigidaire dehumidifier, providing detailed instructions for its operation, maintenance, and troubleshooting. The dehumidifier is designed to efficiently remove moisture from the air, contributing to a more comfortable and healthier indoor environment.
The Frigidaire dehumidifier operates by drawing moisture-laden air across a set of dehumidifying coils. These coils condense the moisture from the air, which is then collected in a front-mounted bucket. The now dry, warm air is then expelled back into the room through air outlet louvers. This process helps to reduce humidity levels, preventing issues such as sweating, dampness, and associated odors. The unit is designed to function optimally within a temperature range of 41°F (5°C) to 89°F (32°C), with performance significantly impacted outside this range. A built-in "Compressor" circuit includes an automatic 3-minute time delay for starting, which prevents overheating of the compressor and potential circuit breaker trips when the unit is turned off and on quickly. Proper installation of the water collection tank is crucial for the unit to operate.
The dehumidifier features an electronic control panel that allows users to manage various settings. Before initial operation, it's recommended to allow the unit to reach room temperature and remain upright for at least one hour. The unit should be plugged into a properly grounded 115-volt AC outlet. If the "BUCKET FULL" light is on, the bucket needs to be removed and re-installed to reset the float switch.
Upon activation, the unit defaults to a "CONTINUOUS" mode with high fan speed, indicated by "CO" on the display. This mode is suggested for the first three to four days to effectively address initial dampness and odors. After this initial period, users can adjust the desired relative humidity (RH) between 35% and 85% using the "HUMIDITY" up or down buttons, which change the setting in 5% increments. The display will show the actual room humidity after a 5-second delay from setting the desired RH. To revert to "CONTINUOUS" mode, the "HUMIDITY" down button can be pressed until "CO" is displayed.
The fan speed can be adjusted to "Hi," "Med," or "Lo" using the "FAN SPEED" button, with an indicator light showing the selected setting. Higher fan speeds facilitate quicker moisture removal.
A "TIMER" function allows for either a delayed start or delayed stop of the unit, configurable from 0.5 to 24 hours. When the unit is running, setting the timer will initiate a delayed stop. If the unit is off, setting the timer will initiate a delayed start. Timer settings are adjusted in 0.5-hour increments up to 10 hours, and then in 1-hour increments up to 24 hours. The control panel will count down the remaining time. For delayed start, the fan speed and humidity settings will be the same as the previous operation. The timer function can be stopped at any time by pressing the "TIMER" button again. It's important to ensure power is supplied and the desired room humidity is set before entering timer settings.
The unit also features a "Filter reset" light that illuminates after 250 hours of operation, signaling that the air filter needs cleaning. After cleaning and re-installing the filter, pressing the "Filter reset" button will extinguish the light.
In the event of a power outage, the unit will remember the last settings and resume operation with those settings once power is restored.
The dehumidifier also includes fault codes for troubleshooting:
Water collection can be managed in two ways:
Regular maintenance is essential for the dehumidifier's optimal performance and longevity.
The manual also describes normal operating sounds, including the sound of rushing air from the fan, gurgling or hissing from refrigerant passing through the evaporator, dripping water during the dehumidification cycle, and a high-pitched chatter from the high-efficiency compressor. These sounds are considered normal and do not indicate a malfunction.
| Brand | Frigidaire |
|---|---|
| Model | FFAD3533W1 |
| Category | Dehumidifier |
| Language | English |