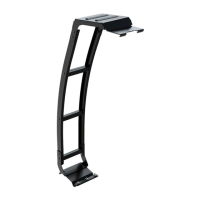
INSTALL OTHER VEHICLE AND RACK ACCESSORIES
4
Now's the time to visit your favorite Front Runner Dealer in person or online.
Be sure to tag us. We love to see our gear in action! #FrontRunnerOutfitters #BornToRoam
Share your adventures on:
FINISH
3
Congratulations! You did it. Take a step back and admire your work!
LATF002_REV_A01
© 2022 FRONT RUNNER VEHICLE OUTFITTERS
6
FIT AND SECURE
2
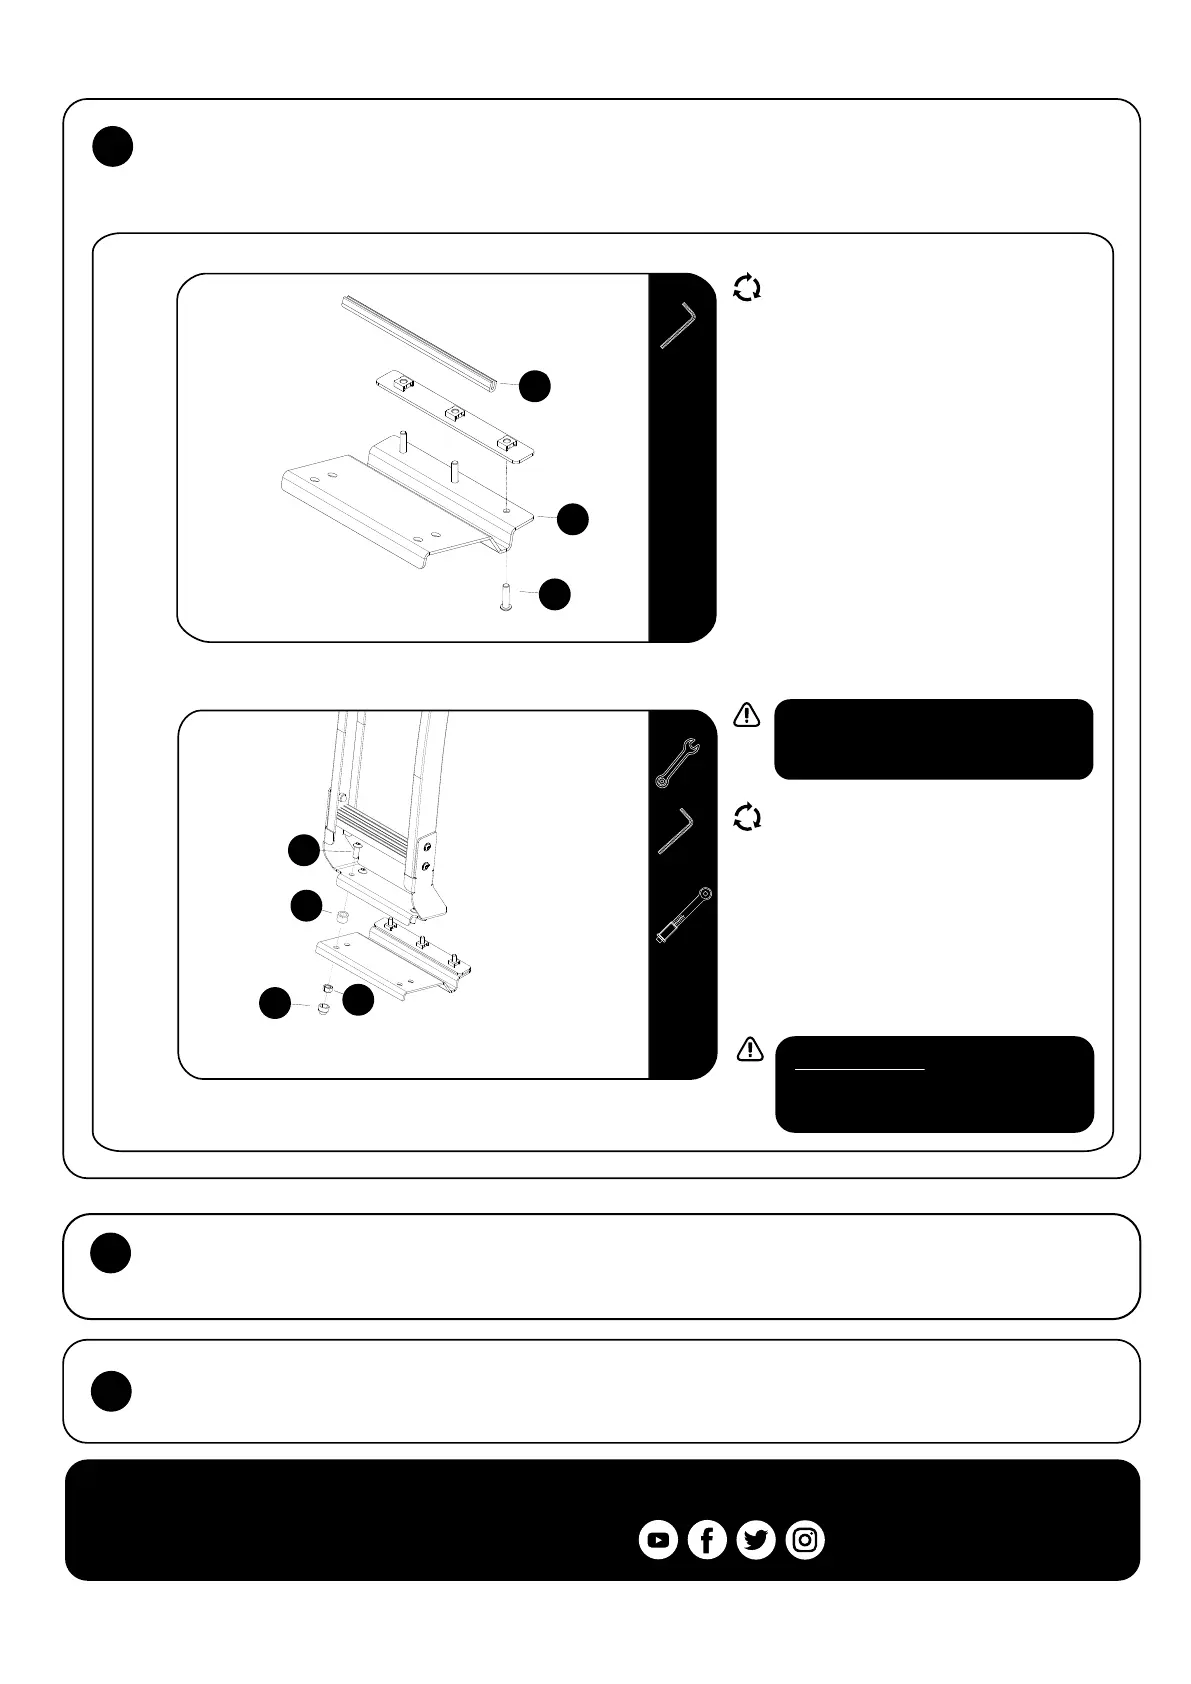
2.10
2.11
Secure the Bottom Clamp Plate (Item 4) to
the Bottom Inner Plate (Item 5) using M6 x
25 Button Head Bolts.
Remove the backing tape of the self-adhe-
sive tape on the Ladder Top Bracket (Item
1) and hook the Ladder Assembly over the
the top hatch edge, and align the ladder
on the mark made eariler, take care not to
let the adhesive tape touch the roof. Once
aligned angle ladder down and firmly press
the top down onto the tailgate top
4mm
Secure the Ladder assembly to the Bottom
Mount Bracket (Item 4) as shown.
Use the M8 x 45 Button Head Bolt and
Standard Nut (Items 18 & 19) in one of the
back holes and start the clamping process,
then use the M8 x 30 Button Head Bolts,
M8 Nyloc Nuts and Aluminium Spacers
(Items 10, 11 & 13) in the other three holes.
Remove te M8 x 45 Button Head Bolt and
standard Nut and replace them with the M8
x 30 Button Head Bolt.
Place M8 Nut Caps (Item 19) over M8 Nyloc
Nuts (Item 19).
TIP: Start with the forward LH and RH
fasteners, alternating between fasteners
to pull the Ladder evenly.
Tightening Torque:
M8 : 15-20Nm / 11.06 ft lb - 14.75 ft lb
13mm
5mm
17
4
9
16
13
11
10
 Loading...