REF
REF
The instrument defaults to the wavelength which the user set in the last test. When
used with the FOLS-203 and FOLS-204 optical light source, the wavelength will shift
automatically according to the output wavelength of the light source. Long press
button to activate the auto-wavelength recognition and the "TWIN" will show on the
LCD. Short press button to close the "TWIN".
3. Switch Measurement Mode
There are 3 measurement modes you can choose by pressing the button
repeatedly, dB, dBm and mW.
4. Set Reference Level
(1) Press button to display the stored reference level for the current wavelength
and a sign of “REF” will be displayed on the screen to indicate that it is a reference value.
The displayed value only lasts 1 second.
(2) Press and hold button over 2 seconds to store the presently measured value as
the new reference level for the current wavelength. During the process, the “REF” sign
flashes twice on the screen and buzzer sound is heard. Once the new reference level is
set, the instrument switches to the dB measurement mode. The displayed value only
lasts 1 second.
5. Switch Backlight of LCD On/ Off
Press button. Backlight switches on.
Press button again. Backlight switches off.
6. Frequency Detecting
If the tested wavelength is carrying a tone of 270Hz, 1kHz, or 2kHz, the respective
frequency indicates on the screen.
7. Overflow of Measured Power Value
If the measured power value is too high, the LCD screen will display “HI”.
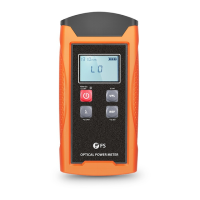
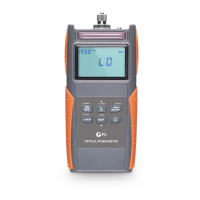
If the measured power value is too low, the LCD screen will display “LO”.
λ
λ
dBm/
dB/mw
 Loading...