Setup
239
Tools
5
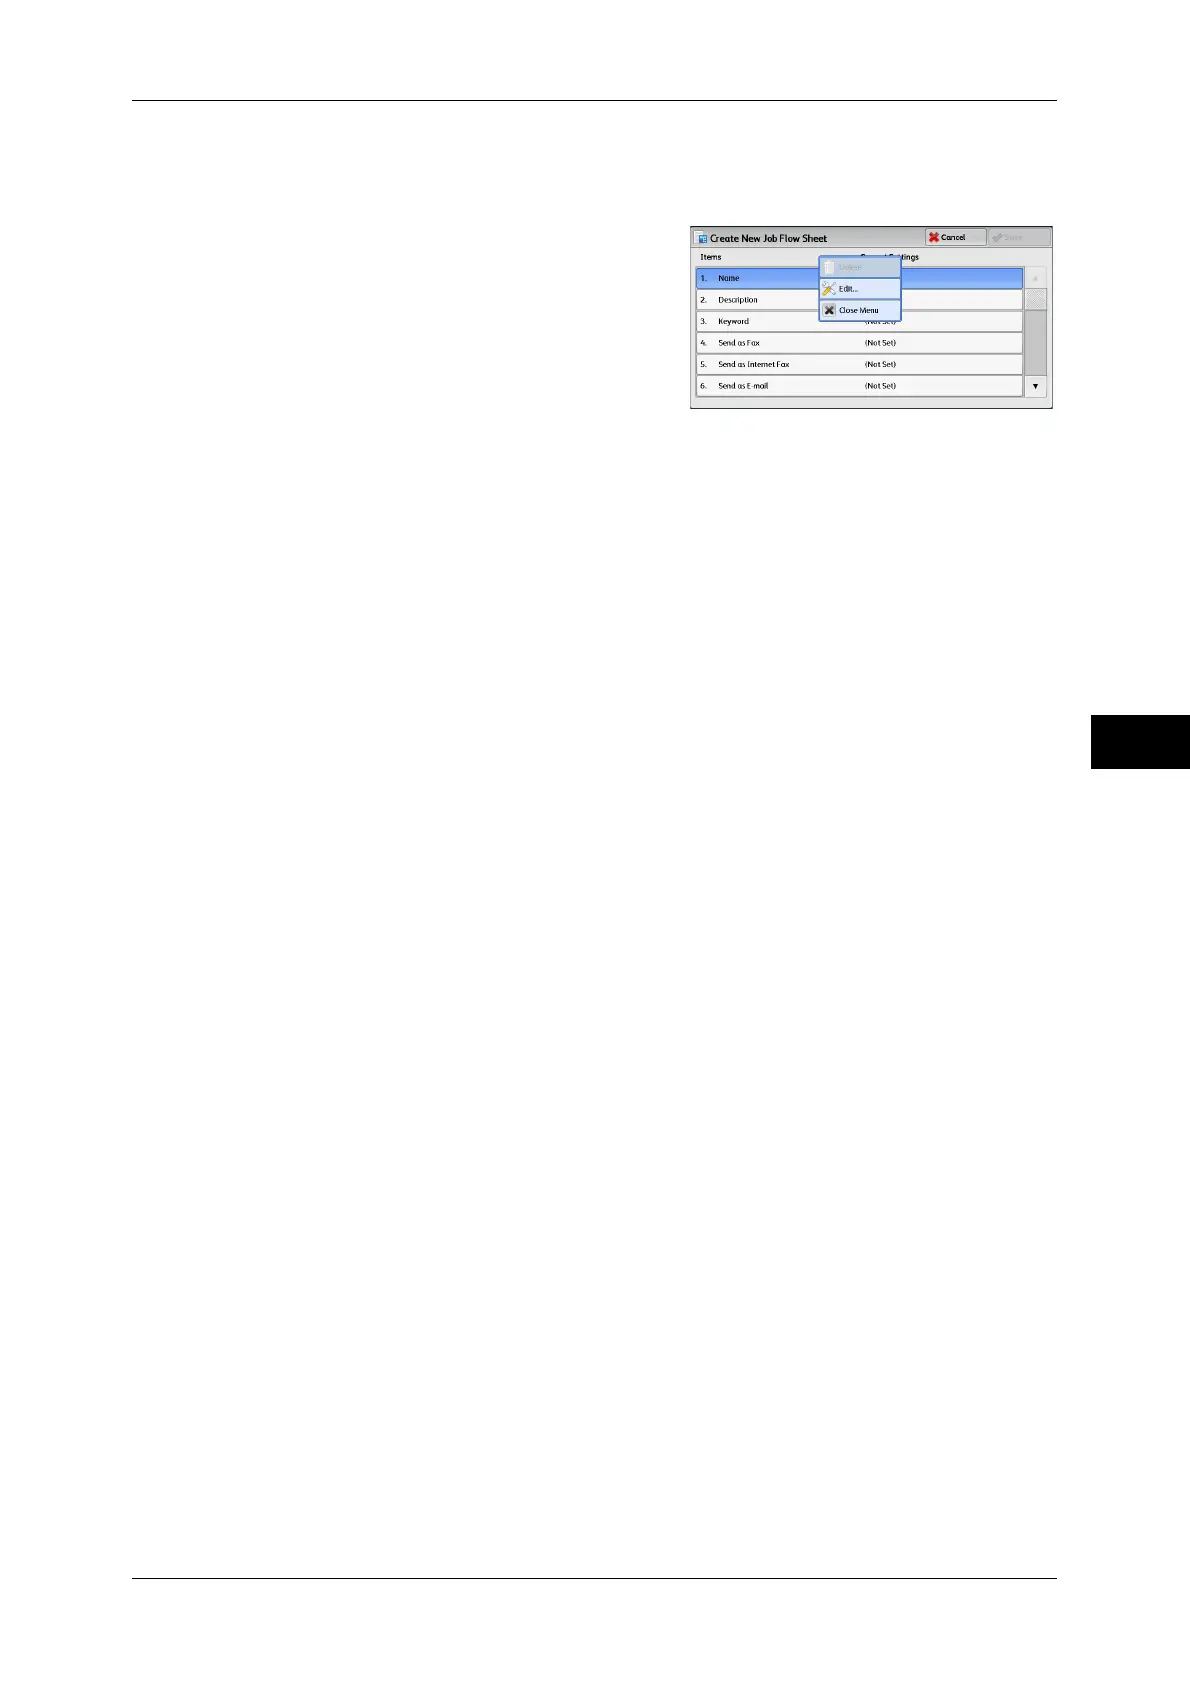
Create New Job Flow Sheet
Create a new job flow.
1 Select an item to set, and then select [Edit].
Delete
Deletes all setting values of the selected item.
Edit
Confirm or change the settings of the selected item.
Close Menu
Deselect the selected item.
Name
Set the name for the job flow sheet with up to 128 single-byte characters.
Description
Set the description of the job flow sheet with up to 256 single-byte characters.
Keyword
Enter a keyword with up to 12 single-byte characters for job flow search. You can also use
the keywords that are registered for [Create Job Flow Sheet Keyword].
For information on the job flow keyword search, refer to "Create Job Flow Sheet Keyword" (P.244).
Send as Fax
Specify destinations for fax transmission. You can specify a total of 100 destinations, either
by selecting from the Address Book or by direct input.
Important • You cannot use wildcards or group dial numbers.
Note • This item is not displayed when the Server Fax feature is enabled.
Speed Dial
Specify an address with a speed dial. Enter the speed dial with the numeric keypad, and
select [Save]. The address specified appears in [Name/Fax Number] in the [Send Fax]
screen.
New Recipient
Specify a new address. The address specified appears in [Name/Fax Number] in the [Send
Fax] screen.
Name/Fax Number
Displays the recipient name or fax number specified.
Delete Recipient
Deletes all information for the selected recipient.
Edit
Displays the [Edit Recipient] screen, which allows you to check or change the recipient
selected.
For more information on the [Edit Recipient] screen, refer to "5 Scan" in the User Guide.
Cancel
Deselect the selected item.
 Loading...
