6
Installation
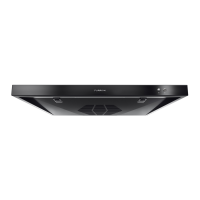
range hood. (Fig. 13)
Fig. 12
Fig. 13
Exterior Wall Vent
Installation
For best performance, we strongly
recommend that a Furrion exterior wall
vent (sold separately) is installed with
your Furrion RV range hood.
NOTE: Furrion provides two kinds of
exterior wall vent collar length for
consumer choosing, please purchase a
suitable wall vent according to your wall
thickness .
Part# Wall Thickness Collar Length
FWV06A-PS/BL 1” to 13⁄8” 5⁄8”
FWV16A-PS/BL 15⁄8” to 23⁄8” 15⁄8”
If a Furrion exterior wall vent is
purchased:
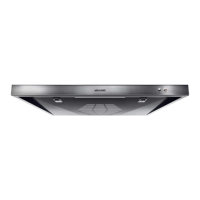
1. Lift to remove the exterior wall vent
cover. (Fig. 14)
Fig. 14
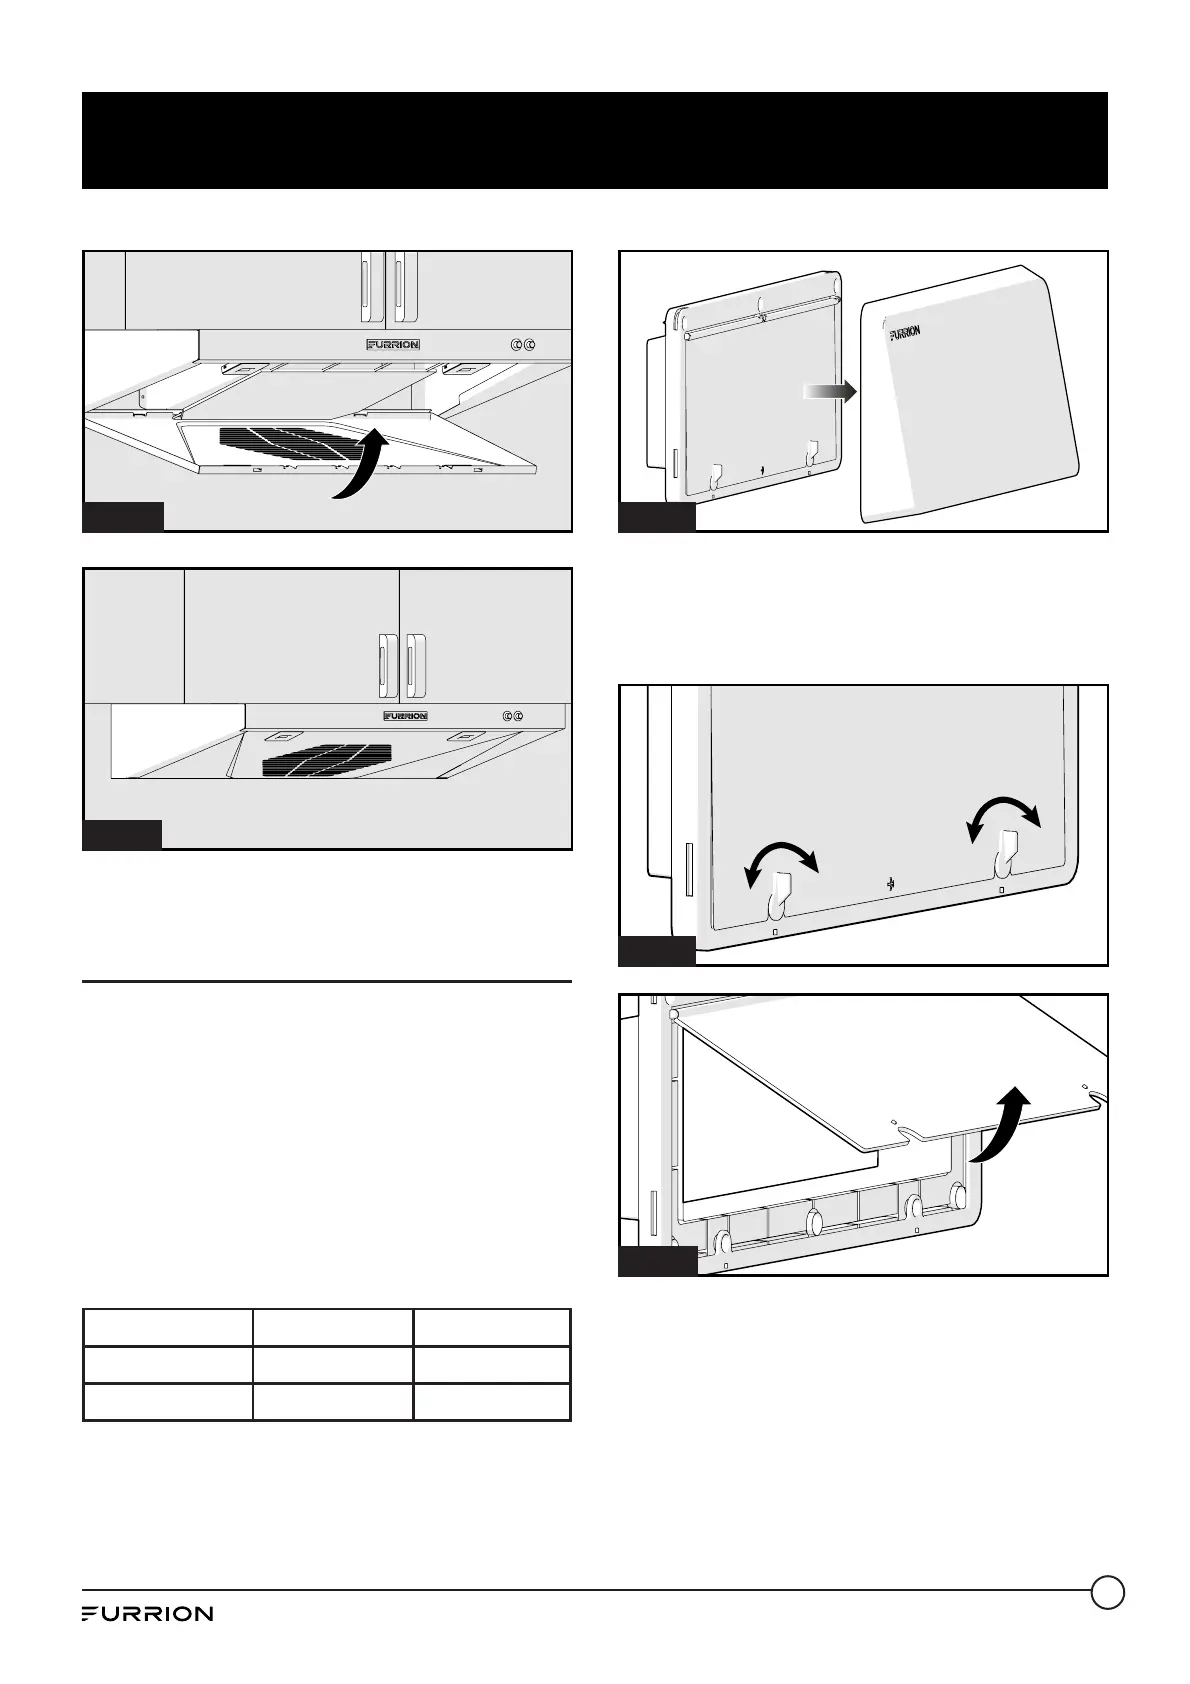
2. Rotate the two release knobs
clockwise or counterclockwise and
open the inner cover.
(Fig. 15 & Fig. 16)
Fig. 15
Fig. 16
3. Insert exterior wall vent into the
cutout area and secure with six
screws provided. (Fig. 17) Seal with
waterproof glue around as needed.
 Loading...