51839250X62NXS_V_1_1_E.DOC
12/15
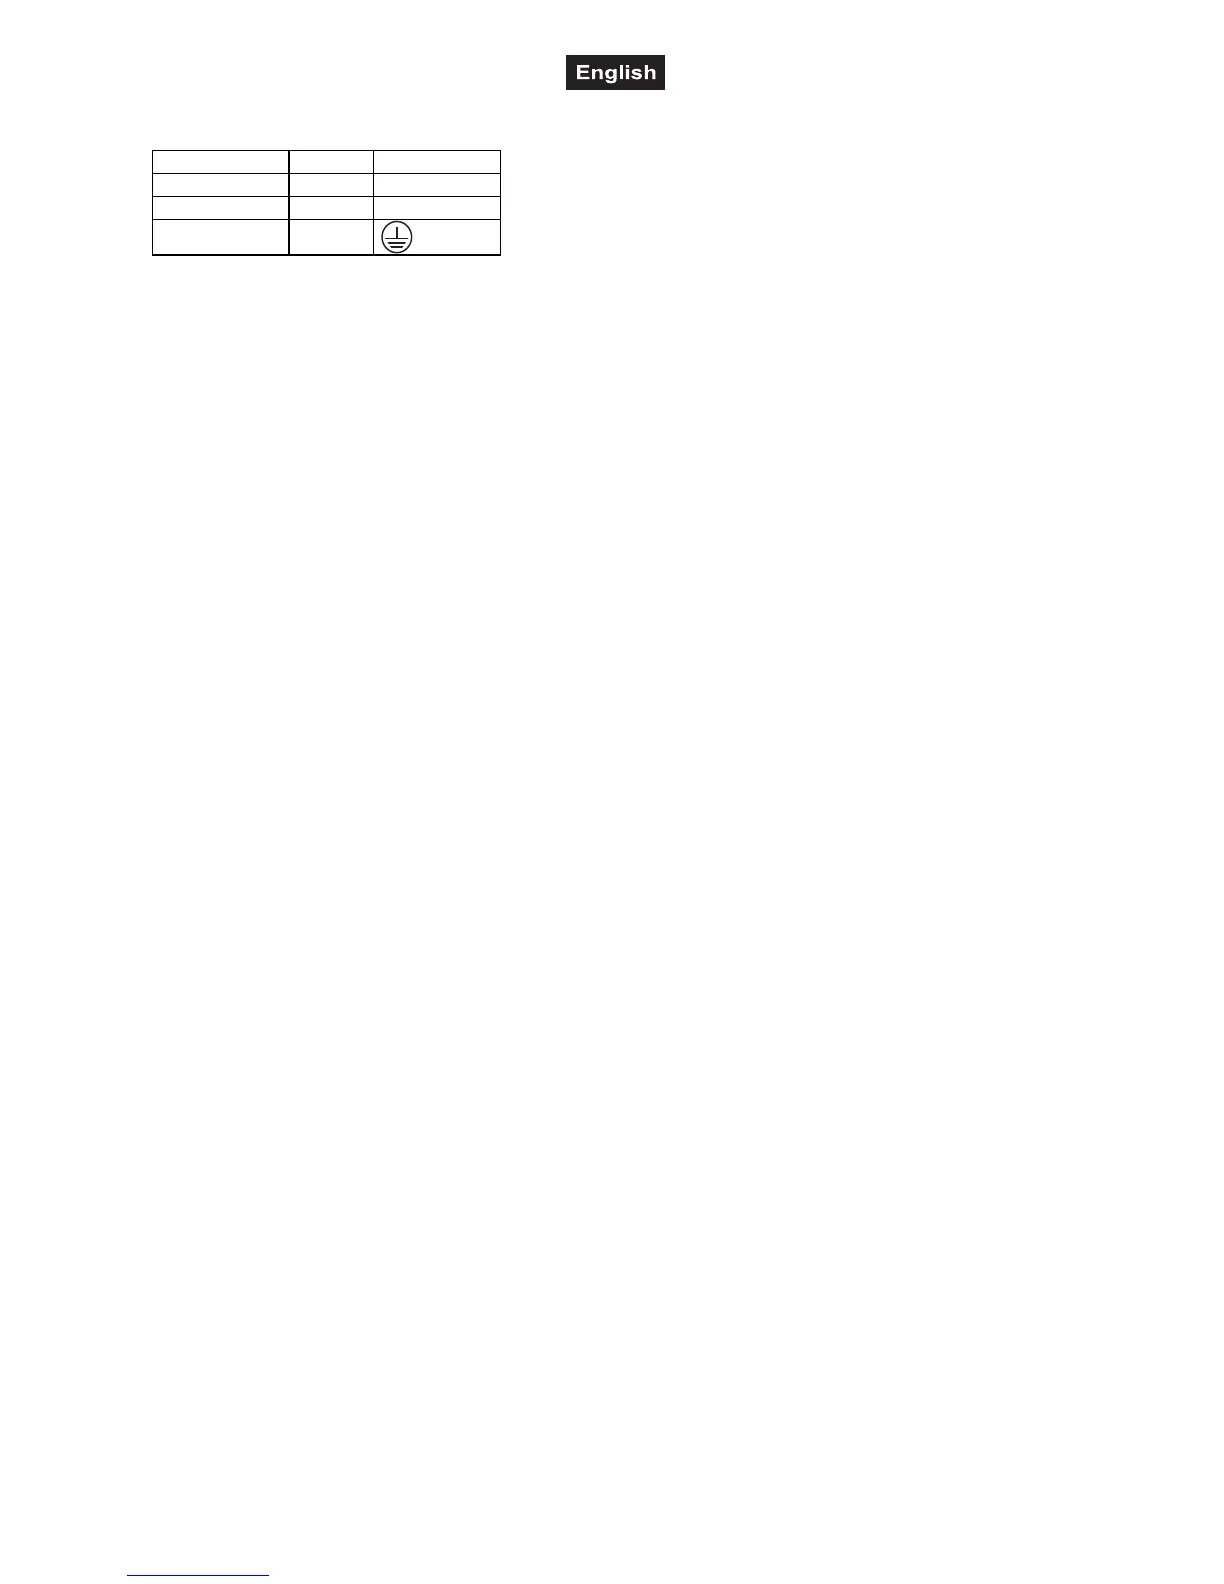
The occupation of the connection-cables is as follows:
Cable Pin International
Brown Live L
Blue Neutral N
Yellow/Green Earth
The earth has to be connected!
If the device will be directly connected with the local power supply network, a disconnection switch with a
minimum opening of 3 mm at every pole has to be included in the permanent electrical installation.
Lighting effects must not be connected to dimming-packs.
OPERATION
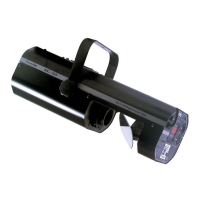
After you connected the effect to the mains, the DJ-SCAN 250 starts running. During the Reset, the motors
are trimmed and the device is ready for use afterwards.
Turn the objective-lens for adjusting the focus in order to obtain a sharp projection.
Stand Alone operation
In the Stand Alone mode, the DJ-SCAN 250 can be used without controller. You can do without a controller
as the DJ-SCAN 250 features a built-in microphone, which provides automatic sound control.
Disconnect the DJ-SCAN 250 from the controller and select "Master Mode: Sound-control".
If you have connected a footswitch to the Blackout-socket, you can lock the light output (Blackout-mode) and
turn it on again.
Master/Slave-operation
Connect the master and slave-devices and adjust the settings as desribed above.
Please note: If you wish to change from one operating mode into another, you have to unplug the projector
from the mains and plug it again.
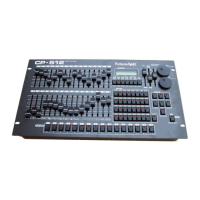
DMX-controlled operation
You can control the projectors individually via your DMX-controller. Every DMX-channel has a different
occupation with different features. In order to call up the different features, you first have to open the shutter
(control channel 6, DMX-value 132-139 or 250-255) or set the dimmer to the desired intensity (control
channel 6, DMX-value 6-128).
Addressing
The Control Board on the front side of the base allows you to assign the DMX fixture address, which is
defined as the first channel from which the DJ-SCAN 250 will respond to the controller.
If you set, for example, the address to channel 7, the DJ-SCAN 250 will use the channel 7 to 14 for control.
Please, be sure that you don’t have any overlapping channels in order to control each DJ-SCAN 250
correctly and independently from any other fixture on the DMX data link.
If two, three or more DJ-SCAN 250 are addressed similarly, they will work similarly.
For address setting, press the Mode-button until the display shows "d" and set the desired address via the
Up/Down-buttons.
Controlling:
After having addressed all DJ-SCAN 250, you may now start operating these via your lighting controller.