G-RAID Installation Guide
Pa
e 13
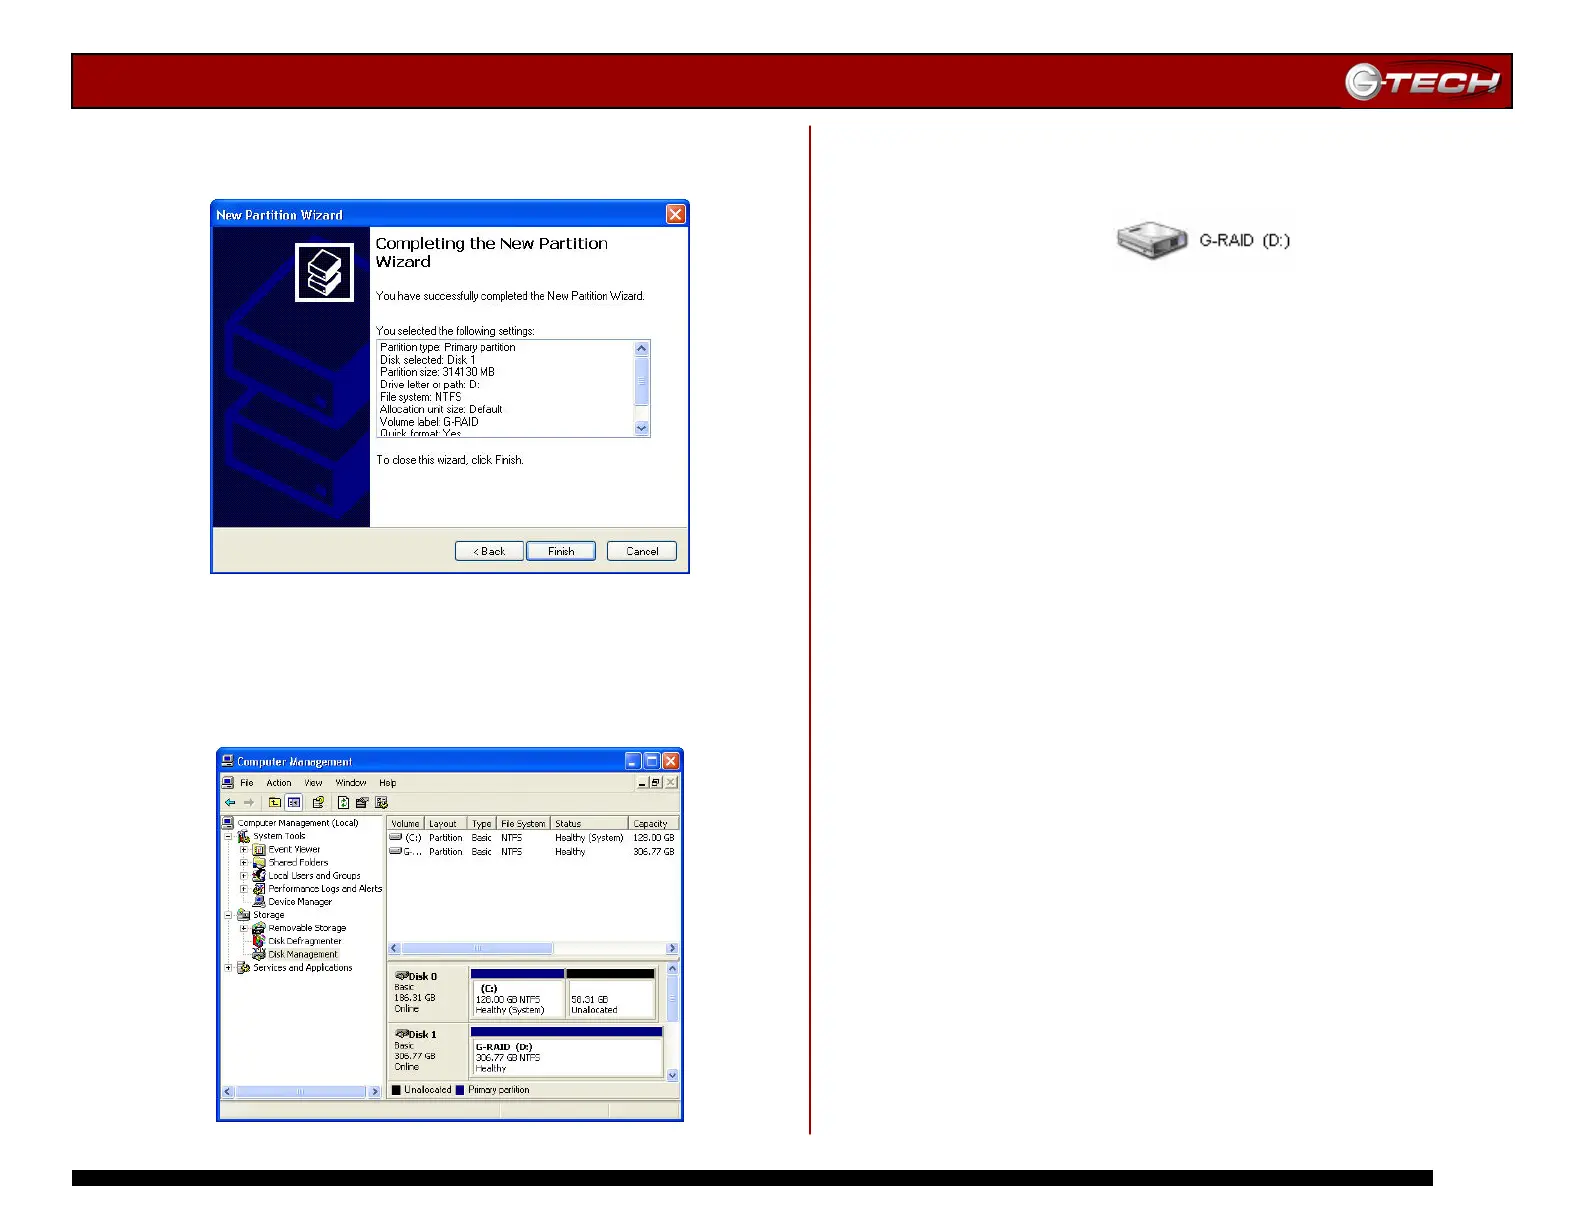
12. The following window will appear. Click on the <Finish>
button to continue.
13. Windows will format the volume and then display the
following window. Disk 1 is now identified as G-RAID (E:).
Exit the Computer Management console
14.
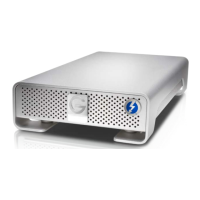
G-RAID will now be displayed as an available hard
disk drive under My Computer as shown below.
G-RAID is now set up for use!!
 Loading...