G-RAID Installation Guide
Pa
e 8
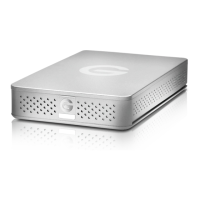
7.8 PC Desktop Installations
1. Attach G-RAID to the appropriate port located on your PC
shown below.
FireWire 800 (9-pin) FireWire 400 (6-pin)
Note: Visit G-Tech at www.g-technology.com
for more information or to purchase the G-Tech
FireWire 800 PCI adapter.
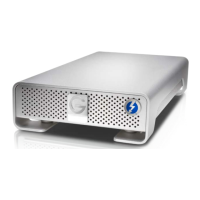
7.9 PC Laptop Installations
1. Attach G-RAID to the built-in FireWire 400 port on your
PC Laptop as shown below.
Note: Visit G-Tech at www.g-technology.com
for more
information or to purchase the G-Tech FireWire 800
CardBus adapter for use with PC Laptops.
t
8. INITIALIZING G-RAID
Now that G-RAID is physically connected to your computer, it
must be initialized for use with your operating system.
• For Mac OS X installations, follow the instructions below
• For Windows 2000/XP installations, proceed to Section 8.2
8.1 Mac OS X (10.4)
G-RAID is initialized at the factory as a single Mac OS X
volume. Power on G-RAID, wait 10 seconds, then power on
your Mac. G-RAID will mount on the desktop as shown
below.
If it becomes necessary to re-initialize G-RAID for Mac OS
X, follow the instructions below.
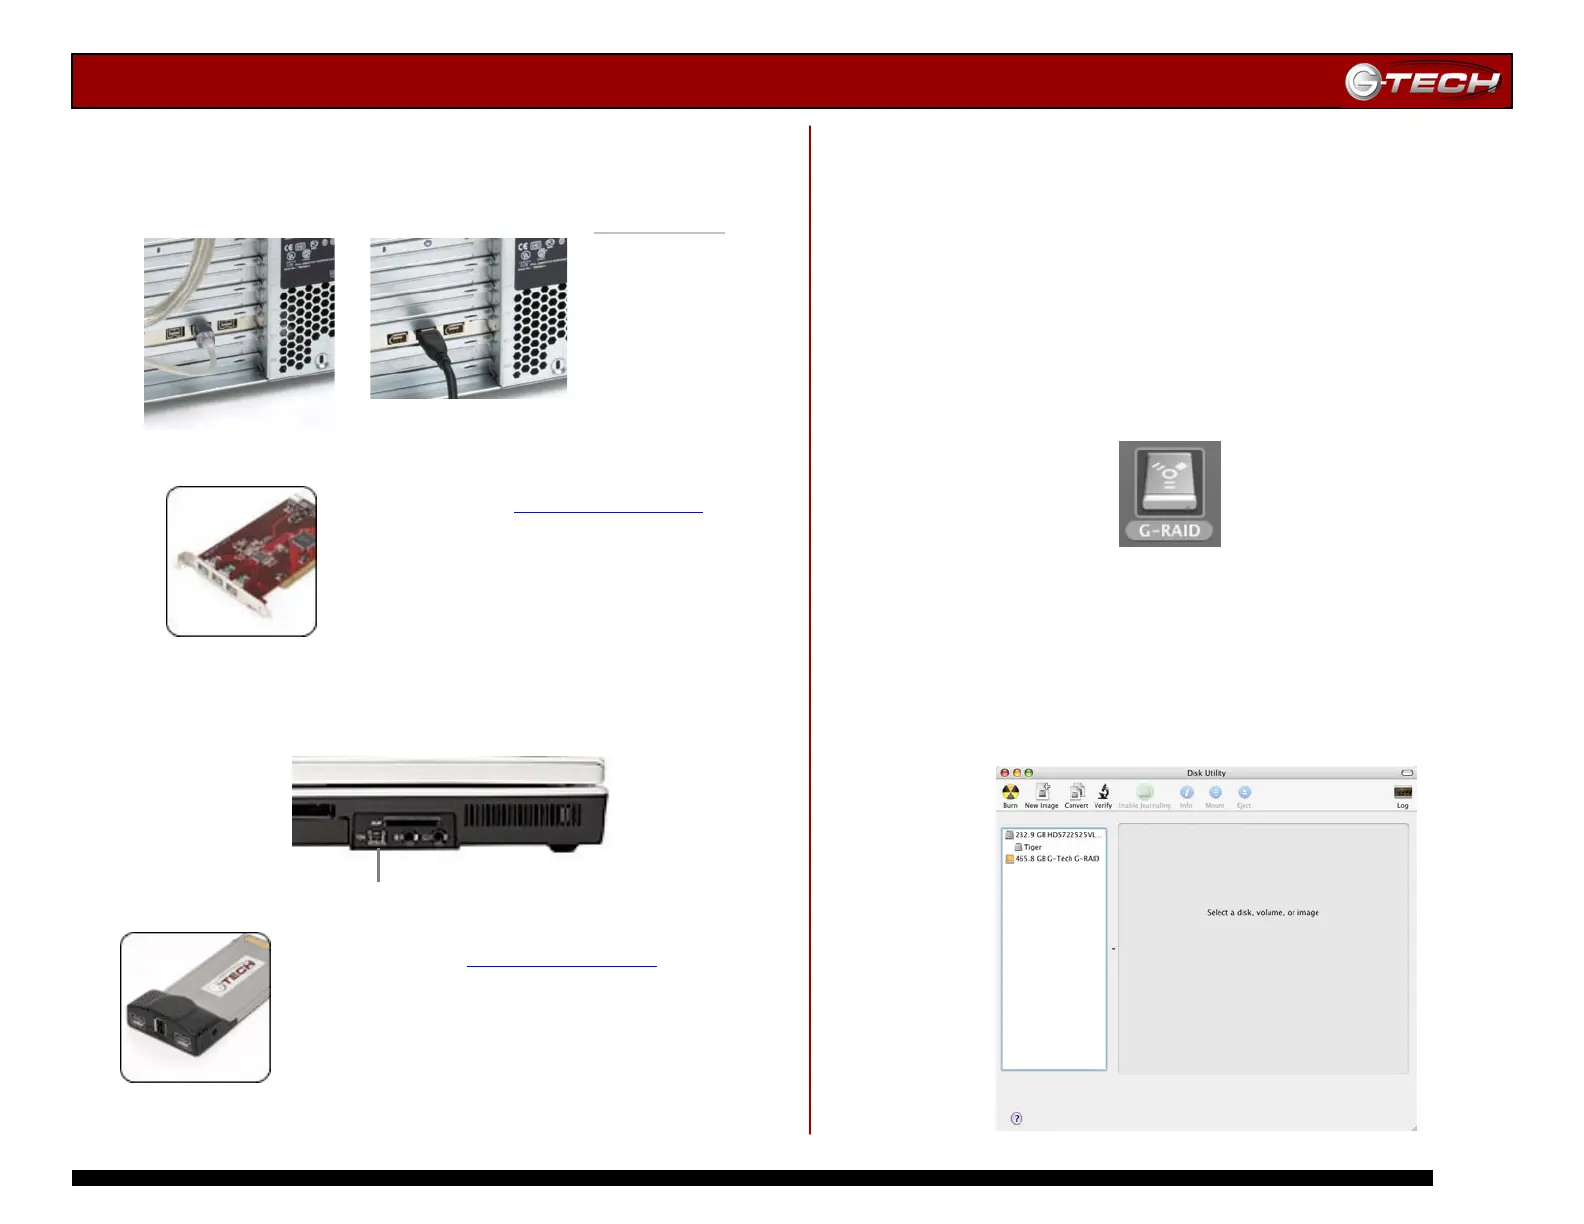
1. Open the Apple Disk Utility. The Apple Disk Utility is in
the Utilities Folder located in the Applications Folder on
the Macintosh HD. A window like the following will appear.
G-RAID will be displayed in the left-hand column as shown.
FireWire 400 (4-pin)