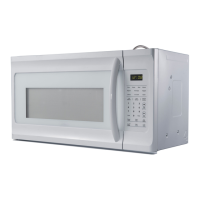
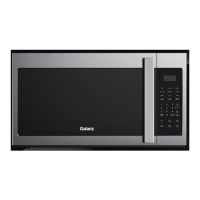
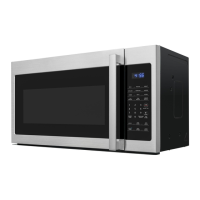
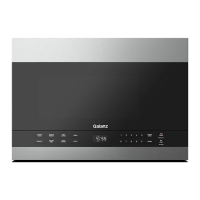
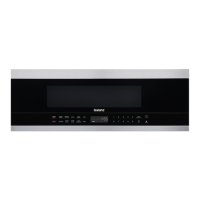
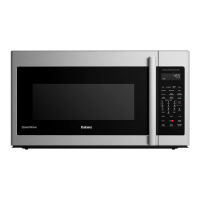
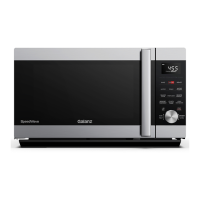
This document describes the Galanz Retro Microwave Oven, a kitchen appliance designed for heating, cooking, and drying food using microwave energy. It is not intended for industrial or laboratory use. The microwave oven is equipped with a 3-prong grounding plug and requires a 120 volt, 60 Hz, AC only, 15 amp electrical circuit. A short power supply cord is provided to reduce risks of entanglement or tripping, but longer cord sets or extension cords can be used with proper care, ensuring their electrical rating is equal to or greater than the appliance's and they are grounding-type 3-wire cords.
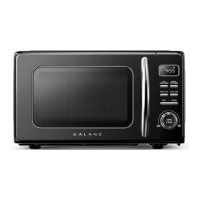
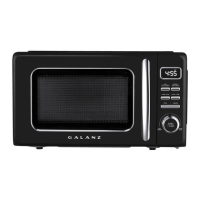
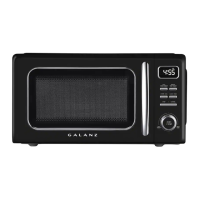
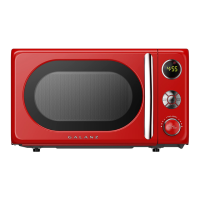
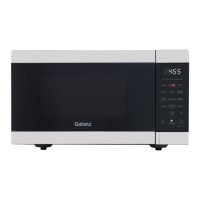
Function Description
The Galanz Retro Microwave Oven offers various cooking and defrosting functions, controlled via a user-friendly control panel. Key functions include:
- Setting the Clock: The oven can display time in either a 12-hour or 24-hour format. To set the clock, users press and hold the CLOCK/TIMER button for 3 seconds to select the desired format, then turn the TIME/WEIGHT/PROG/LEVEL dial to set the hour and minute, confirming each step by pressing the CLOCK/TIMER button. The current time can be checked during cooking by pressing the CLOCK/TIMER button.
- Timer Function: This feature allows users to set a specific countdown time for various purposes, not limited to cooking. To activate, press the CLOCK/TIMER button once in standby mode or during cooking, then turn the TIME/WEIGHT/PROG/LEVEL dial to set the desired time (up to 95 minutes). Confirm and start the timer by pressing the dial. The timer countdown can be viewed for 5 seconds by touching CLOCK/TIMER, and cancelled by pressing STOP/CANCEL during this period.
- Express Cooking: This function allows for quick cooking at 100% microwave power. Users can set the cooking time by either repeatedly pressing the START/+30 SEC button (each press adds 30 seconds, up to 30 minutes) or by turning the TIME/WEIGHT/PROG/LEVEL dial in standby mode to enter the desired time (up to 30 minutes) and then pressing the dial to start.
- Microwave Cooking: This feature provides flexibility to select both the power level and cooking time. To use, press the POWER LEVEL button multiple times to select the desired power level (from P-00 for 0% to P100 for 100%), then turn the TIME/WEIGHT/PROG/LEVEL dial to set the cooking time (up to 95 minutes). Confirm and start by pressing the dial.
- Time Defrost: This function automatically adjusts defrosting power based on the programmed time. To use, press the DEFROST/TIME/WEIGHT button once, then turn the TIME/WEIGHT/PROG/LEVEL dial to set the defrosting time. Confirm and start by pressing the dial. During defrosting, the system may pause to remind the user to turn the food over, requiring a press of the dial to resume.
- Weight Defrost: This function automatically sets defrosting time and power level based on the food category and weight. To use, press the DEFROST/TIME/WEIGHT button twice, then turn the TIME/WEIGHT/PROG/LEVEL dial to select the food code (dEF1 for Meat, dEF2 for Poultry, dEF3 for Seafood) and then the food weight. Confirm and start by pressing the dial. Similar to Time Defrost, the system may pause to prompt turning the food over. Weight should be entered in pounds and ounces, with a conversion chart provided for fractions of a pound to ounces.
- Child Lock: This safety feature prevents unsupervised operation by children. To activate, ensure the display is showing the clock (e.g., 11:00), then press and hold the STOP/CANCEL button for 3 seconds until a beep sounds and the lock indicator lights. To cancel, press and hold STOP/CANCEL again for 3 seconds until a beep sounds and the lock indicator turns off.
- Auto Cook Menus: This feature simplifies cooking for specific foods by pre-setting power and time based on food type and weight/servings. To use, press the AUTO COOK/REHEAT button once, turn the TIME/WEIGHT/PROG/LEVEL dial to select the food code (e.g., AC-1 Popcorn, AC-2 Potato), then press START/+30 SEC once. Turn the dial to set the food weight or servings, and finally press START/+30 SEC to begin. The manual provides a table of food codes and notes that results may vary due to voltage fluctuations, food shape/size, and personal preferences, suggesting manual adjustment if necessary.
- +30 Sec Function: In standby mode, touching the TIME/WEIGHT/PROG/LEVEL dial can immediately start the microwave oven. During cooking, repeatedly touching the dial adds cooking time (each touch adds 30 seconds, up to 95 minutes). This function is not available for Auto Cook, Auto Reheat, or Time/Weight Defrost programs.
- Auto Reheat Menus: Similar to Auto Cook, this feature pre-sets power and time for reheating specific foods. To use, press the AUTO COOK/REHEAT button twice, turn the TIME/WEIGHT/PROG/LEVEL dial to select the food code (e.g., AH-1 Beverage, AH-2 Dinner Plate), then press START/+30 SEC once. Turn the dial to set the food weight or servings, and finally press START/+30 SEC to begin. A table of food codes is provided, with a note that results may vary and adjustments may be needed.
Usage Features
The microwave oven is designed for safe and convenient use. It is crucial to read and follow all instructions, especially those regarding precautions to avoid exposure to excessive microwave energy. The appliance must be grounded and connected to a properly grounded outlet. It should not be operated empty. Installation requires placement on a flat, stable surface with adequate airflow (minimum 7.87 inches above, 1.97 inches on both sides) and at least 3 feet (914mm) above the floor. It should not be placed near heat, moisture, high humidity, or combustible materials. The power cord must be undamaged and accessible for emergency unplugging.
The manual provides a comprehensive guide to cooking utensils, categorizing them into "Recommended," "Limited Use," and "Not Recommended."
- Recommended: Microwave browning dishes (for exterior browning), microwaveable plastic wrap (to retain steam, leaving a small opening), paper towels and napkins (for short-term heating/covering, avoiding recycled paper), glass and glass-ceramic bowls/dishes, paper plates and cups (for short-term heating at low temperatures, avoiding recycled paper), wax paper (as a cover), and thermometers labeled "Microwave Safe."
- Limited Use: Aluminum foil (narrow strips to prevent overcooking, keeping 1 inch distance from cavity), ceramic, porcelain, and stoneware (if labeled "Microwave Safe" or tested), and plastic (if labeled "Microwave Safe").
- Not Recommended: Regular glass jars and bottles (can shatter), paper bags (fire hazard, except popcorn bags), Styrofoam plates and cups (can melt), plastic storage/food containers like margarine tubs (can melt), and metal utensils (can damage the oven).
Maintenance Features
Regular cleaning and care are essential for the microwave oven's longevity and safe operation.
- General Cleaning: Always turn off and unplug the oven before cleaning. The inside of the oven should be wiped with a damp cloth. Mild detergents can be used for heavy dirt; harsh cleaners, sprays, or abrasives should be avoided as they can stain, streak, or dull surfaces.
- Door and Window: Wipe the door, window (both sides), door seals, and adjacent parts frequently with a damp cloth to remove spills or spatters. Abrasive cleaners should not be used.
- Control Panel: Keep the control panel dry and clean with a soft, damp cloth. When cleaning the control panel, leave the oven door open to prevent accidental activation.
- Steam Accumulation: If steam accumulates inside or around the oven door, wipe with a soft cloth. This is normal in high humidity conditions.
- Glass Tray: The glass tray should be removed occasionally for cleaning and can be washed in warm, sudsy water or a dishwasher.
- Exterior: The outside of the oven should be cleaned with a damp cloth. Prevent water from seeping into ventilation openings to avoid damage to internal operating parts.
- Light Bulb: If the light bulb burns out, contact customer service for replacement.
- Food Deposits: Regular cleaning to remove food deposits is important, as failure to do so can lead to surface deterioration, affecting the unit's life and potentially creating a hazardous situation.
- Disposal: The appliance should not be disposed of in domestic rubbish bins but taken to a designated disposal center provided by municipalities.