19
GB
In conjunction with the programmed watering time, the moisture
level of the soil or the natural precipitation can be taken into
account for each Irrigation Valve.
When a sufficient moisture content of the soil is reached, a
programme may be interrupted or activation of a programme
may be suppressed.
1. Place the Soil Moisture Sensor
9
in the area to be irrigated
– or –
the Rain Sensor electronic (if necessary with an extension
cable) outside of the area to be irrigated.
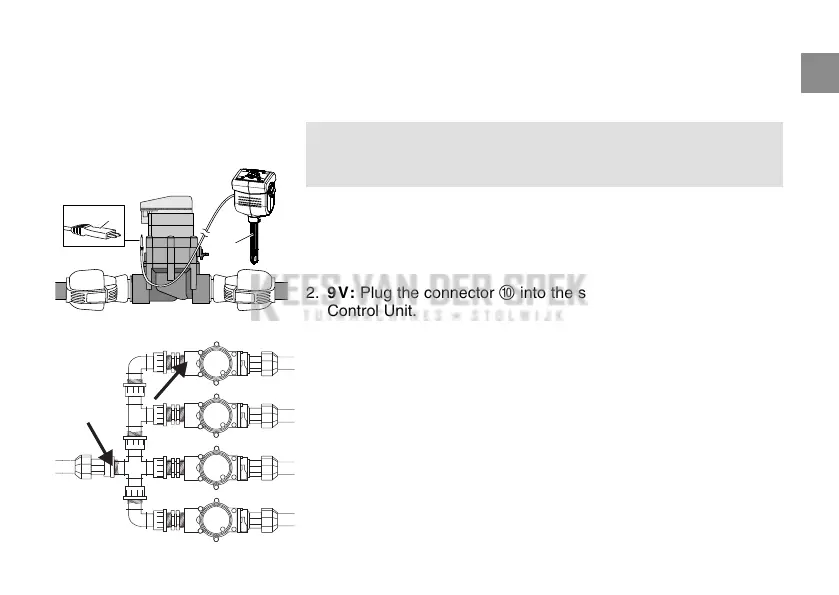
2. 9V: Plug the connector
0
into the sensor socket of the
Control Unit.
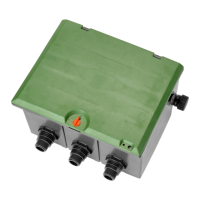
24V: Insert plug
0
in the sensor connection of the Watering
Control System Art. 1276 (s. Operating Instructions Art. 1276).
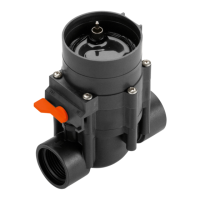
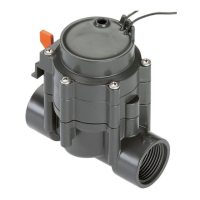
Conventional installation:
If using Art. 2750 / 2751 / 2752 / 2753 / 2755
the points marked with an arrow must be sealed
with sealing tape (e.g. Art. No. 7219).
9
0
Connect Soil Moisture Sensor
or Rain Sensor electronic
(optional):
 Loading...