2. INITIAL OPERATION v (Fig. A – D)
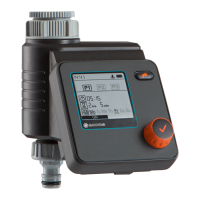
4. PROGRAMMING v (Fig. G – I)
Fig. G:
1 Set time (hours) | 2 Set time (mins) |
3 Select schedule | 4 Confirm schedule
Fig. H: Set = Sensor connected
Fig. I: 1 Active watering | 2 Change watering duration |
3 Stop active watering at any time
The saved watering schedule can be activated or
deactivated by pressing on / off. By pressing the
button, manual watering can be started or
stopped at a desired time (see fig. I ).
Watering tip: For pot plants that required small
amounts of water at regular intervals, short water-
ing cycles are ideal in combination with a drip
irrigation system.
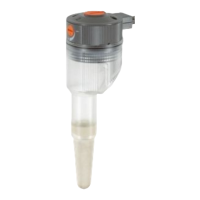
Connect soil moisture sensor (optional) fig. D:
After a sensor has been connected, the “set sen-
sor” display will appear. By selecting 3-drip / 0-drip
the sensor response will be activated / deactivated.
After successful activation, the “set” display will
disappear (see fig. H).
If the soil is sufficiently moist, watering will be
immediately stopped or prevented.
A video of the
commissioning
and setting
processes is
available here:
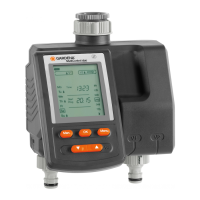
3. FUNCTION v (Fig. F)
The settings can be adjusted when the control
panel is removed. You can change the settings
or move to the next setting by turning the outer
wheel. Pressing the
button confirms the
respective input. Pressing the button for a mini-
mumof 3 seconds locks or unlocks the display.
max. 1 year
min. 4 weeks
max. 4 weeks
too weak for opening again
*
Battery
Condition *
Sensor
Sensitivity
The number of
drops represents
the measured
soil moisture.
Time
Connecting
sensor
Start Time
(0 – 23) hrs (0 – 59) min.
Run Time
(0 – 29) sec.
(0 – 99) min.
Frequency
4, 6, 8, 12, 24,
48, 72 hrs
SET
ON
min
hrs
sec
Sensor
Active
Watering
Timeplan
active /
deactive
ON OFF
6
EN