Installation
Requirements—
IMPORTANT...Please Read Carefully.
How
to connect
electricity
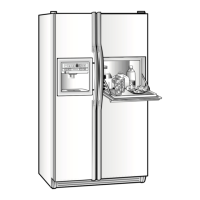
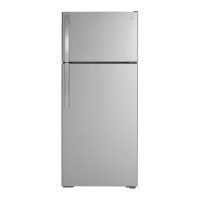
For personal safety, this
appliance must be
properly grounded.
The power cord of this appliance is
equipped with a grounding plug
which mates with a standard
~ounding
wall outlet (Fig. 1 or Fig. 2)
to minimize the possibility of electric
shock hazard from this appliance.
INSURE PROPER GROUND
EXISTS BEFORE USE
3
ee
Grounding
Plug
T
‘/
//
1’
Fig. 1
1
I
Fig. 2
Grou
Plug
I
I
I
1
Have the wall outlet checked by a
qualified electrician to make sure
outlet is properly grounded.
Where an ungrounded wall outlet
is encountered, it is your personal
responsibility and obligation to
have it replaced with a properly
grounded wall outlet.
The refrigerator should always
be plugged into its own
individual electrical
outlet—
Please refer to the rating plate on
the refrigerator for the correct
voltage and frequency.
This is recommended for best
performance and to prevent
overloading house wiring circuits,
which could cause a fire hazard
. –from overheating wires.
.i
the power supply cord becomes
damaged, it must be replaced by a
qualified service agent in order to
avoid a safety hazard.
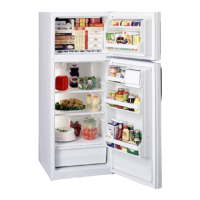
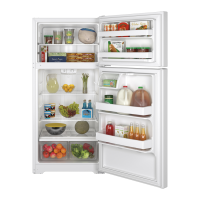
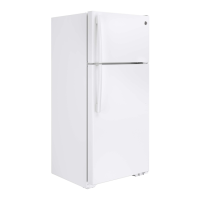
Refrigerator Location
Do not install refrigerator where
temperature will go below
50”F.
(lO°C.)
because it will not run
often enough to maintain proper
temperatures.
Do install it on a floor strong
enough to support a fully loaded
refrigerator.
Also see Energy-Saving Tips
regarding location.
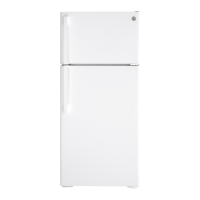
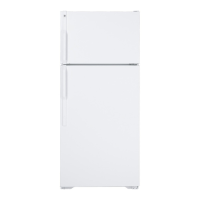
Dimensions
Model 18
A* ..64”
(1626
mm)
B
....29%” (746
mm)
C
....31Y
(800
mm)
D....58° (1473 mm)
Model 20
A* ..64” (1626 mm)
B ....33” (838
mm)
C
....31~6°
(7’99
mm)
D
....61%” (1554
mm)
Model
22
A*
..66!4”
(1683 mm)
B
....31Y2’
(794
mm)
C ....32%” (832 mm)
D....59%”
(1521 mm)
Model 25
A*
..67” (1702 mm)
B
....34!4”
(876 mm)
C ....32$4” (832 mm)
D....62%”
(1597 mm)
Model 19
64” (1626 mm)
29%’ (746 mm)
32%’
(832 mm)
58” (1473 mm)
Model 21
66!4”
(1683 mm)
31
X“
(794 mm)
31K”
(800 mm)
59X”
(1521 mm)
Model
24
67” (1702 mm)
34X” (876 mm)
31X”
(800 mm)
62%” (1597 mm)
*Height does not include hinge
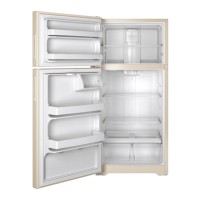
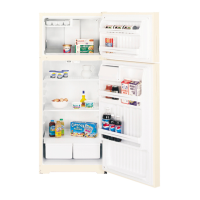
Clearances
Allow the following clearances for
ease of installation and proper air
circulation.
Sides
.....................3/4” (19mm)
Top
...........................1” (25mm)
Back
........................1” (25mm)
If 19, 22 and 25 models are to be
installed next to a wail on the hinge
side, allow
IX”
(38mm)
for door
clearance.
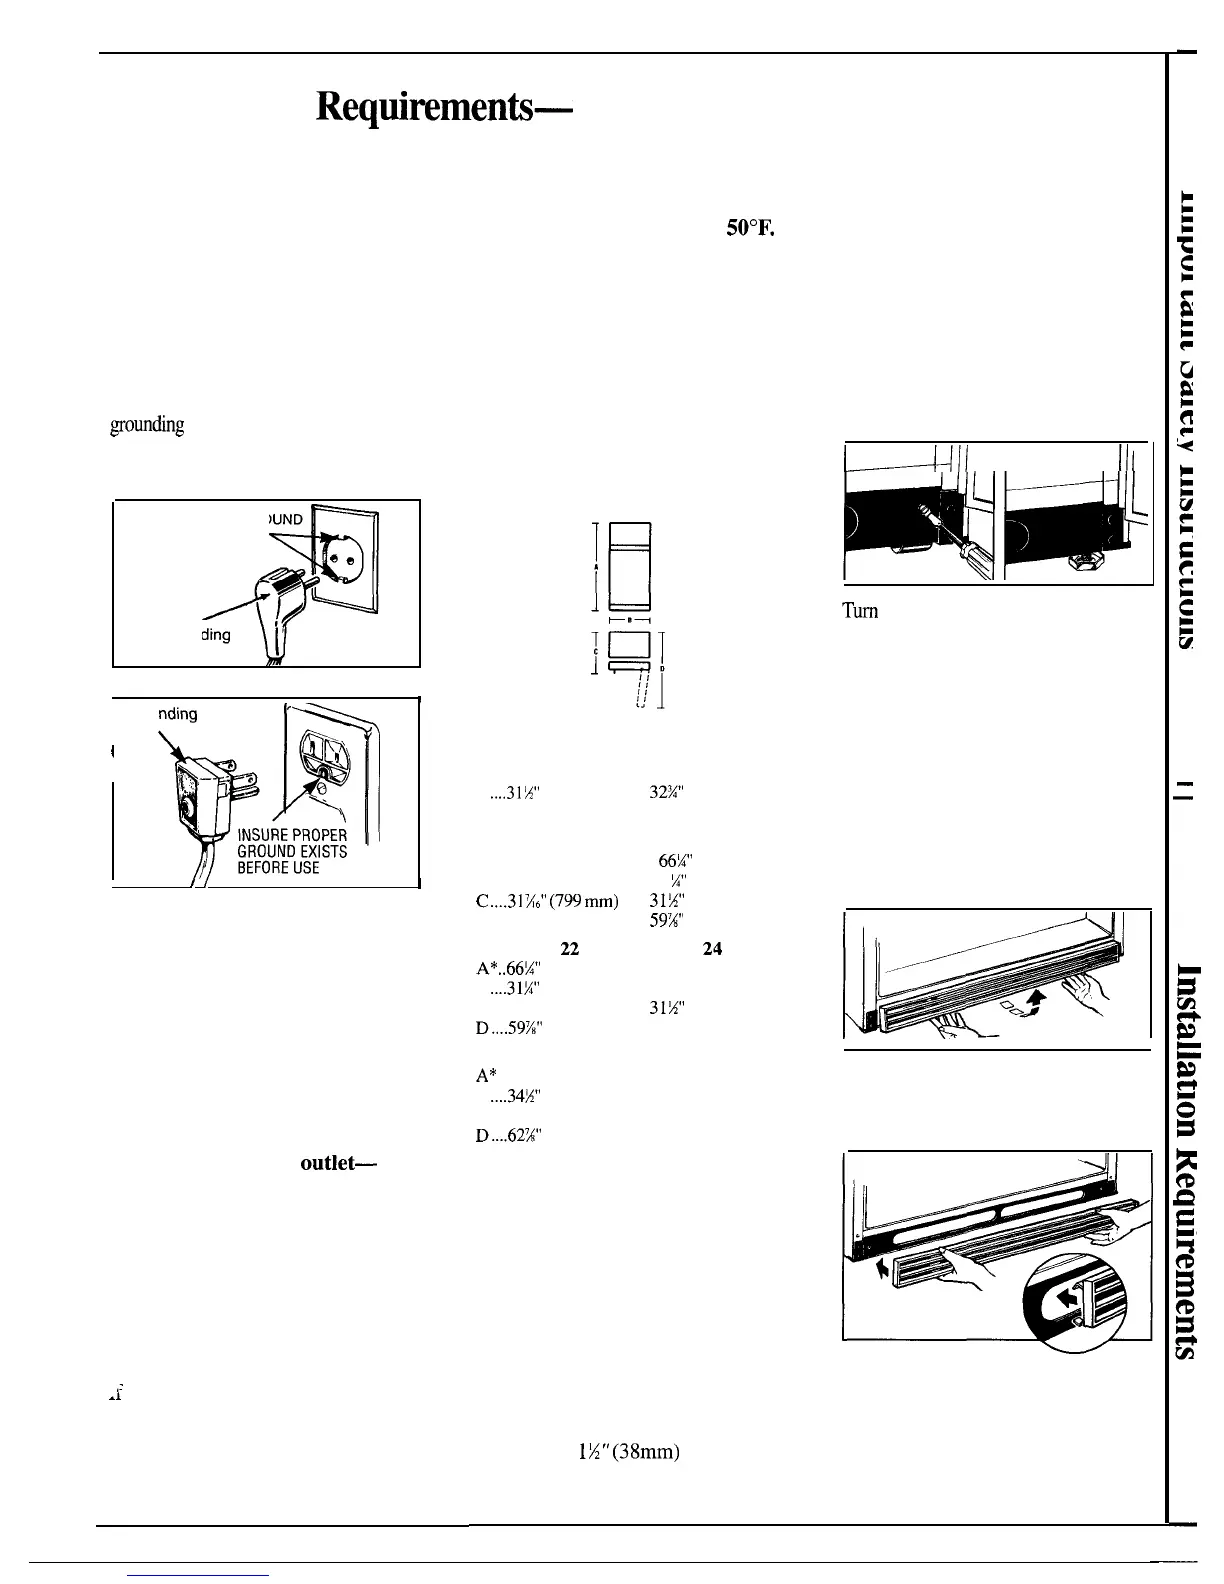
Rollers/Leveling Legs
Some models have
adjustable
rollers
that enable you to move
the refrigerator away from the wall
for cleaning; other models have
adjustable leveling legs.
Rollers or
legs should be set so the refrigerator
is firmly positioned on the floor
and the front is raised just enough
that the doors close easily when
opened about halfway.
L_---Llll
I I
I
[11
Tbrn
the two front roller adjusting
screws or four corner leveling legs
clockwise to raise the
refrigerator,
counterclockwise to lower it.
When adjusting front rollers for
proper door closure, we recommend
that the bottom front edge of the
cabinet be approximately 3/4”
(19mm) from the floor.
If your refrigerator has a base
grille,
you can turn the adjusting
screws through openings in the grille.
If you would rather remove the
base grille,
grasp the bottom of the
grille and pull it out.
To replace the base grille, lineup
the clips on the back of the grille
with the openings in the baseplate
and push the grille forward until it
snaps into place.
3
 Loading...