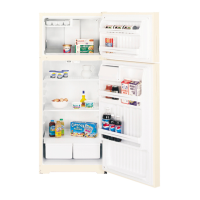
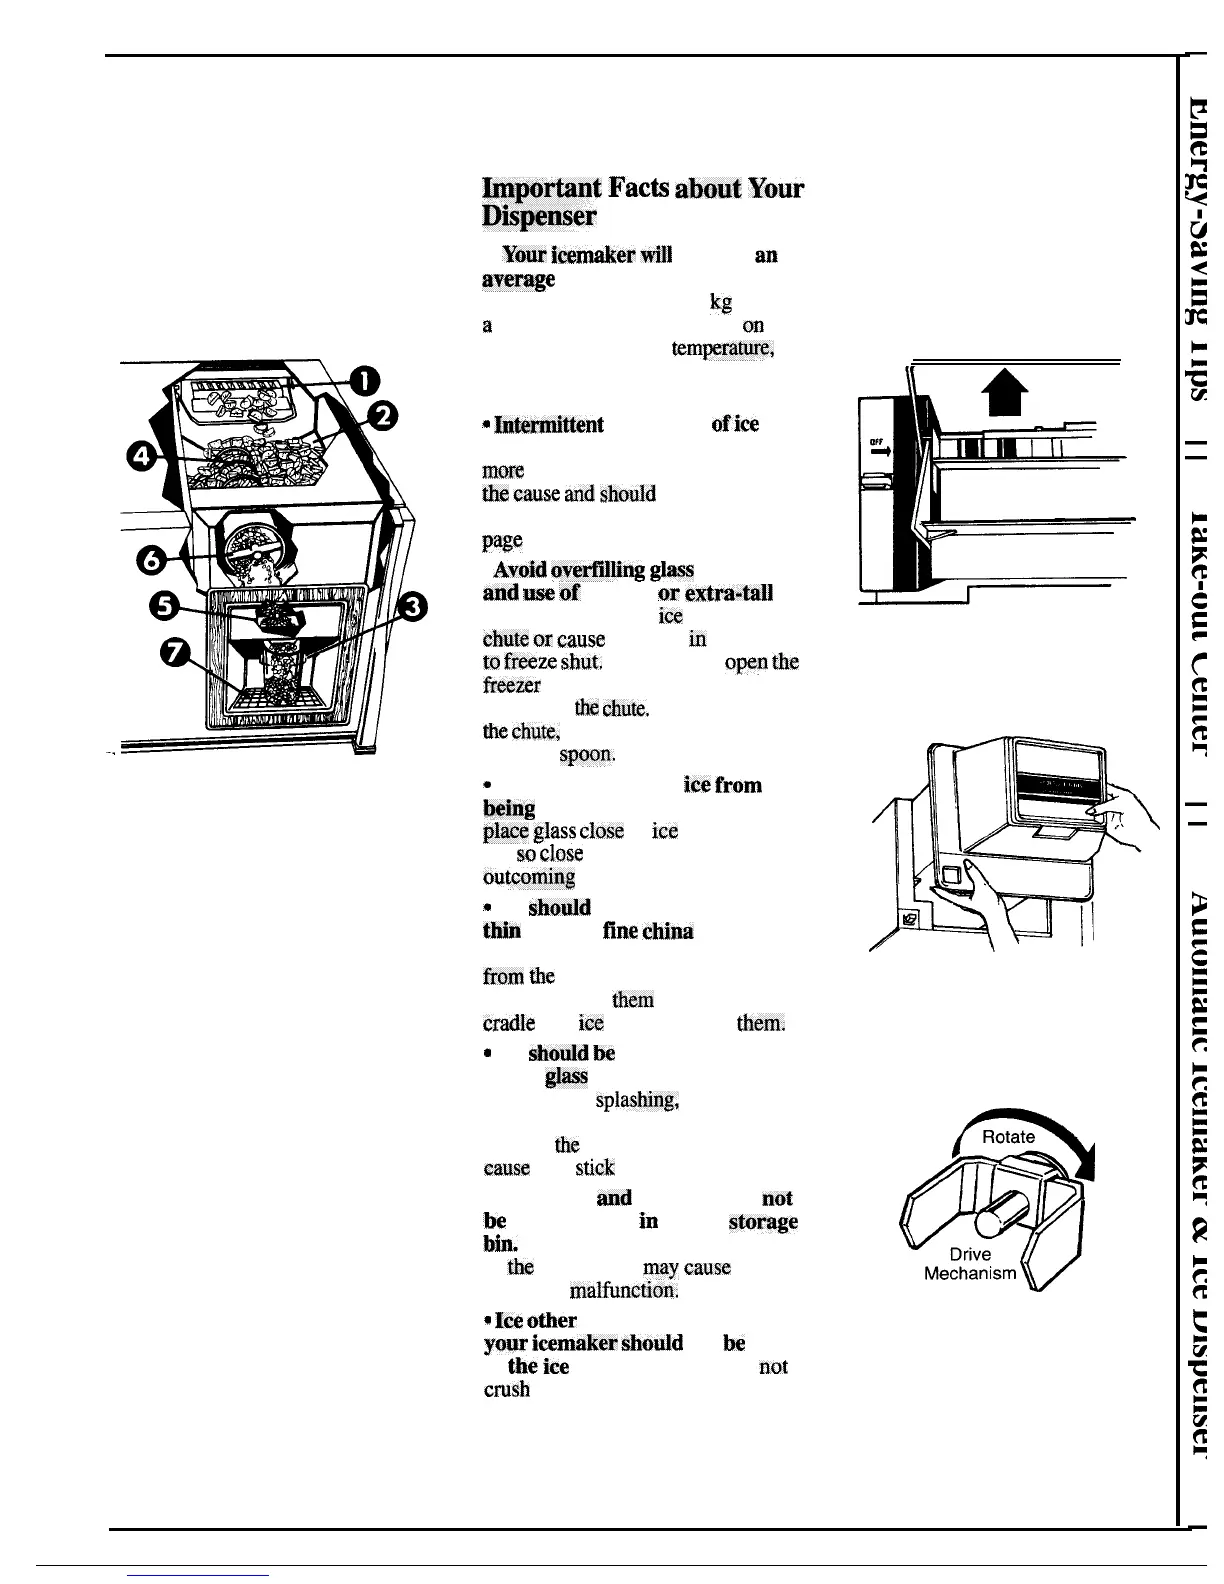
Automatic Icemaker & Ice Dispenser
(on models
so
equipped)
How Automatic Icemaker
and Ice Dispenser Work
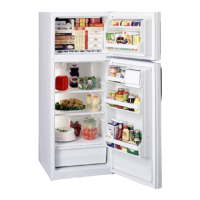
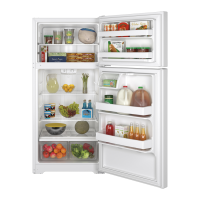
Your refrigerator has an automatic
icemaker and a dispenser that
dispenses ice cubes and crushed ice
through the freezer compartment
door. Here’s how they work.
-.
When the selector switch is set at
ICE CUBES...
(1)
Automatic Icemaker fills the
(2) ice storage bin.
(3)
Pressure on ice cradle activates
(4) motor-powered auger and feeds
cubes into glass through the
(5)
chute.
When the selector switch is
moved to CRUSHED ICE, a
baffle in the housing channels
cubes through the
(6) crusher and crushed ice falls
into the glass through the chute.
Spills are
caught in a
(7) recessed area.
Water is supplied automatically to
the icemaker by a solenoid valve.
A connection to the household
cold water system is all that’s
needed.
Impwtant
Facts
about
Your
Mspfmser
*
YQur
icmaker
vdII
produce an
average of eight cubes per
cycle-approximately 1.7
kg
in
a
24-hour period-depending
on
freezer compartment
temperattm%
room temperature, number of door
openings and other use conditions.
*
lMwmittent dispensing
Mice
is
normal.
If ice flow interruption is
more
than brief, ice clumps may be
the
cause
and
should
be removed,
following instructions below and on
page
6.
●
Avoid
ovtwfllling
glass
with ice
md
B
of’
narrow or extra-tall
glasses. Backed-up
ice
can jam the
chute
cw
cause
the door
in
the chute
to
freeze
shut,
Periodically
open
ths
I%eezer
compartment door and look
down into
the
chute,
If ice is blocking
the
chute,
poke it through with a
wooden
spoon.
*
To help keep bits of im
f’rmn
being sprayed beyond the glass,
place
glass
close
to
ice
chute—but
not
so
close
that it blocks
outcuming
ice.
*
Ice
should
not be dispensed into
thin glasses,
fine
china or delicate
crystal-they can crack or chip
ikcmt
the
combined pressure of your
hand pressing
tlwm
against the
cradle
and
ice
dropping into
them.
*
Ice
should
be
dispensed before
filling
glass
with
beverage. This
will prevent
spiashing,
which is
annoying and which, if the splash
reaches
the
ice selector switch, could
cause
it to
stick
or bind.
●
Beverages
tmd
foods should not
be
quick-chilled
in
the ice storage
bin. Cam, bottles or food packages
in
the
storage bin
may
cause
the ice
maker to
malfirmtion.
~
Ice other than that produced by
your hxxnaker shmdd not be added
to the ice storage bin-it may
not
crush
or dispense well.
Before Using Your
Icemaker and Dispenser
If your refrigerator is operated
before the water connection is
made, remove the ice storage bin
and make sure the icemaker feeler
arm is in the OFF (up) position.
To remove the ice storage bin,
lift
the front of the bin and pull the bin
straight out while supporting it at
front and rear.
To replace the ice storage bin:
Slide it back on the ice bin shelf. If
the bin does not go all the way
back, remove it and rotate the
drive mechanism 1/4 turn.
Then push the bin back again.
(continued next page)
5
 Loading...