Required Tools
• Flathead screwdriver
• Drill
• 1/16” drill bit
• 5/32” drill bit
• Phillips screwdriver
Included Hardware:
• 2 – Plastic anchors
• 4 – Screws
• 1 – Double sided Tape
• 1 – 12 Volt battery
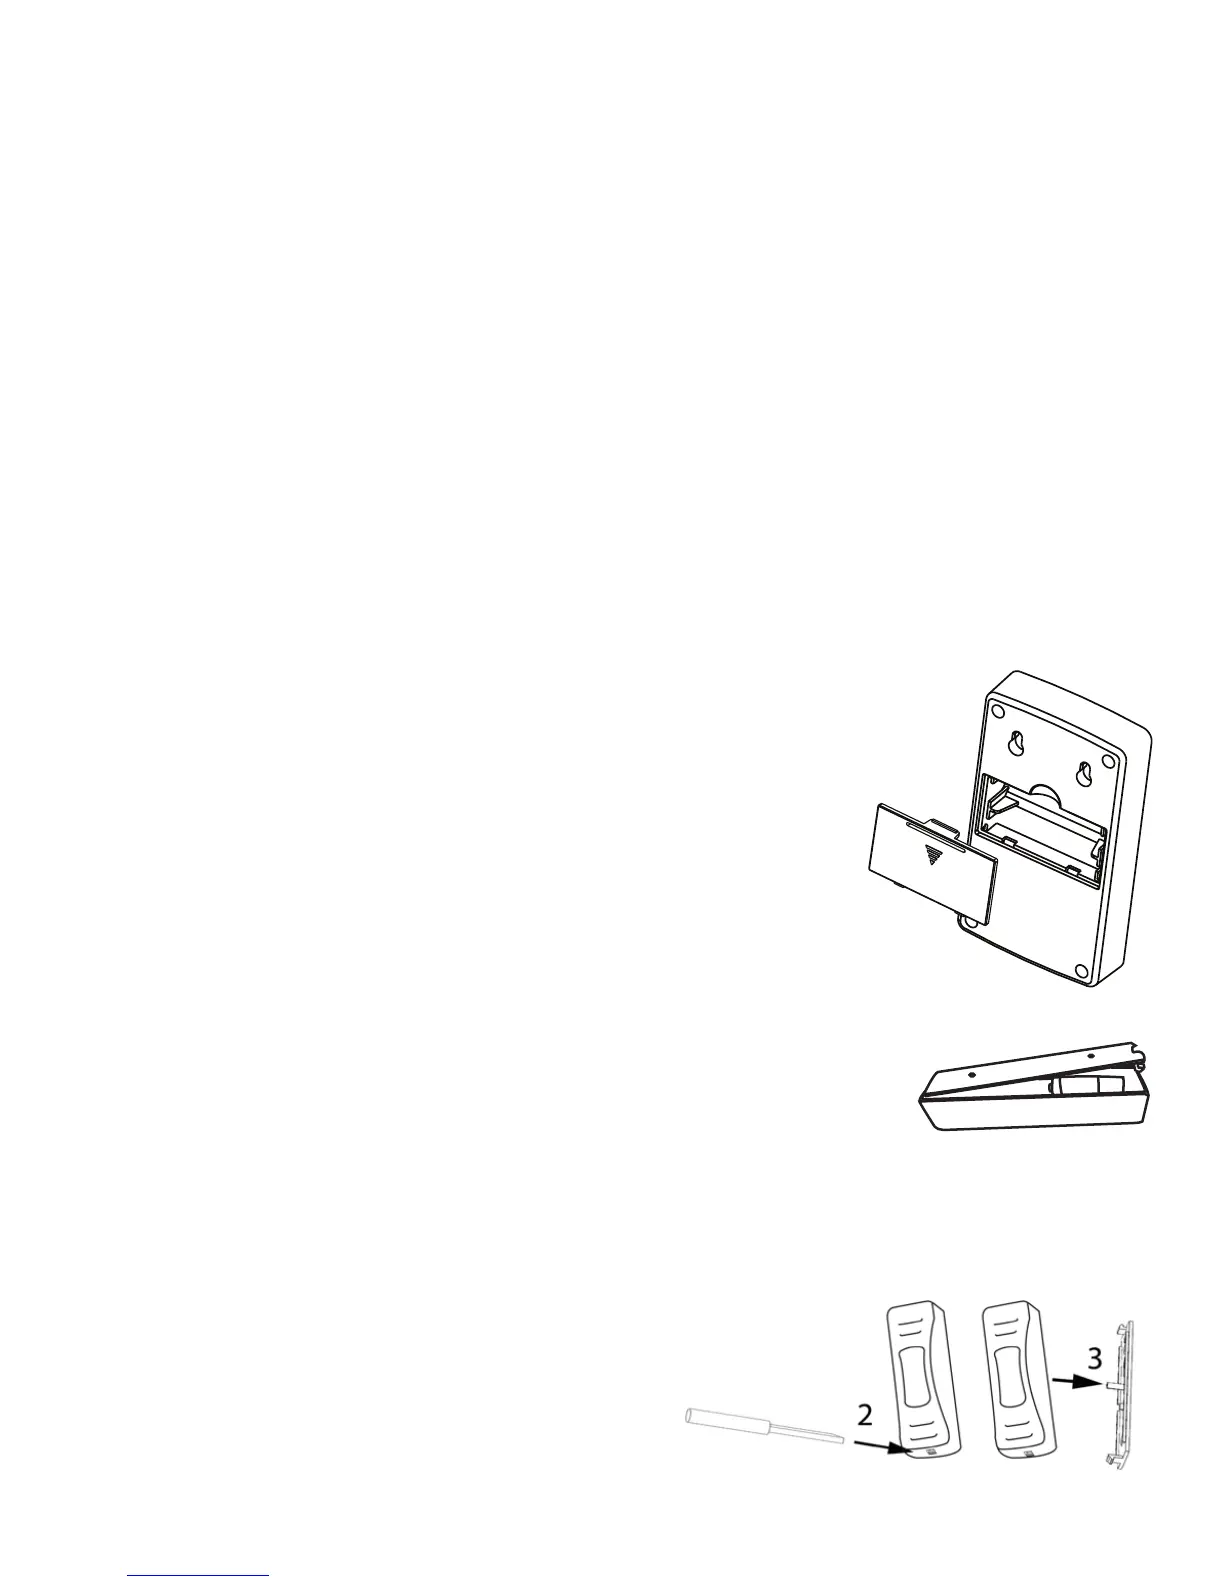
Battery Installation:
Chime Unit:
1. Make sure the Chime power is switched to the “OFF”
position.
2. Remove battery cover by pressing the tab in the
direction of the arrow and lifting at the same time.
3. Install 2 “AA” batteries noting the battery orientation
inside the battery compartment.
4. Replace battery cover.
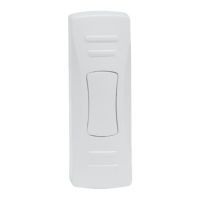
Push Button:
1. Remove battery cover by using a small flat screwdriver.
2. Insert flat screwdriver in at the bottom of the Push
Button to release the tab.
3. While the flat screwdriver is inserted at the bottom of the Push Button,
press downwards to separate the battery cover from the Push Button.
4. Remove plastic tab in between the 12V
battery and contact tab to allow button
to operate.