11
BEFORE YOU BEGIN
Read these instructions completely and carefully.
•
IMPORTANT – Save these
instructions for local inspector’s use.
•
IMPORTANT – Observe all
governing codes and ordinances.
• Note to Installer – Be sure to leave these
instructions with the Consumer.
• Note to Consumer – Keep these instructions
for future reference.
• Skill level – Installation of this appliance requires
basic mechanical skills.
• Completion time – Refrigerator Installation
15 minutes
• Proper installation is the responsibility of
the installer.
• Product failure due to improper installation
is not covered under the Warranty.
• Do not install the refrigerator where the temperature
will go below 60°F (16°C) because it will not run often
enough to maintain proper temperatures.
• Do not install the refrigerator where the temperature
will go above 100°F (37°C) because it will not perform
properly.
• Install it on a floor strong enough to support it fully
loaded.
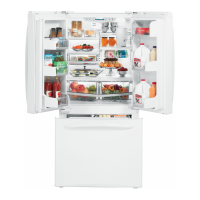
REFRIGERATOR LOCATION
Installation
Refrigerator
Instructions
Model 20
Allow the following clearances for ease of installation,
proper air circulation and plumbing and electrical
connections:
• Sides 1/8″ (4 mm)
• Top 1″ (25 mm)
• Back 1″ (25 mm)
If the refrigerator is against a wall on either side, allow
a 1/8″ (3 mm) door clearance.
CLEARANCES
The leveling legs have 3 purposes:
■
Leveling legs adjust so the doors close on their own
when opened about 45.°
■
Leveling legs adjust so the refrigerator is firmly
positioned on the floor and does not wobble.
■
To easily move the refrigerator, raise the leveling legs
until the unit is supported by the rollers.
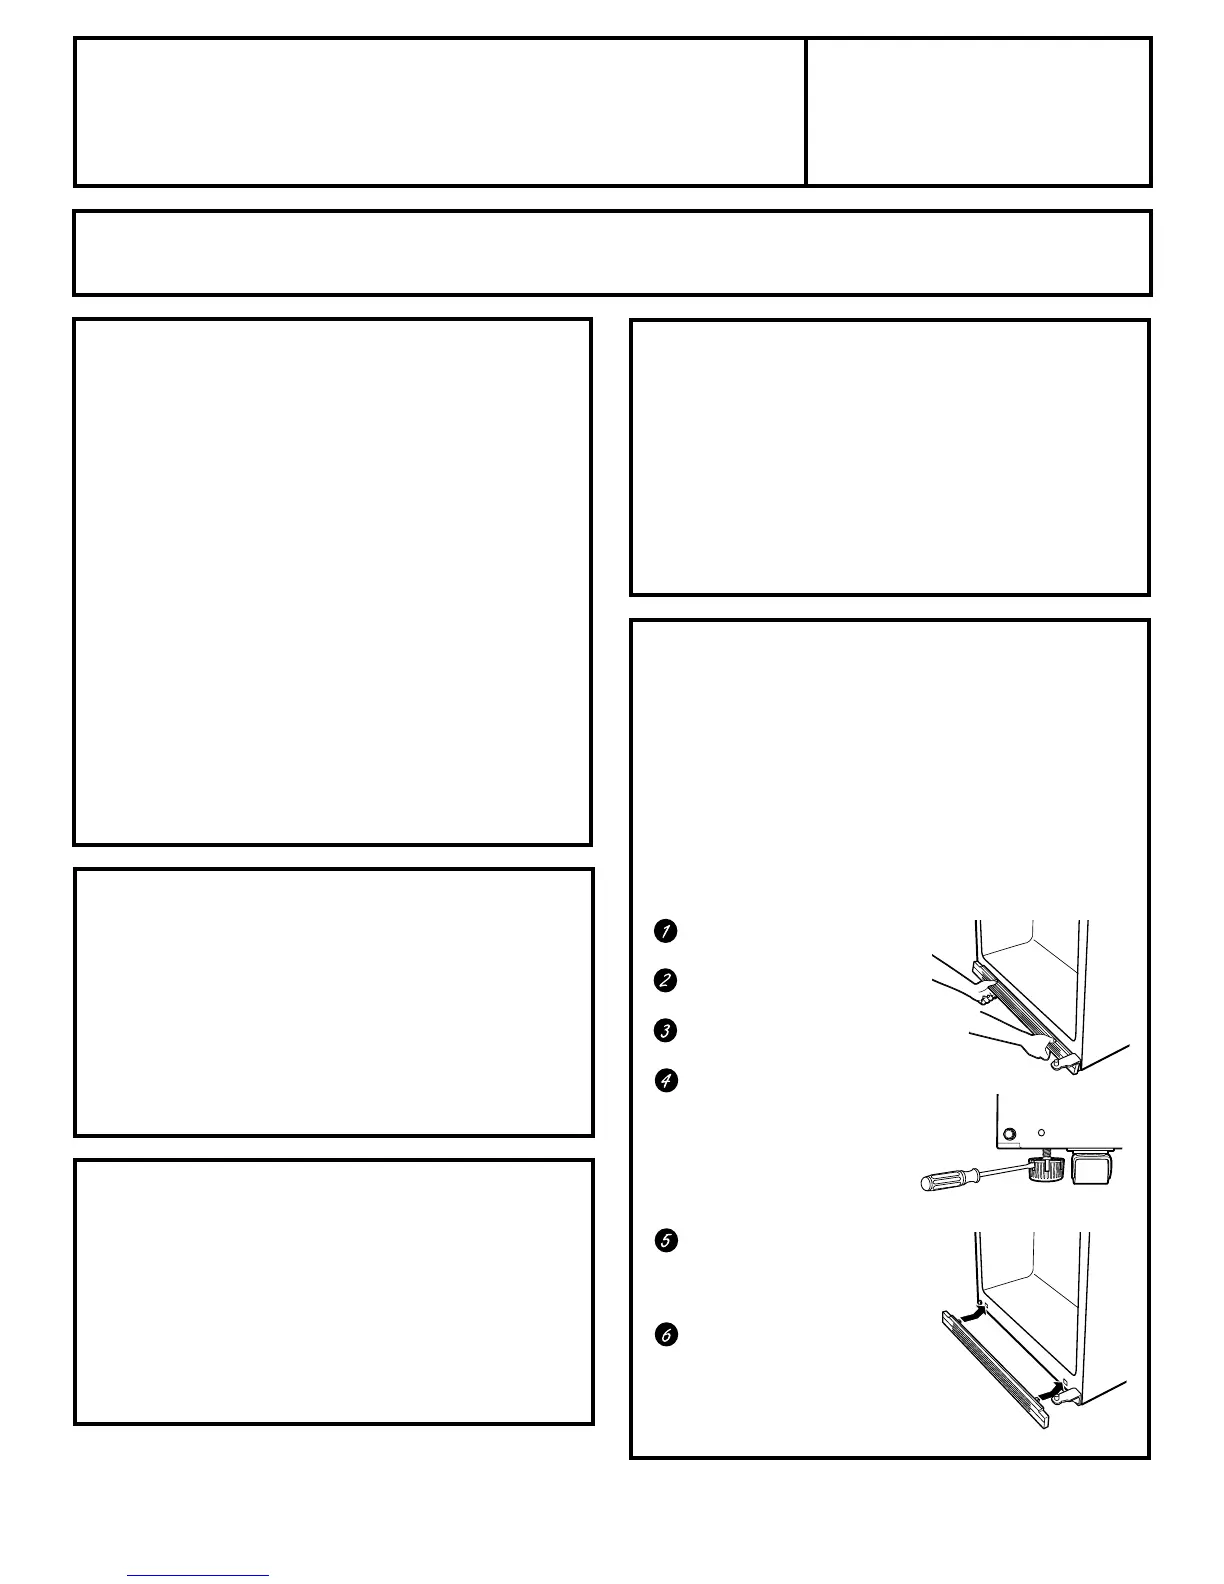
To adjust the leveling legs:
Remove the base grille by
positioning hands as shown.
Pull the grille straight out
until the clips snap out.
Pull the grille away from
the refrigerator.
Insert a flat blade
screwdriver into the slots
on the leveling leg and
turn clockwise to raise
the refrigerator,
counterclockwise
to lower it.
Replace the grille so the
notch in the grille will fit
around the bottom door
hinge.
Line up the clips on the
grille with the openings on
the refrigerator and push
into place.
LEVELING LEGS
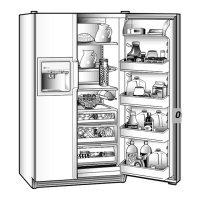
If the refrigerator has an icemaker, it will have to be
connected to a cold water line. A GE water supply kit
(containing tubing, shutoff valve, fittings and
instructions) is available at extra cost from your dealer,
by visiting our Website at www.GEAppliances.com (in
Canada at www.geappliances.ca) or from Parts and
Accessories, 800.626.2002 (in Canada 1.888.261.3055).
WATER SUPPLY TO THE ICEMAKER
(ON SOME MODELS)
Questions? Call 800.GE.CARES (800.432.2737) or Visit our Website at: www.GEAppliances.com
In Canada, call 1.800.361.3400
or Visit our Website at: www.geappliances.ca
 Loading...