24 49-60646 Rev. 7
Installation Instructions
MOVING THE REFRIGERATOR (Cont.)
REMOVE THE REFRIGERATOR
DOOR (Cont.)
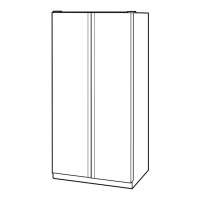
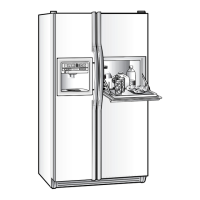
Lift the refrigerator door up and off the bottom
hinge.
,IWKHUHIULJHUDWRUKDVDUHIUHVKPHQWFHQWHURQH
person should slowly lift the door up and off the
bottom hinge and the second person should
carefully guide the electrical lines (harnesses)
through the bottom hinge.
Set the door on a non-scratching surface with
the inside up.
8
90°
Refreshment Center Models only
'
E
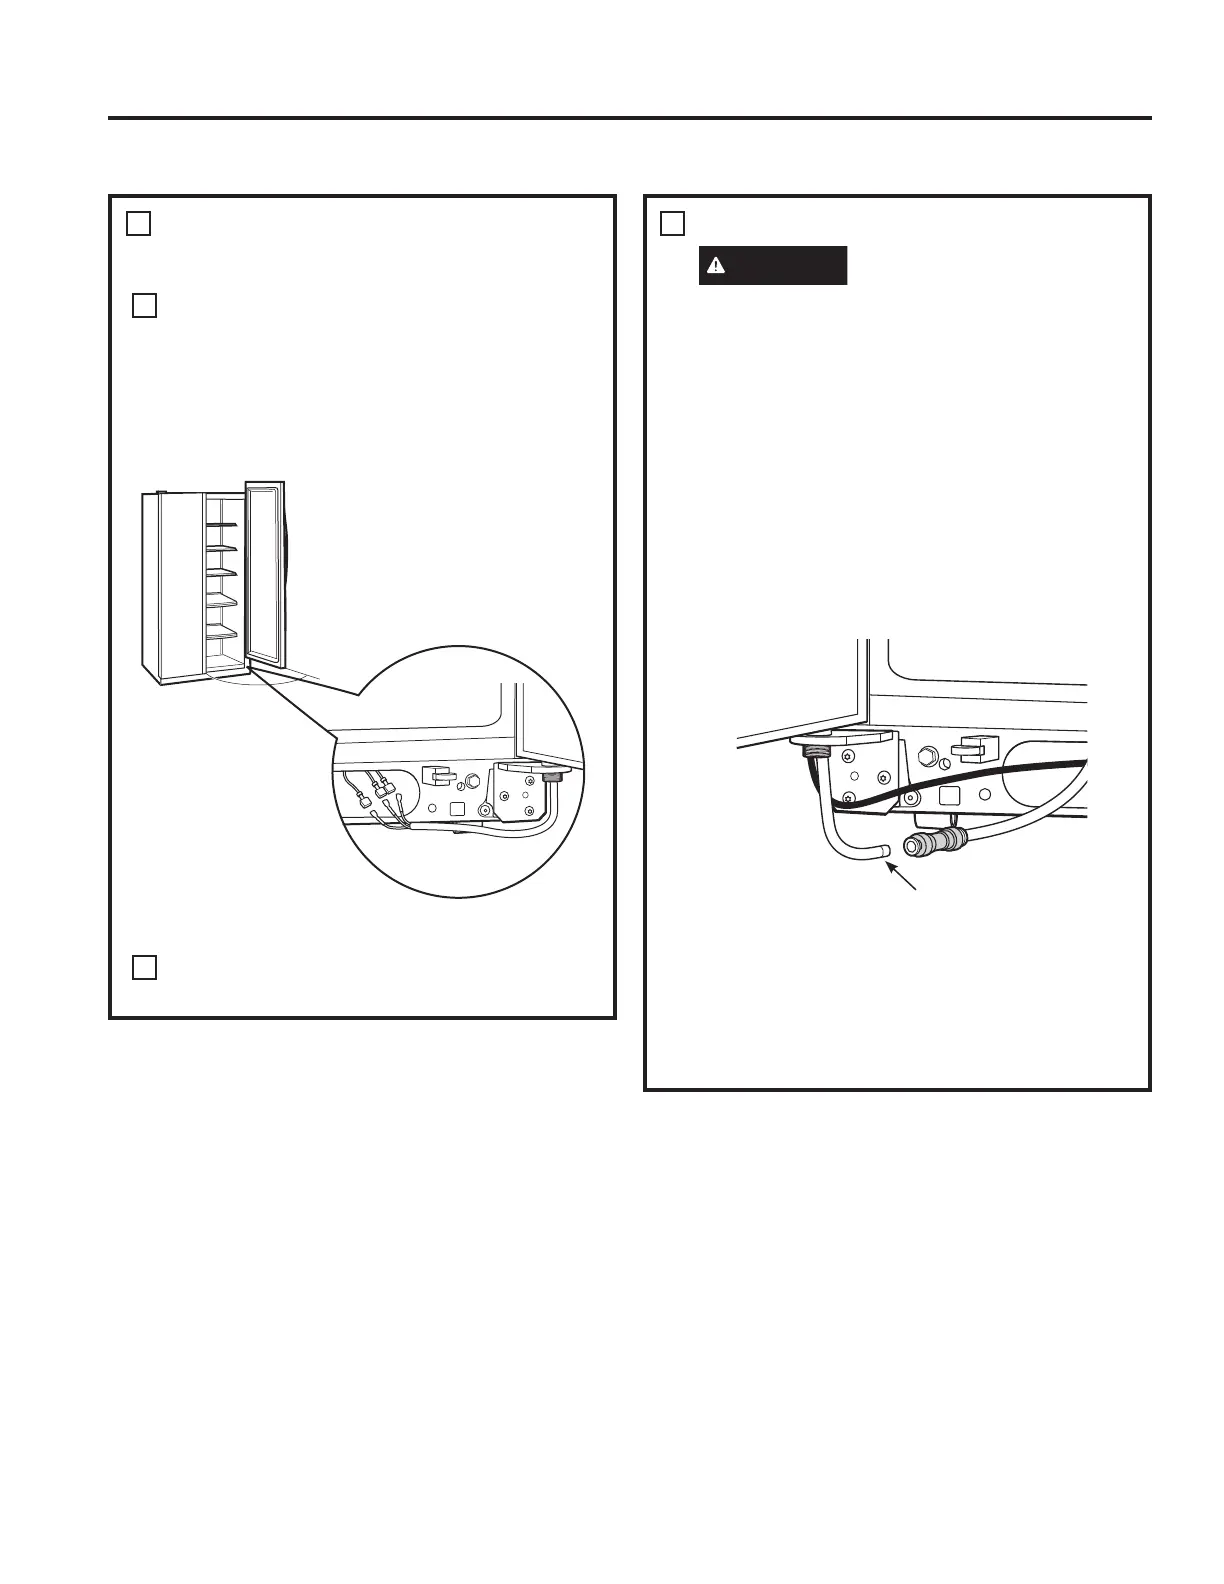
REPLACING THE DOORS
WARNING
)ROORZDOOVWHSVIRUUHPRYLQJ
DQGUHLQVWDOOLQJWKHGRRU)DLOXUHWRIROORZWKHVH
instructions, leaving off parts, or overtightening
screws, can lead to the door falling off and result
in injury and property damage.
To replace the doors, simply reverse steps 3
through 8.
However, please note the following:
• When lowering the doors onto the bottom
hinges, make sure the second person carefully
guides the tube and harnesses through the
holes in the hinges.
• When connecting the water line, make sure
you insert the tubing all the way to the mark.
'RQRWSLQFKWKHWXELQJDQGKDUQHVVHVZKHQ
placing the doors on the bottom hinges.
• When connecting the power line and the
electrical lines (refreshment center models
only), be sure that the connectors are seated
together fully.
9
Mark
INSTALLATION INSTRUCTIONS
 Loading...