17
1
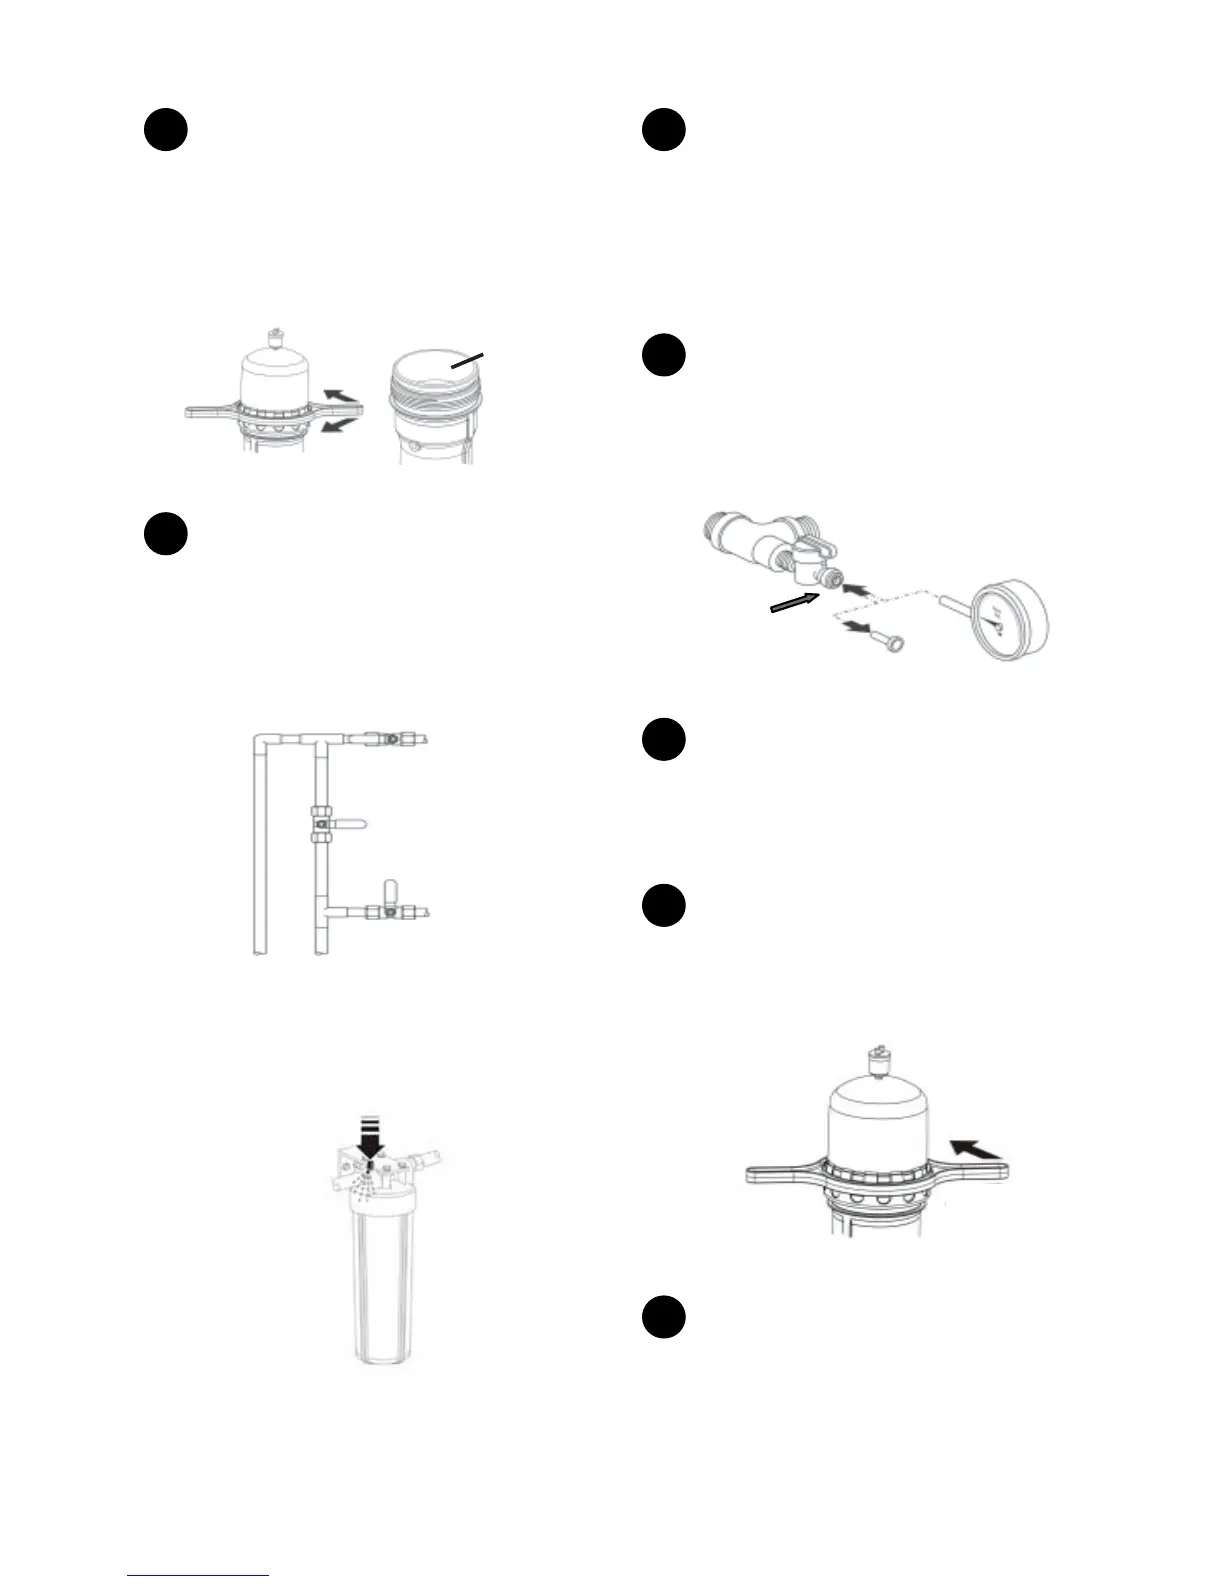
Remove the system cap and remove the internal
prelter. Place the internal prelter in a clean, dry area. Ensure
that the thimble lter is seated properly. Replace the system
cap and tighten as described above.
For models with a stainless steel prelter, a carbon prelter
may be purchased separately if desired.
Make sure vent valve is loose (1-1/2 turns).
Open
Close
Internal
Prefilter cavity
Figure 20
2
Slowly open the inlet valve half way, allowing water into
the system. Avoid opening the inlet valve quickly as this will
introduce air pockets that will take longer to escape. Keep the
outlet valve closed. Check for any leaks in the plumbing. If
present, close the inlet valve immediately and repair. As
pressure builds in the system air will begin to escape from the
air relief valve. Once air is no longer passing through the air
relief valve, the system is pressurized.
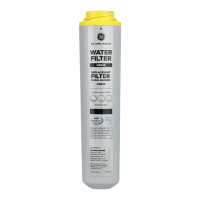
Inlet valve
Outlet valve
Figure 21
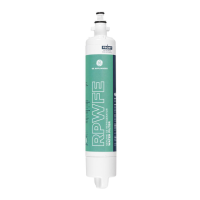
If an external prelter is installed, depress the red button on
the external prelter head to allow air to escape from the
external prelter housing. Once water emerges from the
button, all air has been removed.
Figure 22
3
Using the controller, initiate a manual ush sequence.
Refer to the instructions in the Controller Functions section on
how to perform a manual ush sequence. Following the
manual ush, open a cold water tap that is downstream of the
system. Allow water to ow for 15 minutes. The system
requires a 15-minute ush to remove the food-grade factory
preservative.
Cleaning
1
Ensure that the two mini ball valves are closed (to close,
turn the handle perpendicular to the plug/hose end). Remove
the plug from the two mini ball valves by depressing the lock
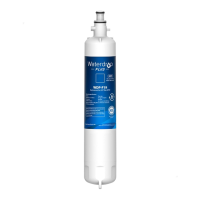
ring and pulling on the plug. Insert a pressure gauge from the
integrity test kit into the inlet mini ball valve, open valve and
observe system pressure.
The valve is OPEN when
handle is in the position
shown
lock
ring
Figure 23
2
Close the inlet and outlet valves, leaving the inlet mini
ball valve open. Using the controller, initiate a manual ush
sequence to bring system pressure to zero. Refer to the
instructions in the Controller Functions section under on how
to perform a manual ush sequence. Once the pressure gauge
registers zero pressure, stop the manual ush immediately.
3
Remove the system cap using the cap wrench. The
water level should be at least 2" above the internal prelter
spigot.
If the water level is below 2", open the inlet valve slowly to
raise the water level.
Figure 24
4
With the internal prelter still removed, pour 2 cups
(500 ml) of 5 - 6% unscented household chlorine bleach
(Clorox) OR 1 cup (250 ml) of 12% chlorine bleach into the
prelter cavity. Replace the system cap. Slowly open the inlet
valve to pressurize the system. Let stand for 15 minutes.