10
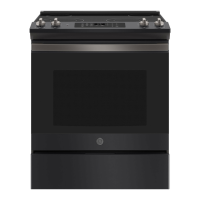
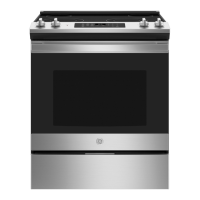
Installation Instructions
Installing the Range (Cont.)
E
E9
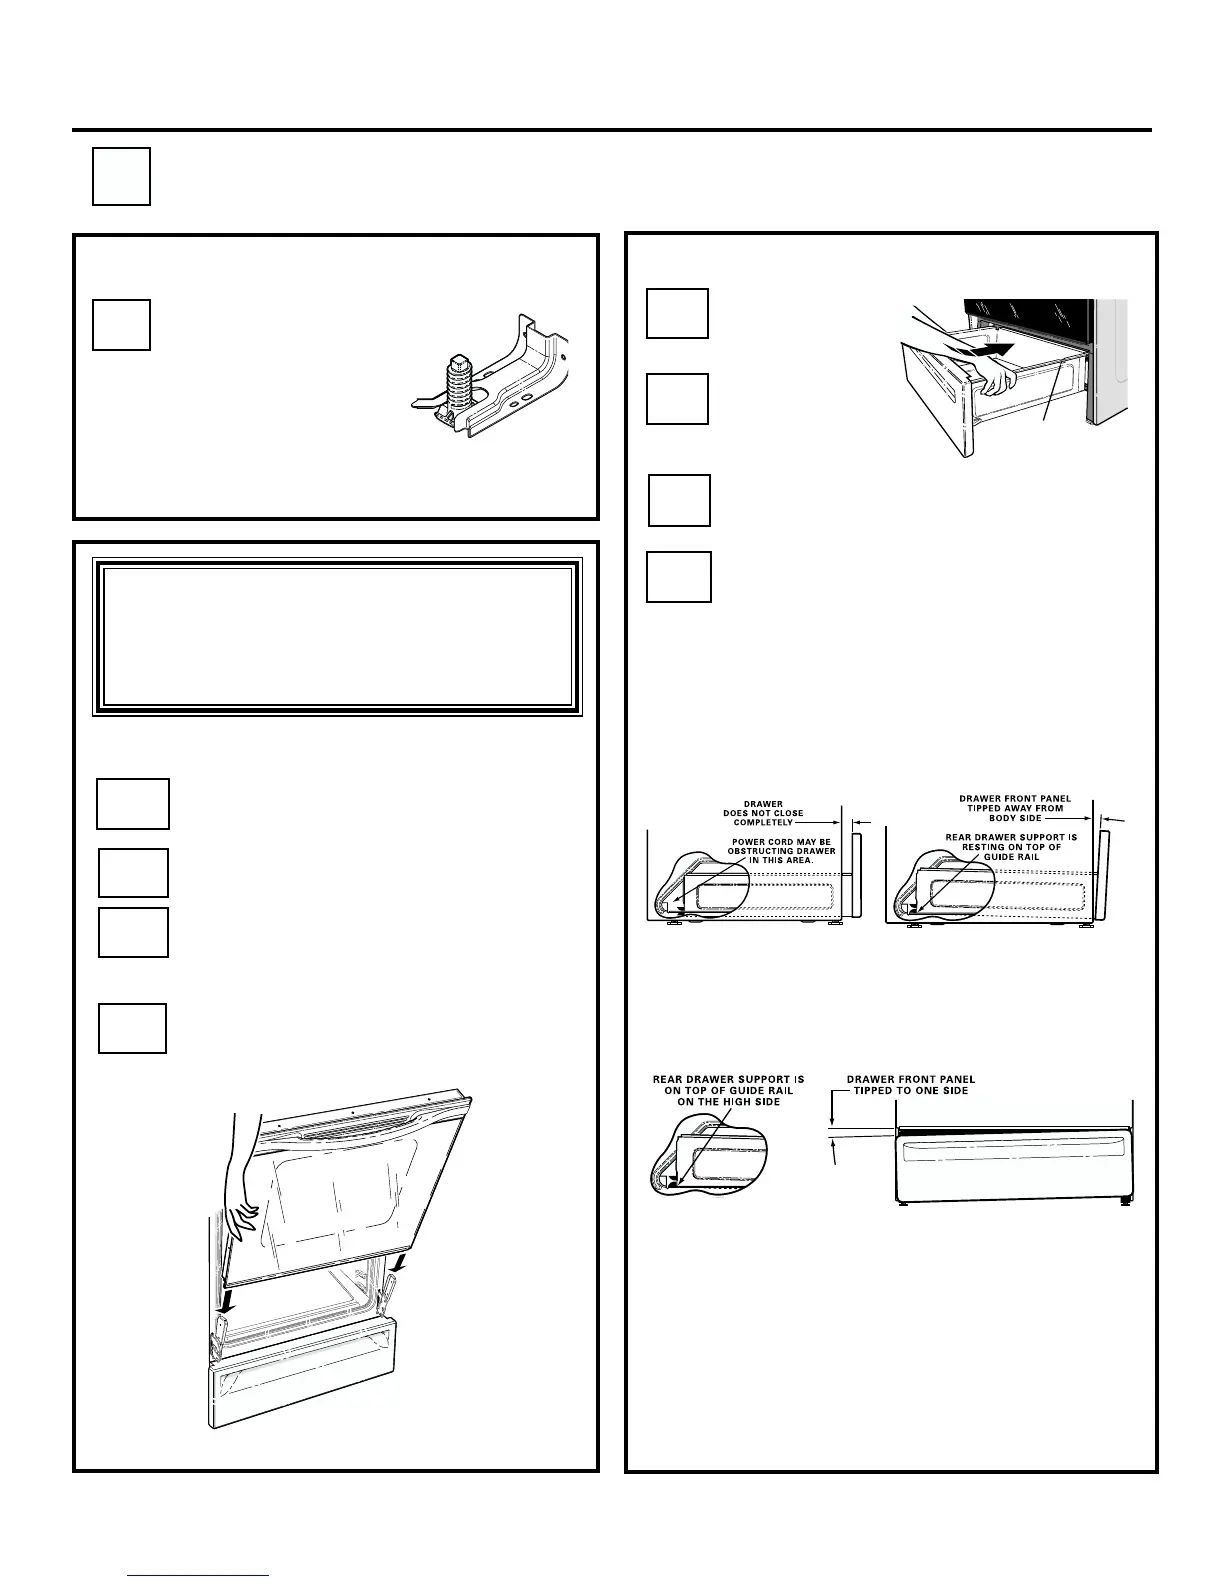
When installation is
complete and the
range is in place,
inspect to be sure
the rear leveling leg
is fully inserted into
the slot of the Anti-
Tip Bracket.
Final Check of the Anti-Tip Bracket
E10
Make sure the hinge is in the broil
stop position.
Grasp the door on both sides.
Lift the door over the hinges lining up
the hinges with the hinge slots on the
bottom of the door.
Slide the door down onto the hinges
as far as it will go and close the door.
E11
E12
E13
CAUTION: The oven door is heavy.
You may need help lifting the door
high enough to slide it down onto
the hinges. Do not lift the door by
the handle.
Replacing the Oven Door
Place the
drawer rail on
the guides.
Replacing the Storage Drawer
E14
Push the
drawer in until
it stops.
E15
Lift the front of the drawer and push in
until the stops clear the guides.
IF DRAWER WON'T CLOSE
Remove and replace, making sure the power
cord is not obstructing the drawer and/or the
rail is in the guide.
IF DRAWER IS CROOKED
Lower the front of the drawer and
push in until it closes.
Remove and replace making sure the rail is in
the guide.
SPECIAL INSTRUCTIONS IF YOU
HAVE PROBLEMS WHILE
REPLACING THE STORAGE
DRAWER
E17
Stop
E16
 Loading...