r—
BRO~ING
Do
not lock the oven door
with
the latch while
broiling. The latch is used for self-cleaning only.
NOTE: The oven has controls for the upper oven
and the lower oven. Be sure to set the correct
control. Pads on the left side of the panel are for
the upper oven. Pads on the right side of the panel
are for the lower oven. The TIMER ON/OFF,
COOK TIME, STOP TIME, INCREASE and
DECREASE pads can be used for either oven.
Broiling
is
cooking food by intense radiant heat from
the upper broil element in the oven. You can broil in
upper or lower oven. Most fish and tender cuts of
meat can be broiled.
Follow
these directions to keep
spattering and smoking to a minimum.
Turn the food only once during broiling. Time the
foods for the first side according to the Broiling Guide
Turn
the food, then use the times given for the second
side as
a
guide to the preferred doneness.
1.
If the meat has fat or gristle around the edge,
cut vertical slashes through both about
2“
apart.
If desired, the fat may be trimmed, leaving a layer
about 1/8” thick.
2. Place the meat on the broiler rack in the broiler pan.
Always use the rack so the fat drips into the broiler
pan; otherwise the juices may become hot enough
to catch on fire.
3. Position the shelf on the recommended shelf
position as suggested in the Broiling Guide.
Most broiling is done on C position,
but if your
oven is connected to 208 volts, you may wish to
use a higher position.
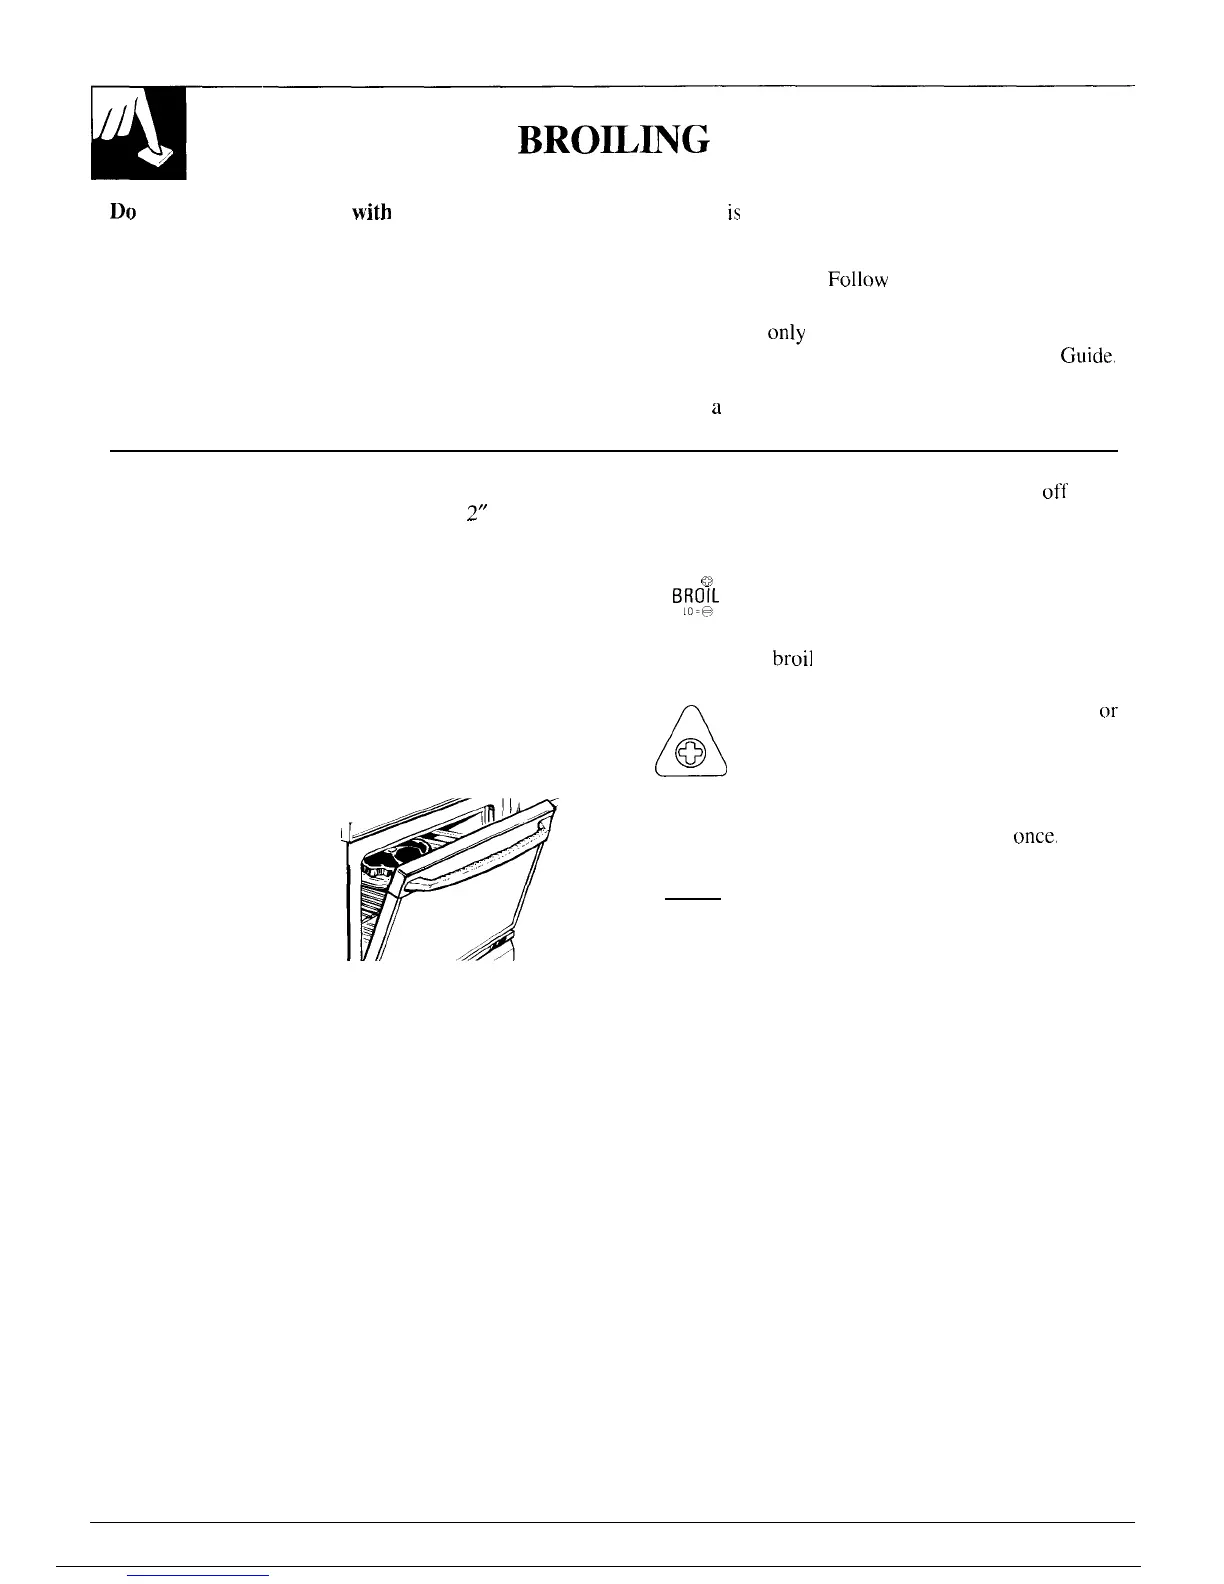
4. Leave the door open
to the broil stop
position.
The door
stays open by itself,
yet the proper
temperature is
maintained in the oven.
NOTE:
A fan may automatically turn on and off to
cool internal parts. This is normal and the fan may
continue to run even after the oven is turned off.
❑
5. Press the BROIL pad.
HI
Q>
BfiOJL
A-
NOTE:
If the
broil
pad does not work, the probe
might be connected. Remove the probe.
A
6. Press the INCREASE pad for HI Broil
or
@
press the DECREASE pad for LO Broil.
To change from HI Broil to LO Broil, press the
BROIL pad then tap the DECREASE pad
once.
o
7. When broiling is finished, press the
CLEAR
CLEAR/OFF pad. Serve the food
OFF
immediately, and leave the pan outside
the oven to cool during the meal
for
easiest cleaning.
20