4 49-1000499 Rev. 2
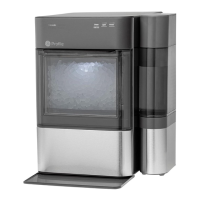
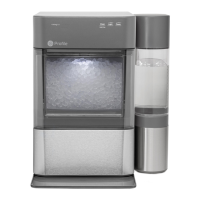
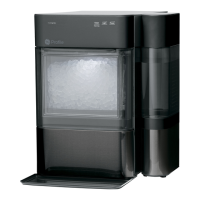
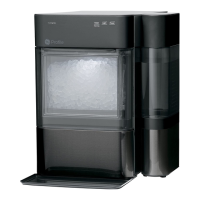
Side Tank Accessory
6. Continued.
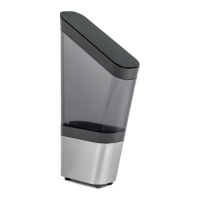
7. Remove Opal Side Tank’s clear reservoir from its base.
8. Unscrew Opal Side Tank’s cap from the reservoir. Fill the clear reservoir with water.
9. Replace Opal Side Tank’s cap. Ensure the cap is clean when installing.
10. Carefully flip over Opal Side Tank’s reservoir and place in the base. Water should start flowing into the Opal
Nugget Ice Maker and bubbles in the Opal Side Tank will appear periodically during the time water is flowing to the
ice maker.
NOTE: If water does not appear to flow into the ice maker, please check for the following:
- There may be bubbles in tube (B) connecting the Side Tank to the Opal.
- Tube (B) is not lying flat.
If either of the above issues are present, adjust tube (B) to allow the water to flow.
11. Fill Opal Nugget Ice Maker’s reservoir (if desired).
12. Plug in Opal Nugget Ice Maker, and begin making ice.
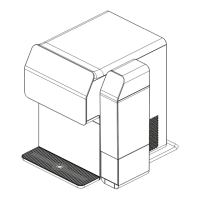
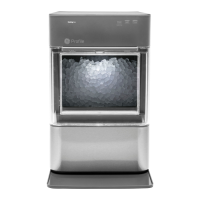
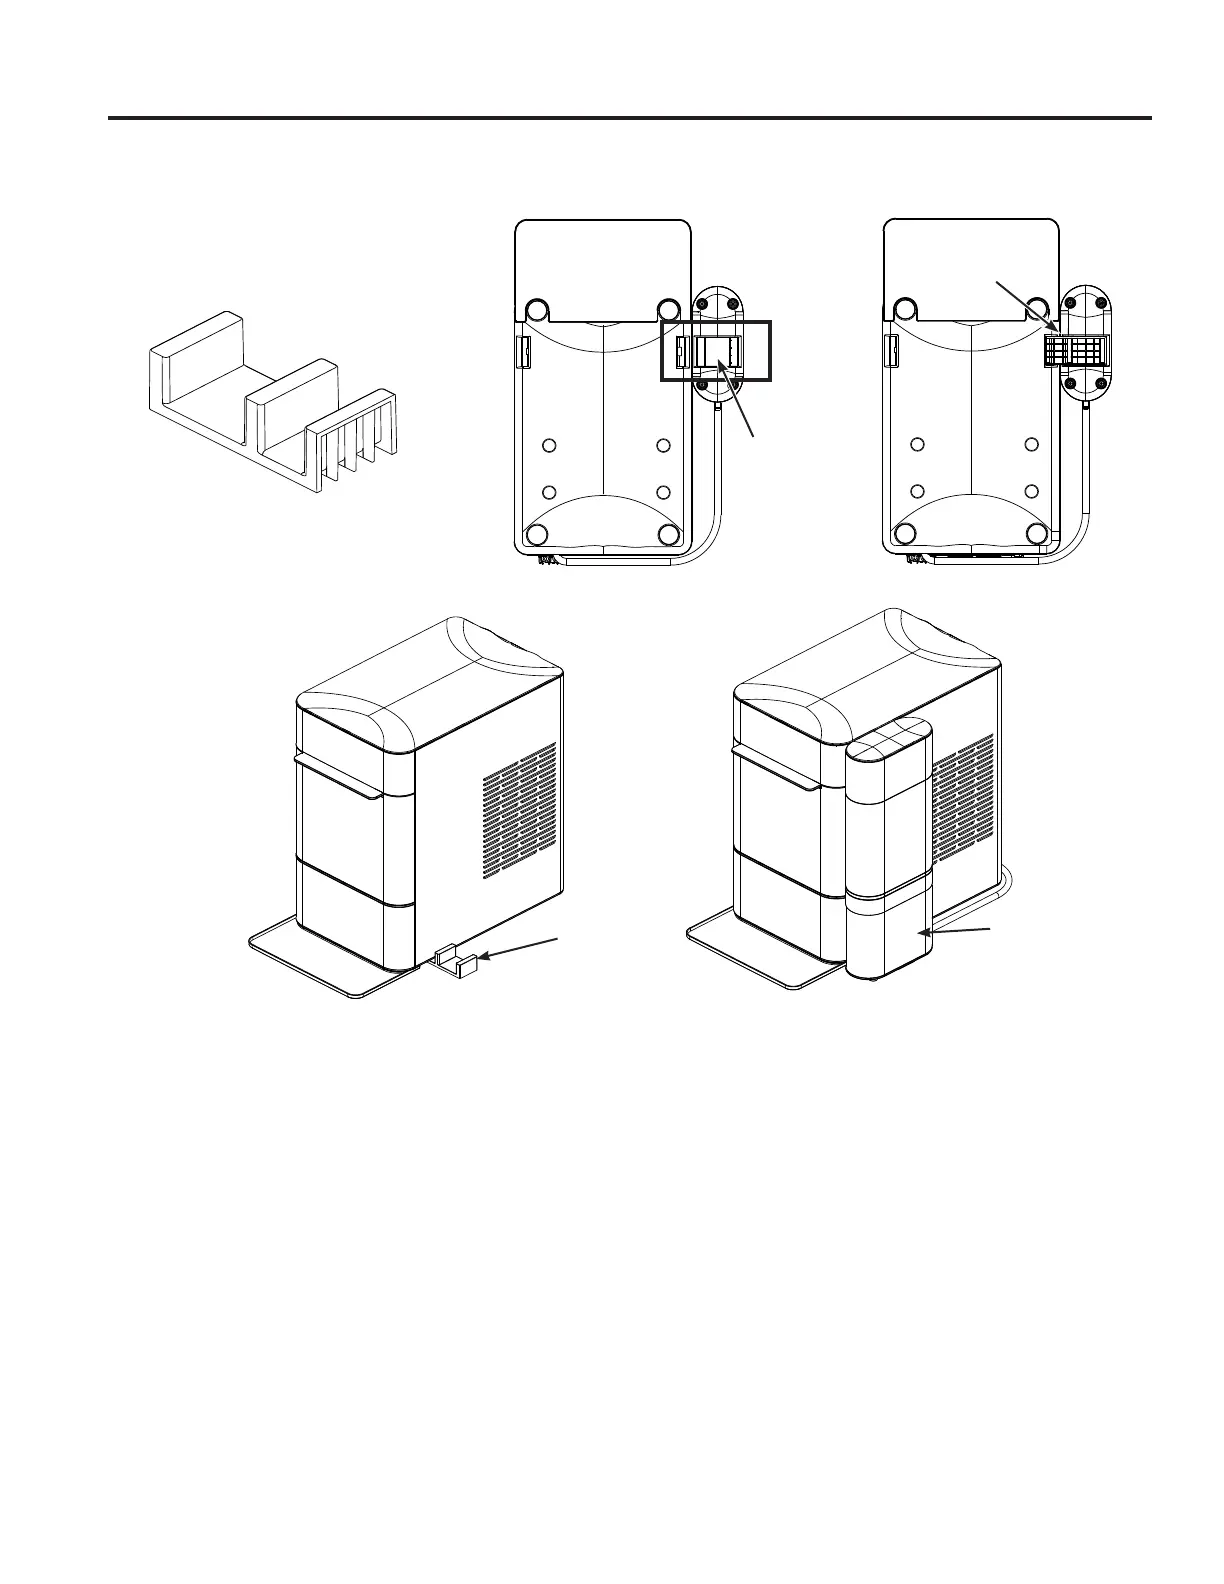
Side tank clip
Bottom view Bottom view
Side tank
clip area
Side tank clip
Side tank clip
Side tank
 Loading...