GEK-98834B
22
7ULS/HYHO7HVWLQJ
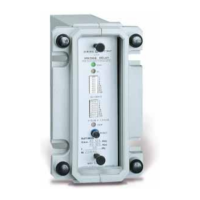
Once the connections indicated in figure 10 are performed, (for a single phase relay
connect the measuring voltage to terminals A2 and B2) connect the auxiliary power
supply and set the relay for instantaneous trip.
Depending on the relay model (single phase, three phase, undervoltage or
overvoltage) connect the X and Y terminals to the corresponding phases in accordance
with figure 10. Vary the alternating voltage and check that the relay trips in accordance
with the values in table 1.
In the same way, check that when the relay trips the TRIP indicator is lit and remains lit
once the cause for fault disappears. Press the RESET button and check that the TRIP LED
is turned off.
TABLE 1
Range 20 to 275
SWITCHES TO RIGHT (SW1) Umin (VAC) Umax (VAC)
8 (top) 19.95 22.05
7 20.9 23.1
6 22.8 25.2
5 26.6 29.4
4 34.2 37.8
3 49.4 54.6
2 79.8 88.2
1 140.6 155.4
Range 50 to 305
SWITCHES TO RIGHT (SW1) Umin (VAC) Umax (VAC)
8 (top) 48.45 53.55
7 49.4 54.6
6 51.3 56.7
5 55.1 60.9
4 62.7 69.3
3 77.9 86.1
2 108.3 119.7
1 169.1 186.9
Range 3 to 66
SWITCHES TO RIGHT (SW1) Umin (VAC) Umax (VAC)
6 (top) 3.8 4.2
5 4.75 5.25
4 6.65 7.35
3 10.45 11.55
2 18.05 19.95
1 33.25 36.75