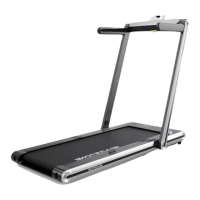
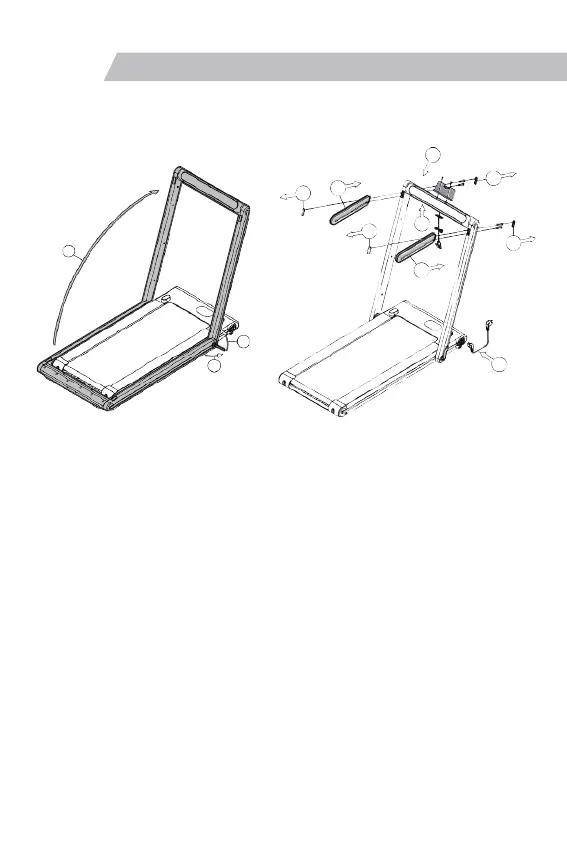
1. Take the host out of the packing box and lay it flat on the carpet or cushion as shown
in the figure. As shown in step ① in the above left figure, open the "folding handle" in
the direction shown in the figure, and the lower end of the stand pipe will naturally face
Expand both sides; as shown in step ② in the upper left figure, lift the riser up to the
upper limit position; as shown in step ③ in the upper left figure, press down the
"folding handle" to lock the riser.
2. As shown in step ④ in the upper right picture, fix the "mobile phone holder" to the
riser beam with 2 "ST4.2X22 cross recessed countersunk head tapping screws"; as
shown in step ⑤ in the upper right picture, cut out 4 "Square rubber plug"; as shown in
step ⑥ in the above right figure, insert the left and right armrests into the
corresponding positions, and respectively pass 2 "M8X45 hexagon socket pan head
screws" through the standpipe and lock them in the corresponding screw holes of the
armrests, Then put the 2 "square rubber plugs" back into the square hole before, and
keep the remaining 2 "square rubber plugs" by yourself; as shown in step ⑦ on the
right figure above, suck the " safety lock" under the riser beam Corresponding position;
as shown in step ⑧ in the upper right figure, insert the power cord into the power
switch socket, and the installation is complete.
Note: After the machine is assembled, please check again whether all bolts have
been locked.
Installation steps
06 Installation Steps
4
5
5
6
7
5
5
2
6
3
1
8
 Loading...