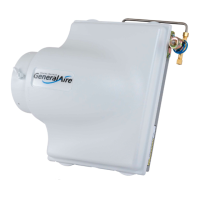
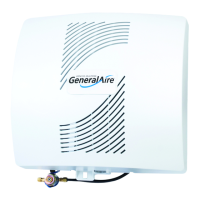
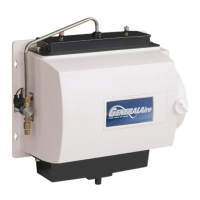
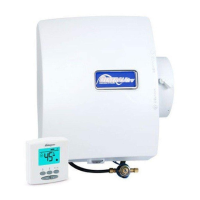
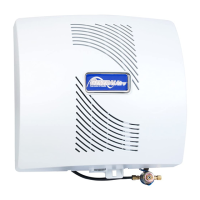
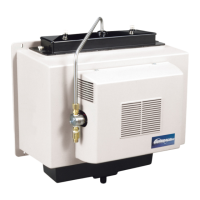
Evaporative Models: 3200, 4200, 1042LH, 1099LHS
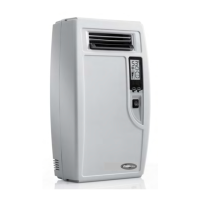
Fan-Powered Models: 1000, 1137
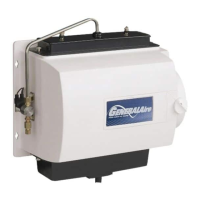
Performing Maintenance on Your 1137 and 1042LH
IMPORTANT: Unplug your humifier prior to performing maintenance.
1. Unscrew the two thumbscrews at the bottom of the unit, holding onto the bottom drain pan. The drain pan and Vapor Pad
assembly will release through the bottom of the humidifier.
2. Slide the old Vapor Pad
®
out of the drain pan.
3. Remove any visible sediment with a combination of water and vinegar. Do not use harsh chemicals or abrasive materials.
4. Insert a new Vapor Pad
®
with the black spot on top and insert through the bottom of the humidifier.
5. Return the drain pan to the bottom of the humidifier.
6. Return / screw in the thumbscrews.
7. Check the water distribution tube at the top of the humidifier to ensure that it is firmly seated.
8. Turn the humidistat to desired setting.
9. Test the unit to ensure water is flowing through the solenoid valve and the humidifier is producing humidity.
43800 Grand River Avenue Novi, Michigan 48375 Toll Free: (866) 476-5101 www.generalaire.com
®
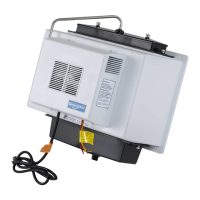
Performing Maintenance on Your 3200, 4200, 1000, and 1099LHS
IMPORTANT: 1000 Series Only - Unplug your humifier prior to performing maintenance.
1. Pull the tabs at the bottom of the cover towards you (away from the humidifier) and lift the cover off the top tabs.
(1000 humidifier only: Keep in mind the motor assembly is housed within the cover, so it will carry a little weight.)
2. Remove the entire Vapor Pad
®
assembly by pulling the tab at the top of the frame towards you, and then lifting the
assembly out of the drain at the bottom.
3. Pull the distribution tray on the top of the frame off the assembly and slide the old Vapor Pad
®
out of the frame. Discard.
4. Remove any visible sediment from any portion of the frame with a combination of water and vinegar. Do not use harsh
chemicals or abrasive materials.
5. Insert a new Vapor Pad
®
with the black spot on top and replace the distribution trough to the top of the assembly.
6. Insert the entire assembly first at the bottom and then press the top in place until you hear a click.
7. Return the cover.
8. Turn the damper to winter (open position).
9. Restore power to the unit.
10. Turn the humidistat to desired setting.
11. Test the unit to ensure water is flowing through the solenoid valve and the humidifier is producing humidity.
Owner’s Manual
GeneralAire
®
Evaporative & Fan-Powered Humidifiers
1099LHS
1042LH
1000
3200
4200
1137