Do you have a question about the GeneralAire 1042 Series and is the answer not in the manual?
Fill out and mail the guarantee card after installation completion.
Installer must be experienced; disconnect electrical power before starting.
Avoid areas below 32°F or above 200°F plenum temperatures.
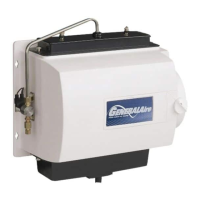
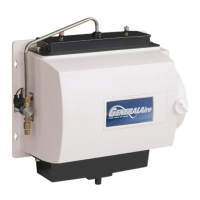
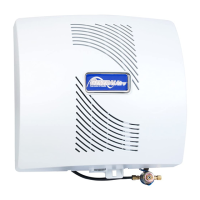
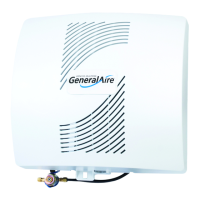
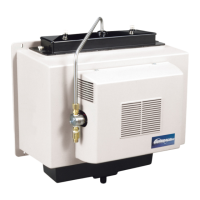
Mount on warm or return air plenum; invert cabinet for side orientation.
List of materials like tubing, pipe, wire, and air pressure switch.
Choose a vertical surface on the air plenum and use the template.
Center punch and drill side holes, insert screws for initial hanging.
Install drain pan, evaporator pad, and distributor trough.
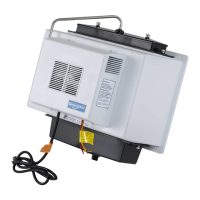
Hang humidifier and tighten all mounting screws.
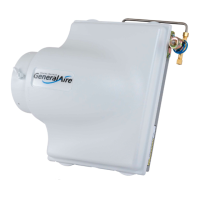
Install connecting collar and secure bypass pipe to the cabinet.
Mount saddle valve on water pipe and connect 1/4" tubing.
Use appropriate fittings for copper or plastic tubing, avoid hot surfaces.
Step-by-step instructions for installing saddle valve on copper pipe.
Instructions for installing saddle valve on steel, brass, or hard plastic pipe.
Steps for installing valve into threaded pipe fittings.
Attach solenoid valve, connect water supply tube, and distributor tube.
Refer to Humidistat instructions for electrical connections.
Attach 5/8" hose to humidifier, run to drain with proper slope.
Verify water flow, solenoid valve function with furnace operation.
Discusses orifice options for different water pressures (3.5 GPH at 60 psi).
Lists all parts of the humidifier with their corresponding numbers.
One-year warranty for defects, excluding evaporator pads.
Instructions for sending defective parts to the manufacturer.
Steps for cleaning humidifier after the heating season.
Clean components with a vinegar-water solution.
Replace pad if it has excessive mineral deposits.
Clean the solenoid valve strainer screen from mineral buildup.
Turn off water and power, close air damper for summer.
Uses furnace heat to evaporate water from the pad.
Solenoid valve controlled by humidistat; water filtered and metered.
Minerals remain on the pad and are washed away with waste water.
Avoid high humidity to prevent condensation; refer to humidistat manual.
Register online at www.generalaire.com.
Fill out and mail the warranty card to the manufacturer.
Liste des pièces de l'humidificateur avec numéros de référence.
Garantie d'un an contre les défauts de matériaux et de fabrication.
Exclut les blocs évaporateurs; limite les garanties implicites.
Nettoyer l'humidificateur à la fin de chaque saison froide.
Utiliser une solution de vinaigre et d'eau pour nettoyer les dépôts.
Remplacer le tampon s'il présente des dépôts minéraux excessifs.
Nettoyer le filtre à tamis du raccord de l'orifice.
Couper l'alimentation en eau et électricité, fermer l'amortisseur d'air.
Utilise la chaleur de la fournaise pour évaporer l'eau.
Électrovanne contrôlée par l'humidistat; eau filtrée et mesurée.
Les minéraux restent sur le tampon et sont évacués avec les eaux usées.
Éviter une humidité trop élevée pour prévenir la condensation.
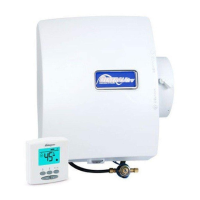
| Capacity | 18 Gallons per Day |
|---|---|
| Voltage | 24V |
| Type | Flow-through |
| Coverage Area | Up to 3, 000 square feet |
| Mounting Location | HVAC Duct |
| Water Supply Connection | 1/4 inch copper tubing |
| Drain Connection | 1/2 inch drain hose |