Variant 1
1. Move the Slide Switch in the middle position / DIP
SW 1 & 2 in the position OFF.
2. Connect the LAN port of the CS141 directly with
an Ethernet Cross Cable to the PC / workstation.
Important:
It is recommended to set the PC to the same network
segment, for example 10.10.10.11 AND for the
Gateway 10.10.10.11 .
Variant 2
1. Move the Slide Switch in the middle position / DIP
SW 1 & 2 in the position OFF.
2. Connect the PC with a Switch or Hub and two
Network Cables on the LAN port of the device.
External Version
Connect the UPS with the original UPS cable to the
COM1 port of the CS141.
Slot Version
Put the device into the slot interface of the UPS.
For the installation of the UPS, have a look into the
User Manual which is part of the documentation CD
or could be downloaded from the homepage of your
UPS manufacturer.
All UPS functions and the usage of flexible events
etc. are described in the CS141 User Manual!
2. Connect device to the UPS
IP 10.10.10.10
DIP Switch 1+2 = off
Slide Switch „middle“
IP: 10.10.10.11
Subnet: 255.255.255
Gateway: 10.10.10.11
Ethernet
cross
cable
Ethernet
cables
IP: <Your IP Address>
Gateway: <Your Gateway>
IP 10.10.10.10
DIP Switch 1+2 = off
Slide Switch „middle“
Hub/Switch
Power Supply
3. Connect the CS141 to the power supply
External Version
Connect the CS141 to the provided power supply.
Slot Version
The CS141 slot devices are supplied via the slot
interface of the device. It is always possible to insert
or remove the CS141 without damaging the UPS. To
interrupt the power supply, remove the device from
the slot and insert it again.
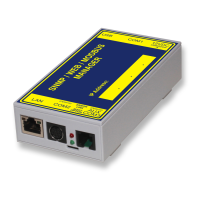
English
Installation/Network Integration of a CS141
1. Enabling of configuration mode
 Loading...