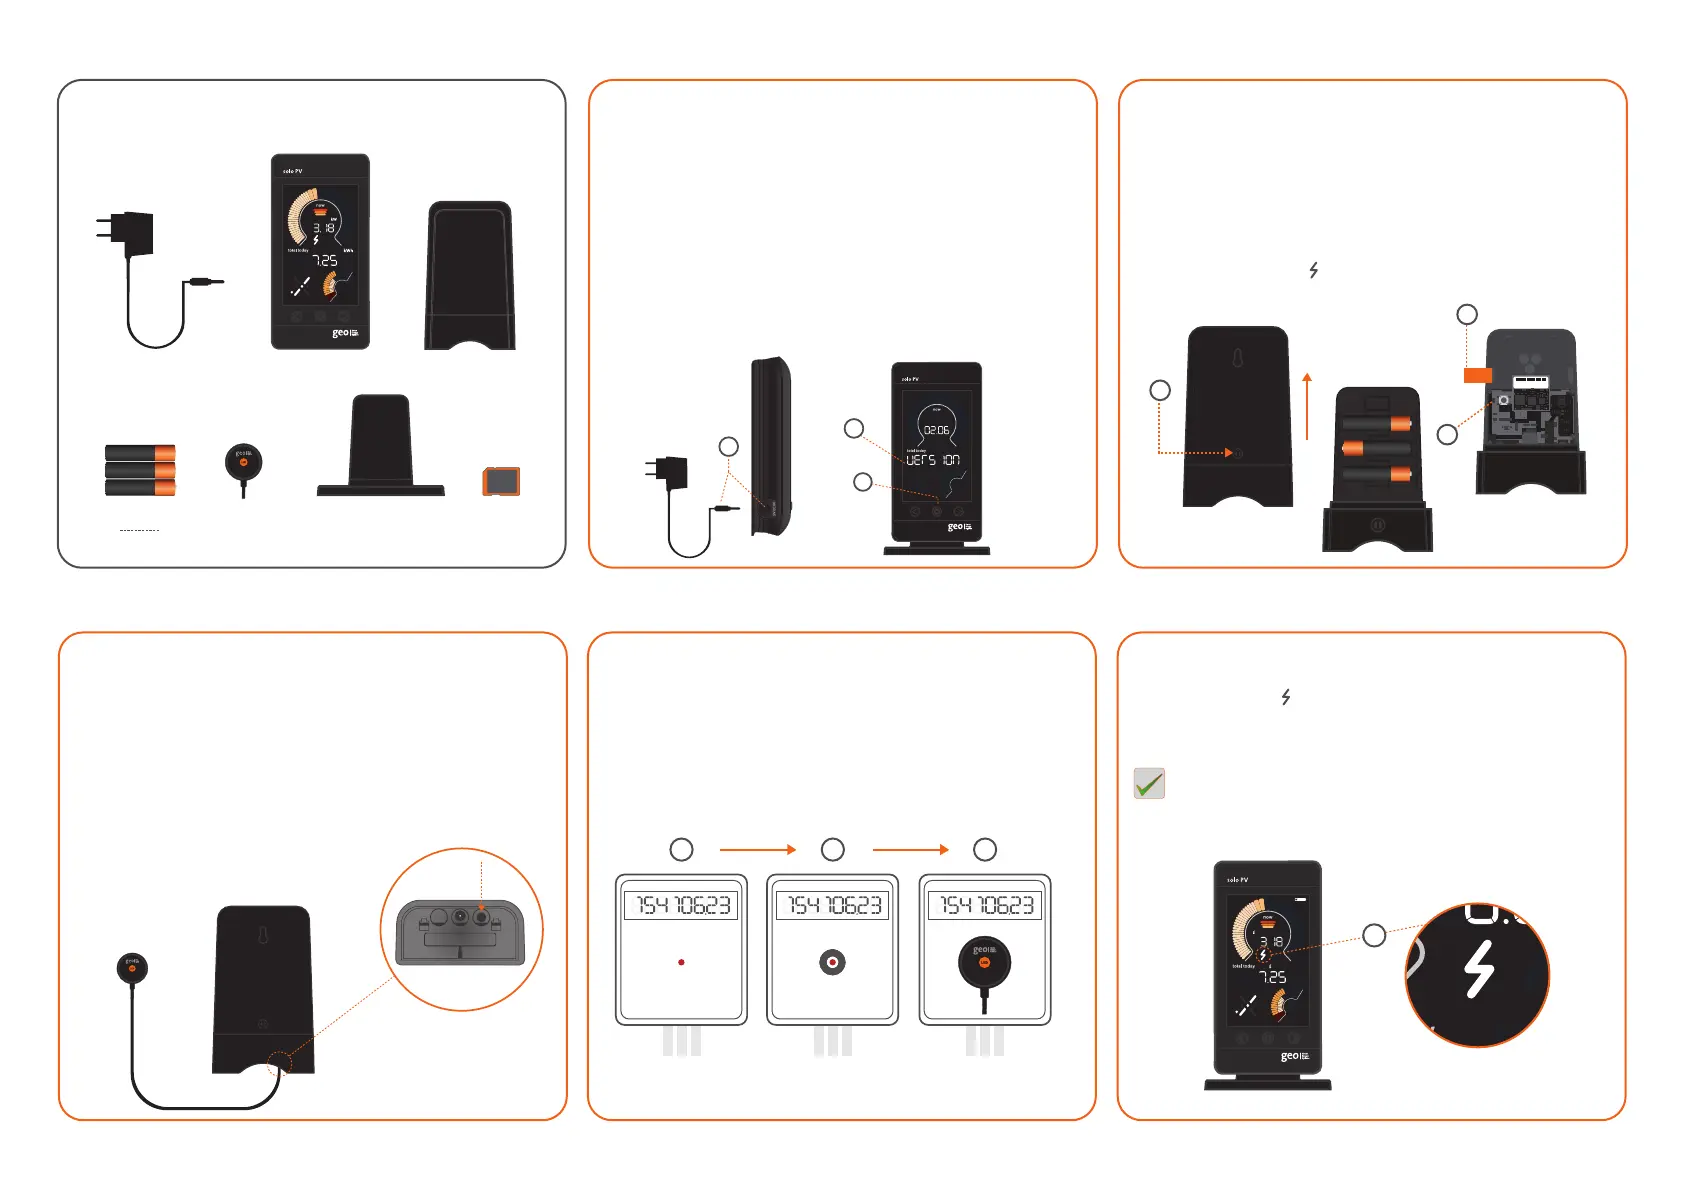
Step 3 – LED Reader & Transmitter
1. Ensure the LED Reader is firmly connected to the
Transmitter, sometimes requiring a second push to make
a good connection.
2. The connection can be tested by using a light (e.g. torch) to
check that the LED Reader is working correctly. This is done
by flashing it at the velcro connected side of the LED Reader
and looking at the Display for readings.
AA BATTERIES
(in Transmier)
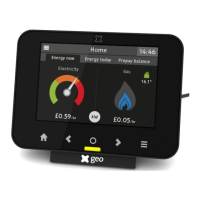
Step 5 – Final placement of the Display
1. Check that the is still on and not flashing, this shows that
the Display is within range of the Transmitter.
Congratulations, the Display is successfully set up and ready
to use.
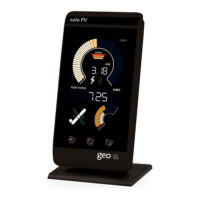
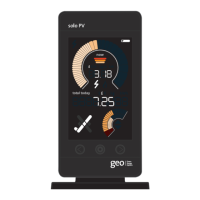
Step 1 – Display
1. Begin the set-up by powering up the Display with the power
supply provided.
2. When powered up the Solo PV Display will cycle through the
software version (02.06) then ‘Card in ’screen followed by
the main screen.
3. Hold the middle (set) button in for 3 to 4 seconds until ‘set year’ is
displayed. To change the year use the left and right buttons and
press the middle (set) button to confirm. Continue navigating
through the settings by pressing the middle button until you are
back on the main screen (see Page 11 of the user manual).
What’s in the box?
1
Step 2 – Transmitter
1. Open the unit by pressing the button and pulling the outer
cover away from the bottom.
2. Remove the battery tab from the Transmitter.
3. The green light will flash to show that the batteries
are working.
4. On the Display, the should now be on (this could take up to
two minutes), otherwise please refer to the troubleshooting
section.
MAC : 00 00BC00 0B0 1 0 DA0
SN : 000000000 000 00
TRANSMITTER
SOLO PV DISPLAY
DISPLAY POWER SUPPLY
LED READER
DISPLAY STAND
SD CARD
(in Display)
2
3
2
1
Step 4 – LED Reader placement
1. Find the pulse output on the meter.
2. Stick the velcro circle over the pulse output on the meter.
3. Place the LED Reader over the velcro circle on the meter,
ensuring that the GEO logo is facing you.
1 2 3
3
1
Note: We strongly recommend that you only power up the
Display using the power supply provided.
 Loading...