Do you have a question about the GeoVision GV-EBD Series and is the answer not in the manual?
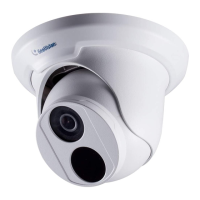
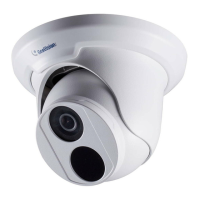
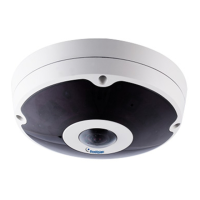
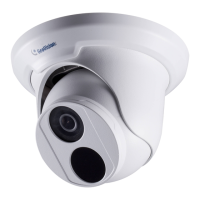
Details about the H.265 Target Eyeball Dome camera models and their features.
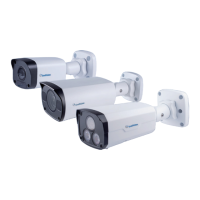
Information on outdoor fixed network bullet IP cameras, specifications, and compatibility.
Specifications for IR Mini Fixed Rugged IP Dome cameras, including WDR Pro capabilities.
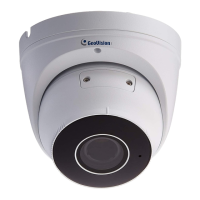
Features of Vandal Proof IP Dome cameras, including IK10 resistance and IP67 protection.
Specifies the minimum hardware and software requirements for operating the camera system.
Instructions for properly waterproofing Ethernet cables using the supplied rubber set.
Basic steps to connect the camera to a network for initial setup and access.
Guide to finding the camera's IP address and logging into its Web interface.
Steps to assign a static IP address to avoid conflicts and ensure stable network connection.
How to view live video streams from the camera after successful login and configuration.
Procedures for playing back recorded videos stored on the camera's local storage.
Access general camera settings including Basic Info, Network, Time, OSD, and User management.
Configure network settings, modify ports, set up FTP server, and email notifications.
Configure video stream parameters, resolution, frame rate, and audio input/output settings.
Adjust image parameters like brightness, exposure, IR illumination, white balance, and OSD.
Set up and configure various video analytics features like motion detection and face recognition.
Configure alerts for intelligent events such as Cross Line, Intrusion, and People Counting.
Set up alarms when an object crosses a defined detection line in a specific direction.
Configure the camera to detect and capture faces for analysis and send to FTP server.
Count people entering or leaving a vicinity, useful for entrance/exit monitoring.
Configure alarms for motion, tampering, audio detection, and manage alarm inputs/outputs.
Configure storage settings, format memory cards, and set up FTP server for data storage.
Create user accounts and configure network security settings like HTTPS and IP filtering.
Set camera time, synchronize with NTP server, and manage firmware updates and maintenance.
Procedures for updating camera firmware using the Web interface or GV-IP Device Utility.
Instructions on how to reset the camera to its factory default settings via Web interface or button.
Steps to add and configure IP cameras for integration with GV-DVR/NVR systems.
Steps to manually connect and configure IP cameras for integration with GV-VMS.
Commands for accessing camera images via RTSP multicast protocol for streaming.
Table listing compatible GV-VMS/DVR/NVR versions based on camera models.
Illustrations and dimensions of various GV-Mount accessories for camera installation.
Diagrams showing screw positions for mounting cameras to different GV-Mount models.
| Series | GV-EBD Series |
|---|---|
| Image Sensor | 1/2.8" progressive scan CMOS |
| Max. Resolution | 1920 x 1080 |
| Lens Type | Fixed |
| Aperture | F2.0 |
| IR LED | Yes |
| ONVIF | Yes |
| Weather Resistance | Yes |
| Vandal Resistance | IK10 |
| Frame Rate | 30fps |
| IR Distance | 30m |
| Day/Night | Yes |
| Wide Dynamic Range (WDR) | Yes |
| Video Compression | H.264 |
| Ethernet | Yes |
| Network Interface | 10/100 Ethernet |
| Protocols | TCP, UDP, HTTP, HTTPS, SMTP, FTP, DHCP, DNS, DDNS, RTP, RTSP, RTCP, NTP, UPnP, IGMP, ICMP, ARP |
| Power Supply | DC12V / PoE |
| Storage | MicroSD/SDHC/SDXC |