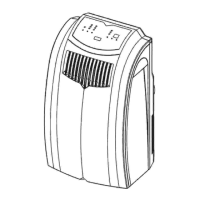
Exhaust Air Ducting
This can either be done as a temporary installation through an open door or window, or as a permanent
installation through a wall.
Temporary Installation
1) Attach one end of the vent hose (item C) to the exhaust air outlet of the air conditioner using an end
fitting (item A).
2) Attach the other end of the vent hose (item C) to the window / door fitting (item D) by means of an
end fitting (item B).
3) Put the window / door fitting (item D) through an open window or door, keeping the opening to a
minimum.
The unit must be positioned at least 10cm away from curtains and drapes.
Permanent installation
Whilst there is a wall fitting and wall fitting cap supplied with the air conditioner, it is recommended that use is
made of the separately available wall venting kit (details available from the Helpline) which also contains an
external grille and hose to pass through the wall.
1) Make a suitable size hole through the external wall to accept the hose in the wall venting kit.
2) Secure the flexible ducting in the wall venting kit to the wall fitting using cable ties.
3) Pass the flexible ducting through the hole in the wall from the inside.
4) Fix the wall fitting to the surface of the internal wall using suitable wall plugs and fixing screws.
5) Attach the external grille to the other end of the flexible ducting using cable ties and fix to the outside
wall using suitable wall plugs and fixing screws.
6) Attach one end of the vent hose to the exhaust air outlet of the air conditioner using an end fitting
(item A).
7) Attach the end fitting (item B) for the wall fitting kit to the other end of the vent hose and fit it into the
wall fitting.
8) When not in use, cover the hole with the wall fitting cap .