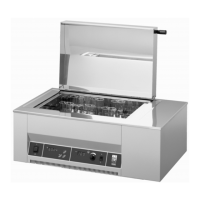
1083 / 1086 Schüttelwasserbad
Shaking Water Bath
10
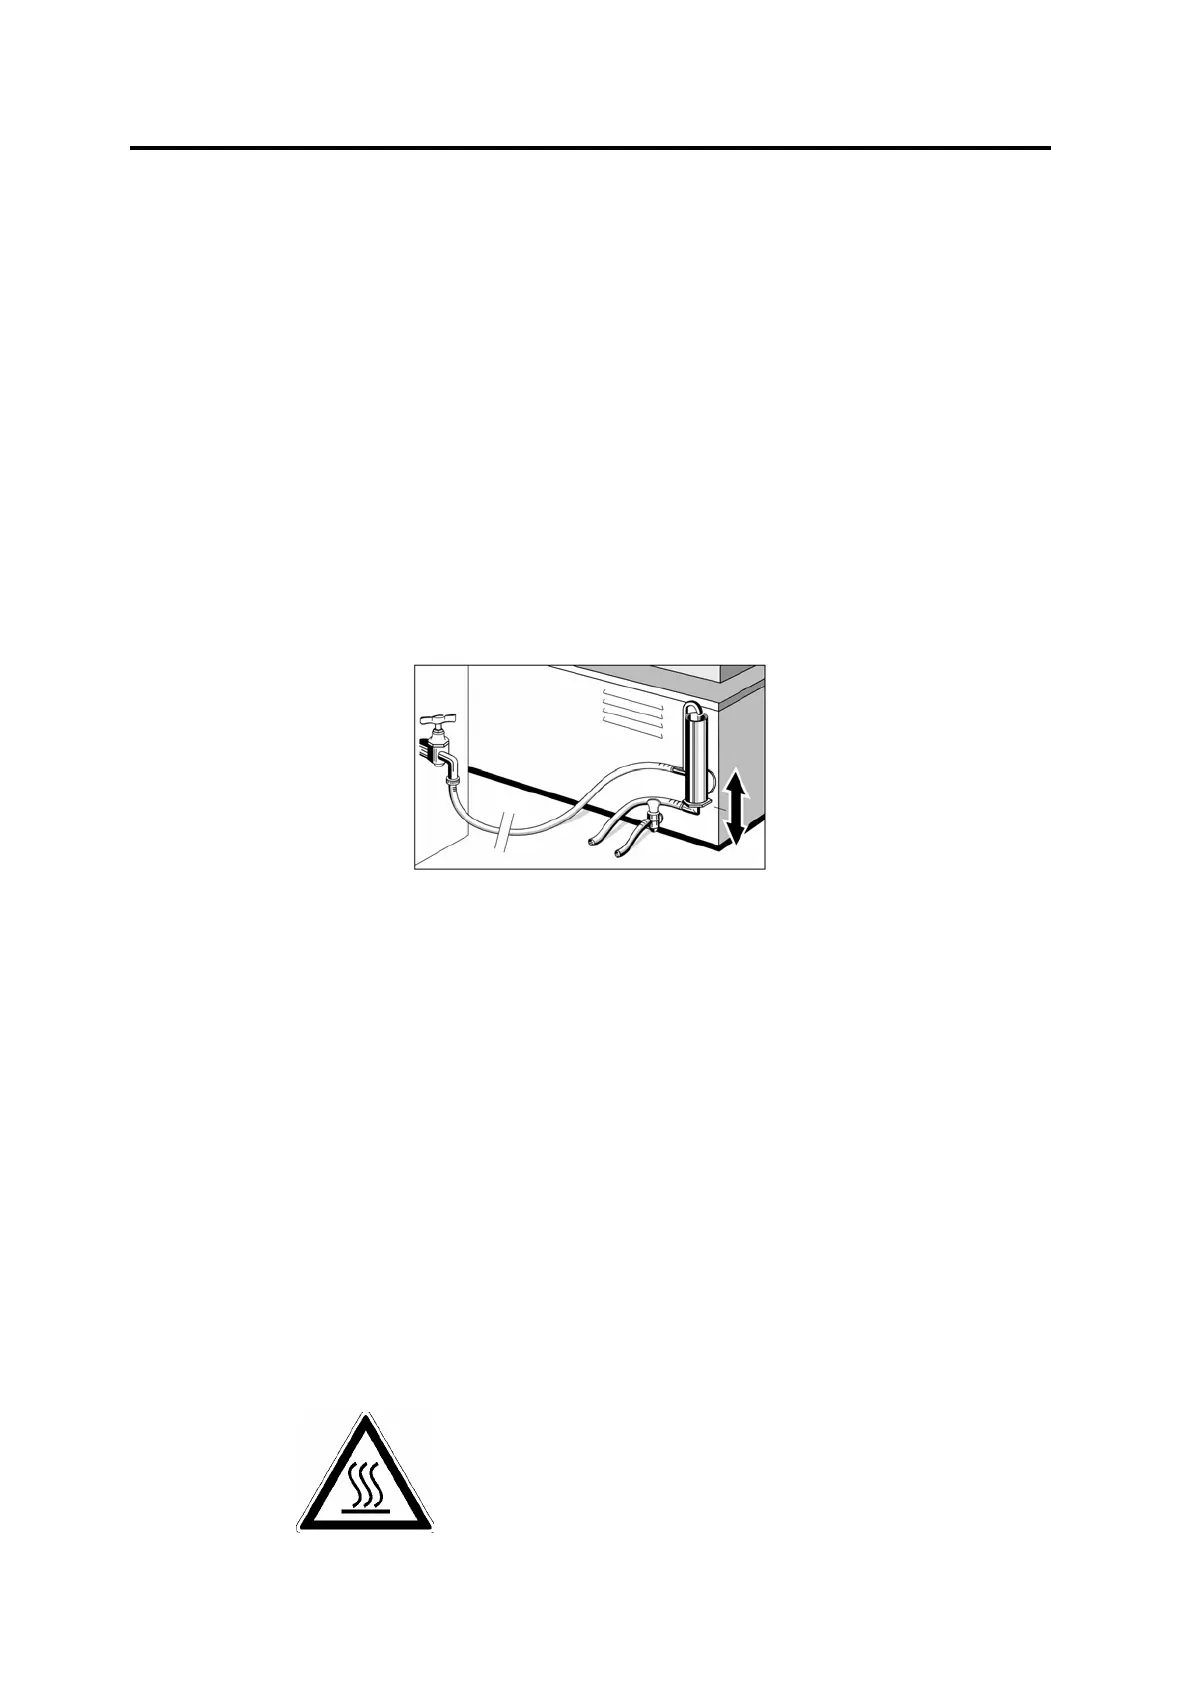
5. Special Accessory Level Regulator
With the adjustable level regulator at the back of the unit, occurring water loss (through
evaporation) is compensated and thus water level is kept constant. The level regulator also
allows operation of the bath below room ambient, minimum of approx. 3°C above tap water
temperature. Before operation, the level regulator must be connected to water tap.
The upper hose connection of the switch is the water supply. Connect this to the tap by
means of a laboratory hose (inside diameter max. 9 mm). The lower hose connection is for
water outlet and must be connected to a lower placed drain (outlet descendent) by a hose as
described above. Please ensure a free flow for this outlet without the possibility of backflow!
All hose connections must be secured with hose clamps.
The desired water level can be adjusted by the outlet tube of the level regulator. For this
purpose please loosen the outlet tube screwing with a spanner GW 27. The water level can
now be set by pulling out or pushing in the tube. Tighten screwing again. Now carefully open
water tap and fill Shaking Water Bath with water as described in article 4.
6. Starting Operation
Switch on main switch. The green pilot lamp will glow.
7. Temperature Regulation
After switching on the Shaking Water Bath, the display shows the actual inside temperature.
By pressing key "°C", the display will show the last set and registered temperature that will
now be used again automatically.
The temperature range is between approx. 5°C above ambient to 99.9°C, temperature
constancy (temporal) approx. +/- 0.1°C. The set temperature can be changed with keys "°C",
"+" and/or "-". By pressing key "°C", the display switches from actual to set temperature. By
pressing key "°C" and either "+" or "-" simultaneously (two finger operation), the desired
temperature can be set in 0.1°C steps. The counting speed increases after a short time. The
newly set temperature is saved as soon as key "°C" is released. The display will now show
the actual temperature again.
The yellow pilot lamp next to the temperature display shows that heating is in operation.
CAUTION:
Hot surfaces when temperatures rise
above 60°C
Do not touch!
Danger of burns!