Verification
Check that all electrical connections are tightly secured and that wire routings are neat and orderly. Make sure that
you have done the proper wiring as specified in these instructions and on the wiring diagram.
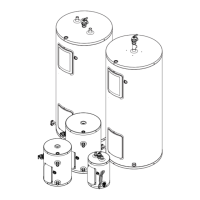
NEVER OPERATE the water heater before it is completely filled with water.
Final assembly
Replace the fiberglass insulation in the element panel to cover all elements and thermostat as originally constructed.
Close the element access panel and electrical junction box (if required) by tightening the turn-lock screw(s) using a
flat screw driver.
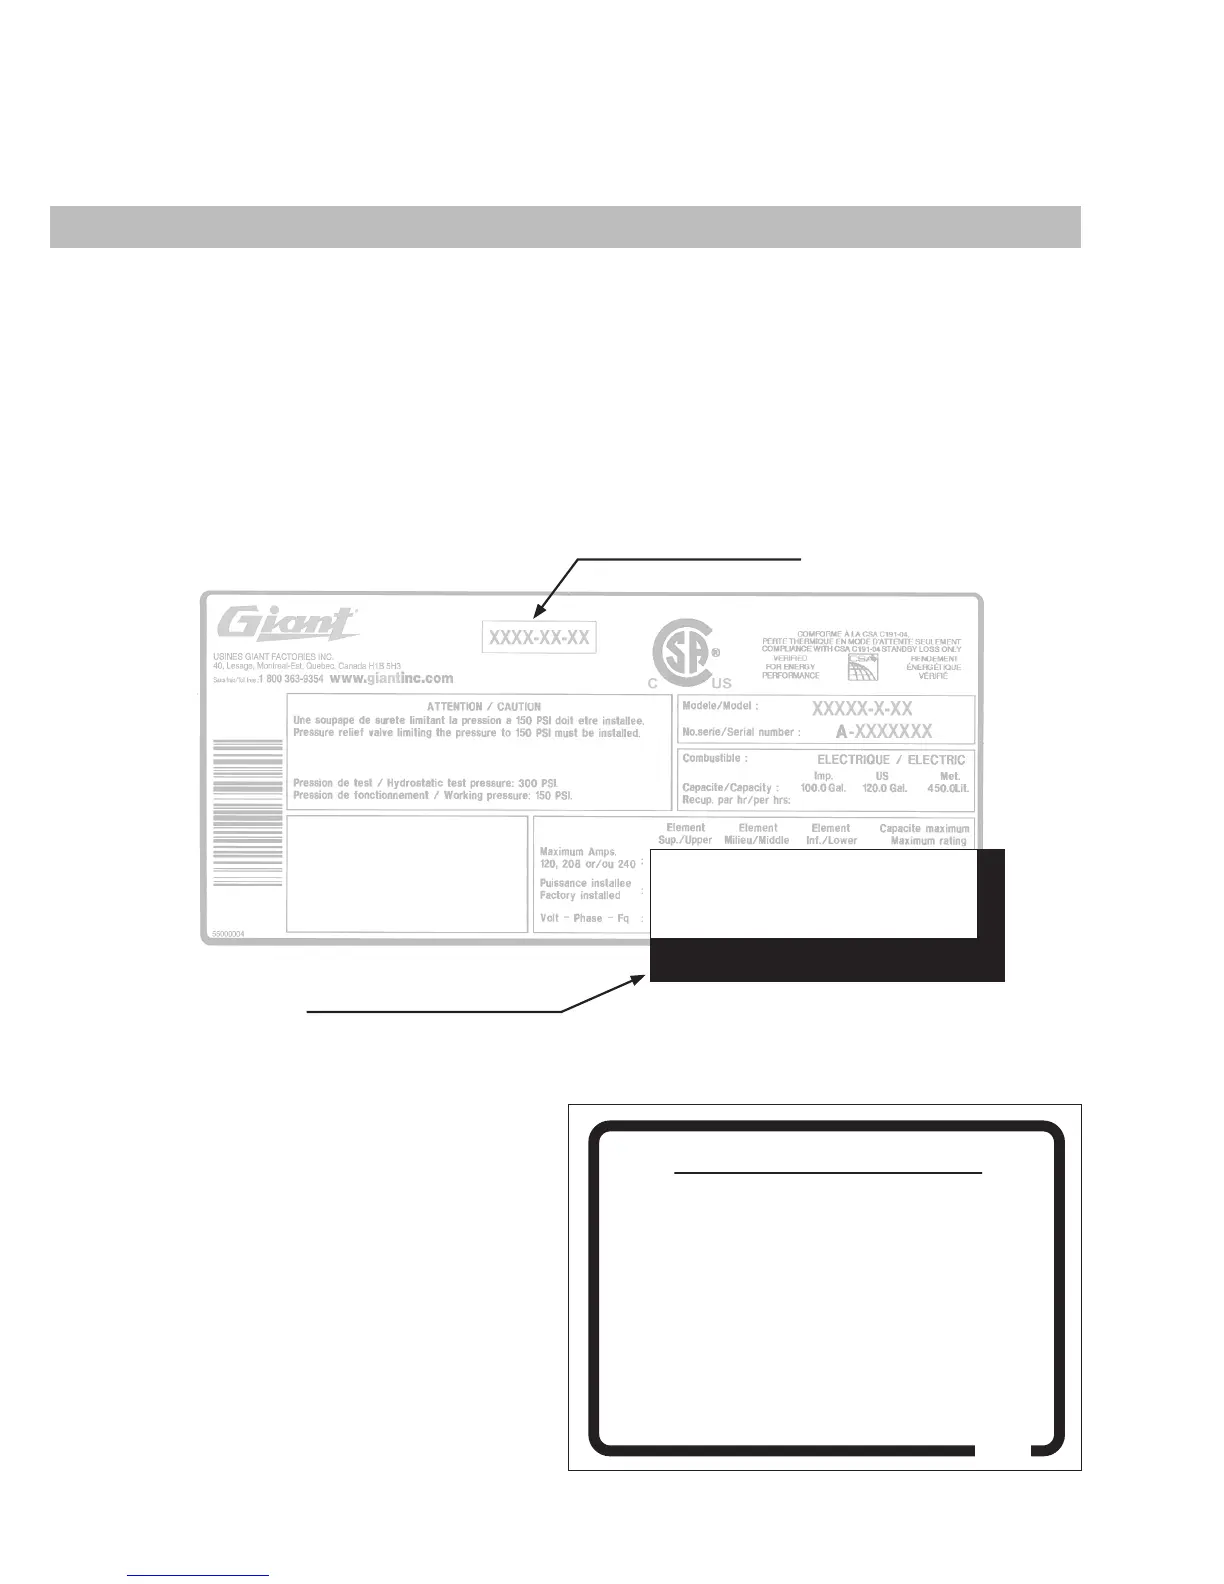
1- Check that the conversion rating plate information matches the conversion you have just completed. Install the
conversion rating plate over the right bottom part of the original rating plate of the water heater. Make sure that
the conversion rating plate covers the electrical specifications of the original rating plate as illustrated below.
2- Install the conversion label as close as pos-
sible to the rating plate. Make sure to fill out the
required information on the label: Date of conver-
sion and who converted the water heater.
If the water heater needs to be shipped once the
conversion is completed, make sure to cross out
the water heater electrical specifications on the
shipping label located on the top corner of the
cardboard box. Use a black marker to write the
new electrical specifications on the cardboard
box, matching those on the conversion rating
plate. Close and tape the dashed portion of the
cardboard box that was opened to gain access to
the water heater. If the cardboard box was
removed, insert the cardboard box over the water
heater and staple it on the wooden pallet.
6
THIS UNIT WAS FIELD CONVERTED
CETTE UNITÉ A ÉTÉ CONVERTIE EN CHANTIER
Kit # 06999172
17.30 17.30 17.30 52.00
18,000W 18,000W 18,000W 54,000W
600 VAC - 3 - 60Hz
Manufacturing date
Conversion rating plate
1
CONVERSION LABEL
Refer to the “CONVERSION INSTRUCTIONS” provided with
the conversion kit for important information
on the conversion of this water heater.
This water heater was converted
with kit No.:_________________________on ________________
by:___________________________________________________
_____________________________________________________
(name and address of organization making this conversion,
who accepts the responsibility for the accuracy of this conversion)
.
Affix this conversion label as close as possible to the existing rating plate.
(day/month/year)
ÉTIQUETTE DE CONVERSION
Référez-vous aux
«
DIRECTIVES DE CONVERSION
»
fournies avec
la trousse de conversion pour des informations importantes
sur la conversion de ce chauffe-eau.
Ce chauffe-eau a été converti
avec la trousse No. :_______________________le_____________
par :___________________________________________________
_____________________________________________________
(nom et adresse de l’entreprise faisant la conversion
et qui accepte la responsabilité de l’exactitude de cette conversion)
.
Apposez cette étiquette de conversion le plus près possible de la plaque signalétique.
(jour/mois/année)
5.25” X 3.75” sur papier adhésif blanc mat
55000157
2
XXXX-XX-XX