EasyManuals Logo

Gigabyte G292-Z42 User Manual

Gigabyte G292-Z42
155 pages
To Next Page IconTo Next Page
To Previous Page IconTo Previous Page
Page #46 background imageLoading...
Page #46 background image
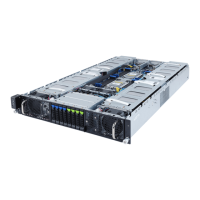
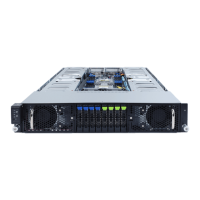
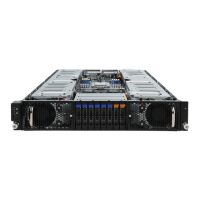
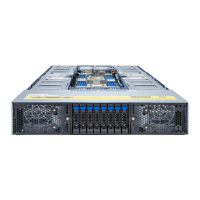
System Hardware Installation - 46 -
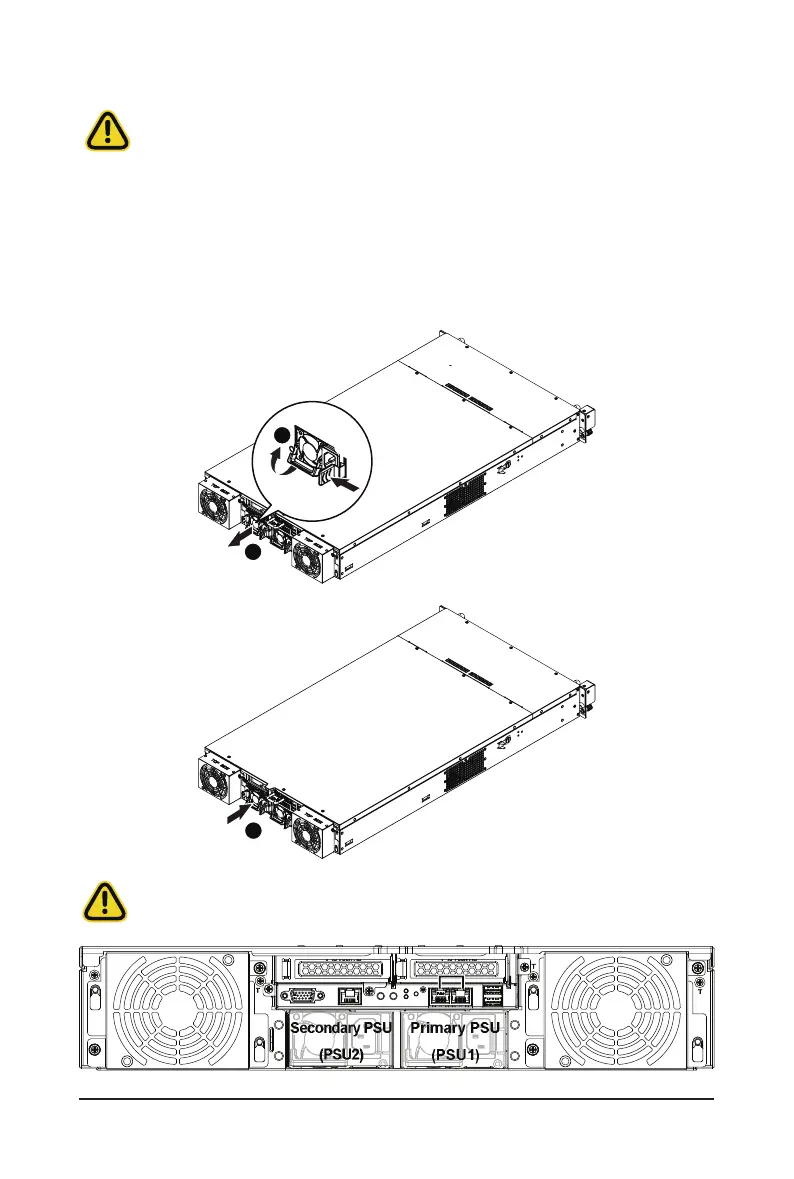
3-9 Replacing the Power Supply
Follow these instructions to replace the power supply:
1. Pull up the power supply handle and press the retaining clip on the right side of the power supply
along the direction of the arrow.
2. At the same time, pull out the power supply using the handle.
3. Insert the replacement power supply rmly into the chassis. Connect the AC power cord to the
replacement power supply.
1
2
3
CAUTION!
• Please see the illustration below for installation sequence.
Primary PSU
(PSU1)
Secondary PSU
(PSU2)
CAUTION!
In order to reduce the risk of injury from electric shock, disconnect AC power from the power
supply before removing it from the system.

Table of Contents

Questions and Answers:

Question and Answer IconNeed help?

Do you have a question about the Gigabyte G292-Z42 and is the answer not in the manual?

Gigabyte G292-Z42 Specifications

General IconGeneral
ModelG292-Z42
Form Factor2U Rackmount
Memory Slots32 x DDR4 DIMM slots
Maximum Memory8TB (256GB per DIMM)
NetworkingDual 10GbE
Expansion Slots6 x PCIe 4.0
Operating System SupportWindows, Linux
ManagementIPMI 2.0
CPU SocketDual Socket SP3 (AMD EPYC 7002/7003 Series)
Storage Bays12 x 3.5"/2.5" SATA/SAS hot-swappable bays

Related product manuals