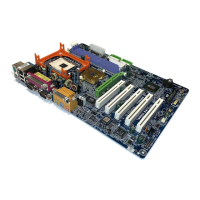
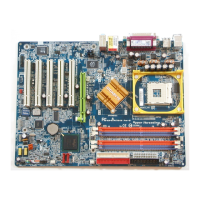
- 12 -GA-8S661FXM Series Motherboard
English
Step 1: Install the Central Processing Unit (CPU)
Step 1-1: CPU Installation
Angling the
rod to 65
0
1. Angling the rod to 65-degree maybe
feel a kind of tight , and then continue
pull the rod to 90-degree when a noise
"cough" made.
2. Pull the rod to the 90-degree directly.
Pin1 indicator
3. CPU Top View
Pin1 indicator
4. Locate Pin 1 in the socket and
look for a (golden) cut edge on the
CPU upper corner. Then insert
the CPU into the socket.
Socket
Actuation
Lever
Before installing the processor, adhere to the following warning:
1.Please make sure the CPU type is supported by the motherboard.
2.If you do not match the CPU socket Pin 1 and CPU cut edge well, it will
cause improper installation. Please change the insert orientation.
8s661fxm_1001_q.p65 ?2003/9/24, 上午 09:3312
 Loading...