EasyManuals Logo

Gigabyte GA-M61PME-S2 User Manual

Gigabyte GA-M61PME-S2
96 pages
To Next Page IconTo Next Page
To Previous Page IconTo Previous Page
Page #16 background imageLoading...
Page #16 background image
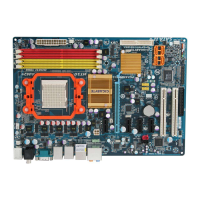
GA-M61PME-S2 Motherboard - 16 -
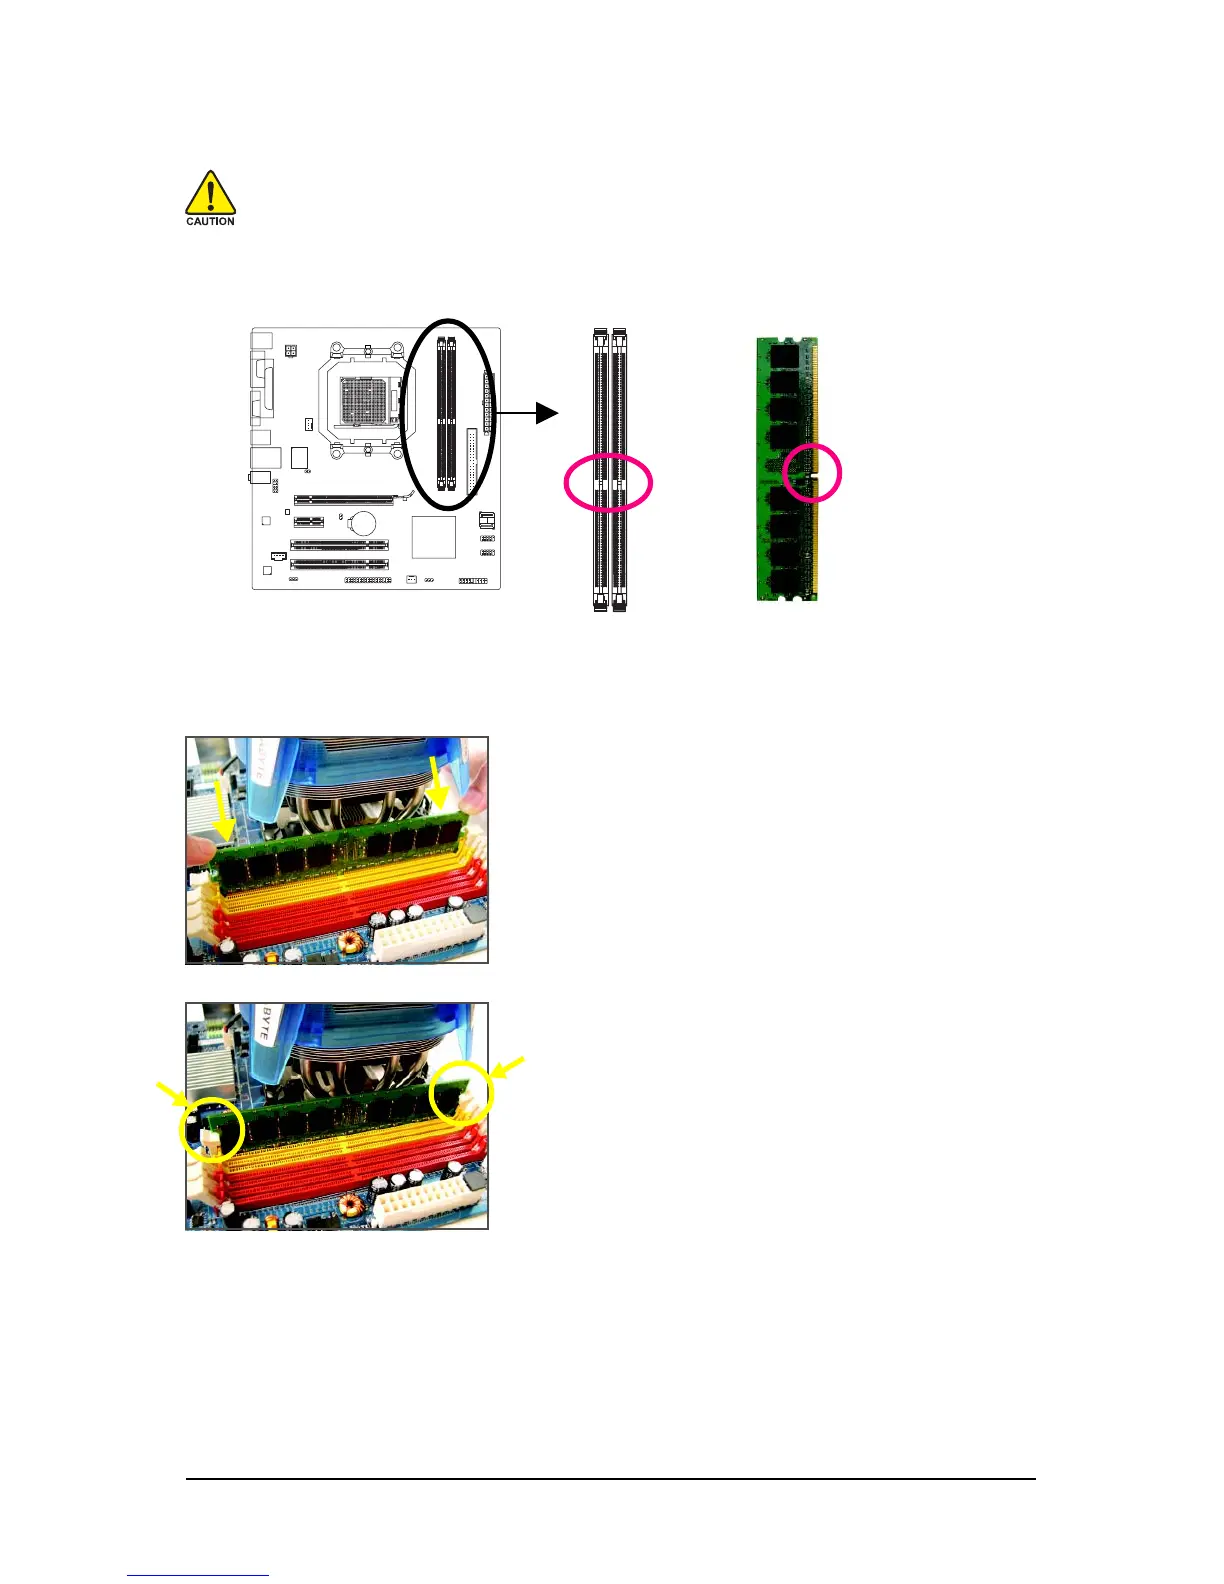
1-4-2 Installing a Memory
Notch
DDR2 DIMM
A DDR2 memory module has a notch, so it can only fit in one direction. Follow the steps below to
correctly install your memory modules in the memory sockets.
Before installing a memory module , make sure to turn off the computer and unplug
the power cord from the power outlet to prevent damage to the memory module.
DDR2 DIMMs are not compatible to DDR DIMMs. Be sure to install DDR2 DIMMs on
this motherboard.
Step 1:
Note the orientation of the memory module. Spread the retaining
clips at both ends of the memory socket. Place the memory
module on the socket. As indicated in the picture on the left,
place your fingers on the top edge of the memory, push down
on the memory and insert it vertically into the memory socket.
Step 2:
The clips at both ends of the socket will snap into place when
the memory module is securely inserted.

Table of Contents

Questions and Answers:

Question and Answer IconNeed help?

Do you have a question about the Gigabyte GA-M61PME-S2 and is the answer not in the manual?

Gigabyte GA-M61PME-S2 Specifications

General IconGeneral
Number of memory slots2
Maximum internal memory8 GB
Processor socketSocket AM2
Processor manufacturerAMD
Processor system buses supported2000 MHz
S/PDIF out connectorYes
Number of Parallel ATA connectors1
Controller interface typeSATA
Controller 2nd interface typeIDE
Headphone outputs3
USB 2.0 ports quantity4
BIOS typeAWARD
Power source typeATX
Audio output channels5.1 channels
Motherboard form factormicro ATX
Bundled softwareNorton Internet Security
Networking featuresGigabit Ethernet
RAID levels0, 1
Weight and Dimensions IconWeight and Dimensions
Depth225 mm
Width244 mm

Related product manuals