5
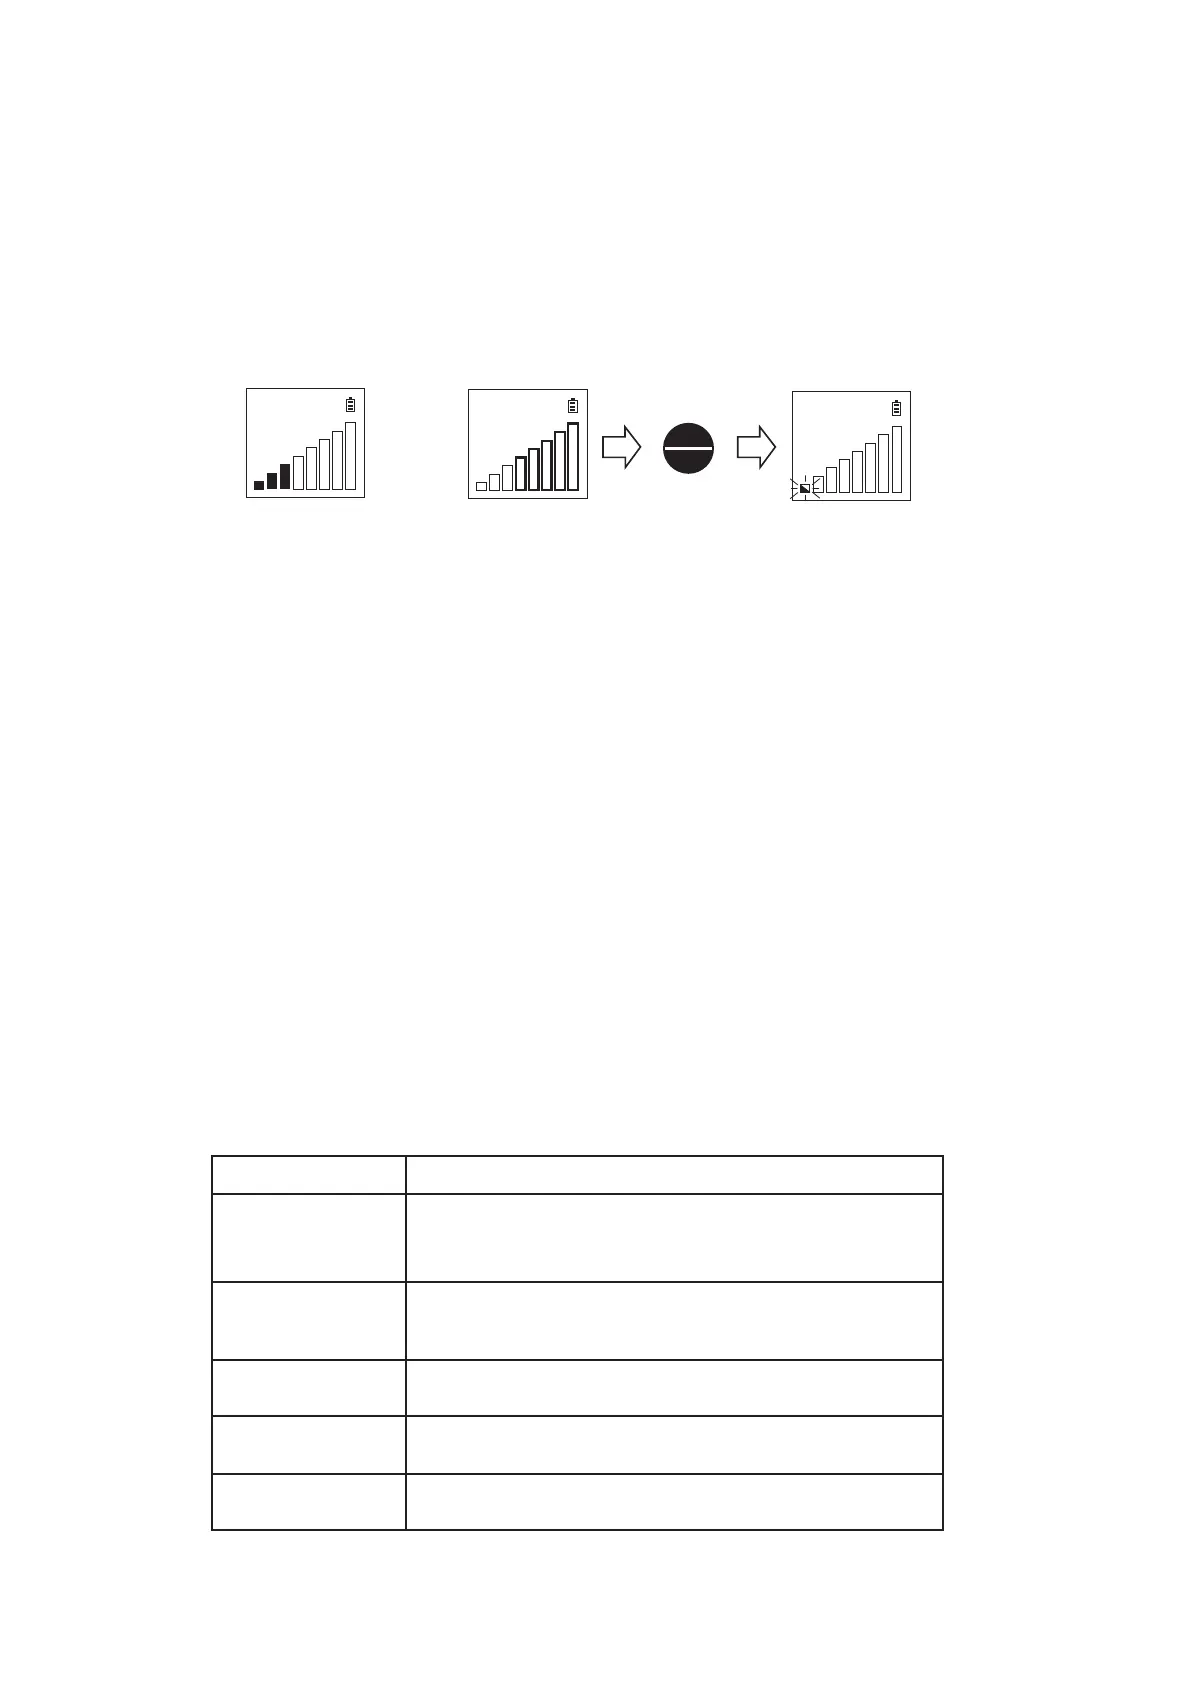
3) First, check the stability at zero point.
■ & □ on the left will be blinking alternately when the detector becomes
stable. When the leak indicator is displayed without leakage, press ZERO /
ENTER key to adjust the zero balance. Under conditions such as
fluctuation of temperature or humidity, the detector needs zero point
adjustment. LED display as well as LCD display.
4) Place the sample probe tip near the gas connection to leak check.
One Gas Leak Mark indicates there may or may not be gas leaks
especially on a High range. Two or more Gas Leak Marks indicate there is
a gas leak.
More than 3 Gas Leak Marks are indicated, and the audible
alarm sounds when
the buzzer function
ON is selected.
(Refer to “6. Setting Parameters” )
5) Turn off the detector after use.
LD239 can be turned off in either automatic or manual mode Refer to [6.
Setting Parameters.
● Set Auto Power Off function to ‘ON’
This function turns the detector off automatically 10min. after use. It will
be helpful to prevent leaving the detector turning off.
● Set Auto Power Off function to ‘OFF’
Hold down the FUNC/POWER key for 3 seconds to turn the power OFF.
6. Setting Parameters
1) Parameter Setting items and contents
㪩㪶㪪㫋㪻
㪩㪶㪪㫋㪻
㪩㪶㪪㫋㪻
or
ZERO
ENTER
Out of zero point
ZERO adjust
Content
Range
Buzzer
LED
Backlight
A.P.Off
Sets the buzzer to alarm
ON : Use(More than 3 Gas Leak Marks.)
OFF: Not Use
Sets LED in combination with LCD display
ON: Use, OFF: Not Use
Sets LCD backlight
ON: Use, OFF: Not Use
Sets Auto Power Off
ON: Use, OFF: Not Use
Parameter Setting item
Sets Range
Std: Standard Sensitivity Range
Hi : High Sensitivity Range