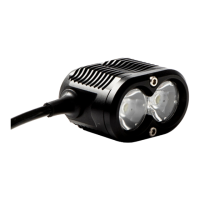
8
Battery
Voltage Indication
The battery’s fuel gauge allows the user to monitor the battery capacity at a
glance. There are four LED indicators (20%, 40%, 80%, 100%) located on the
battery that will glow independently as the voltage decreases. Additionally,
when voltage reaches a critical level the X2 will alert the user by emitting a flash
sequence.
Charger
The X2 is supplied with a Li-Ion Smart Charger. The charger has an LED indicator
to let the user know when the battery has completed the charging process. Simply
plug the charger into the wall socket (power off) and then connect the battery to
the charger – the LED indicator will glow GREEN. Turn the power on at the wall
socket and the indicator will glow RED and the charging process will commence.
When charging is complete the indicator will glow GREEN.
Important! Always disconnect the battery from the light when not in use! The
small amount of power used by the electronics will discharge the battery,
additionally the lamp may be switched on accidentally and consequently cause an
uncontrolled heat build-up. If you intend not to use the lamp for a longer period of
time, fully charge the battery and store in a cool and dry place.