3
NOTE
● For accurate test results, apply the drop of blood to the tip of the
test strip within 20 seconds after puncturing.
● Do not test blood that runs or spreads out from the puncture site.
● Do not smear blood onto the test strip.
● Do not forcefully press the test strip into your puncture site.
● Do not touch the test strip once the meter has started the
countdown.
3. Read your test result. You will hear a beep when the test result
appears on the screen.
CAUTION
● If “LO” or “HI” appears on the screen:
Repeat the test. If “LO” or “HI” still appears, contact your doctor or
healthcare professional. “LO” appears if your test result is less than
1.1 mmol/L “HI” appears if your test result is more than 33.3 mmol/L.
● The “hypo” or “hyper” icons may appear depending on the threshold
limit you have set (§6.4).
● If test results do not match how you feel:
Make sure you have performed the test correctly as explained
in §4.2. Then, conduct a control test to check that the system is
working properly (§4.3). Repeat the test using a blood sample taken
from a fingertip (do not use an alternative site). If the test result still
does not match how you feel, contact your doctor or healthcare
professional.
● Do not ignore test results. Do not alter your blood glucose
management or treatment without first consulting your doctor or
healthcare professional.
4. Press the release button to remove the test strip. The meter will
switch off.
CAUTION
● When ejecting the used test strip, point your meter downwards and
away from others.
● Disposal of Biohazardous Waste
Used test strips and lancets are biohazardous waste. They
must therefore be disposed according to local regulations on
biohazardous waste.
4.3 Control Test
Conduct a control test if:
● you suspect the meter or test strips are not working properly;
● the meter has been dropped;
● the meter is damaged;
● your test results do not match how you feel;
● you want to check the performance of the meter and test strips when
you first get them or any time you want to check their performance
before a blood glucose test.
NOTE
To test your meter and test strips only ever use the GlucoMen® areo
Control (provided separately).
CAUTION
● Do not use control solutions after their expiry date. The expiry date
is indicated on the control solution vial next to symbol.
● For accurate test results, allow the control solution to adjust to its
surroundings for at least 30 minutes before running the control
test:
- temperature: 5 to 45°C (41 to 113°F);
- humidity: 20 to 90% RH.
● Do not use the control solutions if 3 months or more have passed
since first opening the vial.
● Do not drink the control solution. It is not intended for human
consumption.
● Avoid contact of the solution with the skin and the eyes as this
could cause inflammation.
To perform a control solution test, proceed as follows:
1. Insert a new test strip into the test strip port. The drop icon starts
blinking on the screen. If nothing appears on the screen, remove the
test strip, insert it into the test strip port again and wait for the drop
icon to start blinking.
2. Select the ctl test icon (§2.1).
WARNING
● If the ctl icon has not been selected before performing the
control solution test, the result will be stored as a blood test
and used for calculating averages.
3. Gently shake the control solution vial before testing. Discard a drop
before use. Squeeze a drop of control solution onto a clean, hard, dry
surface.
4. Touch the control solution drop with the tip of the test strip until
the check window is full. A beeper will sound (if enabled) as the
countdown timer starts on the screen.
NOTE
● The test will not start if you apply your control solution directly
to the check window. The test starts when the meter detects the
control solution. During the test the meter counts down from 5 to 1.
● Tightly close the control solution vial.
● Do not touch the test strip once the meter has started the
countdown.
5. Check that your test result is within the acceptable range indicated
on the label of the test strip vial. If out of range, repeat the control
solution test.
CAUTION
● If you still have test results that fall outside the acceptable range,
stop using the system, and contact the A. Menarini Diagnostics
customer service.
6. Press the release button to remove the test strip. The meter will
switch off.
4.4 Marking Test Results
After a blood (not control) glucose test is performed with a valid result,
you can mark the result as follows:
1. Start from point 3 of the glucose testing procedure (result displayed
on the screen, §4.2)
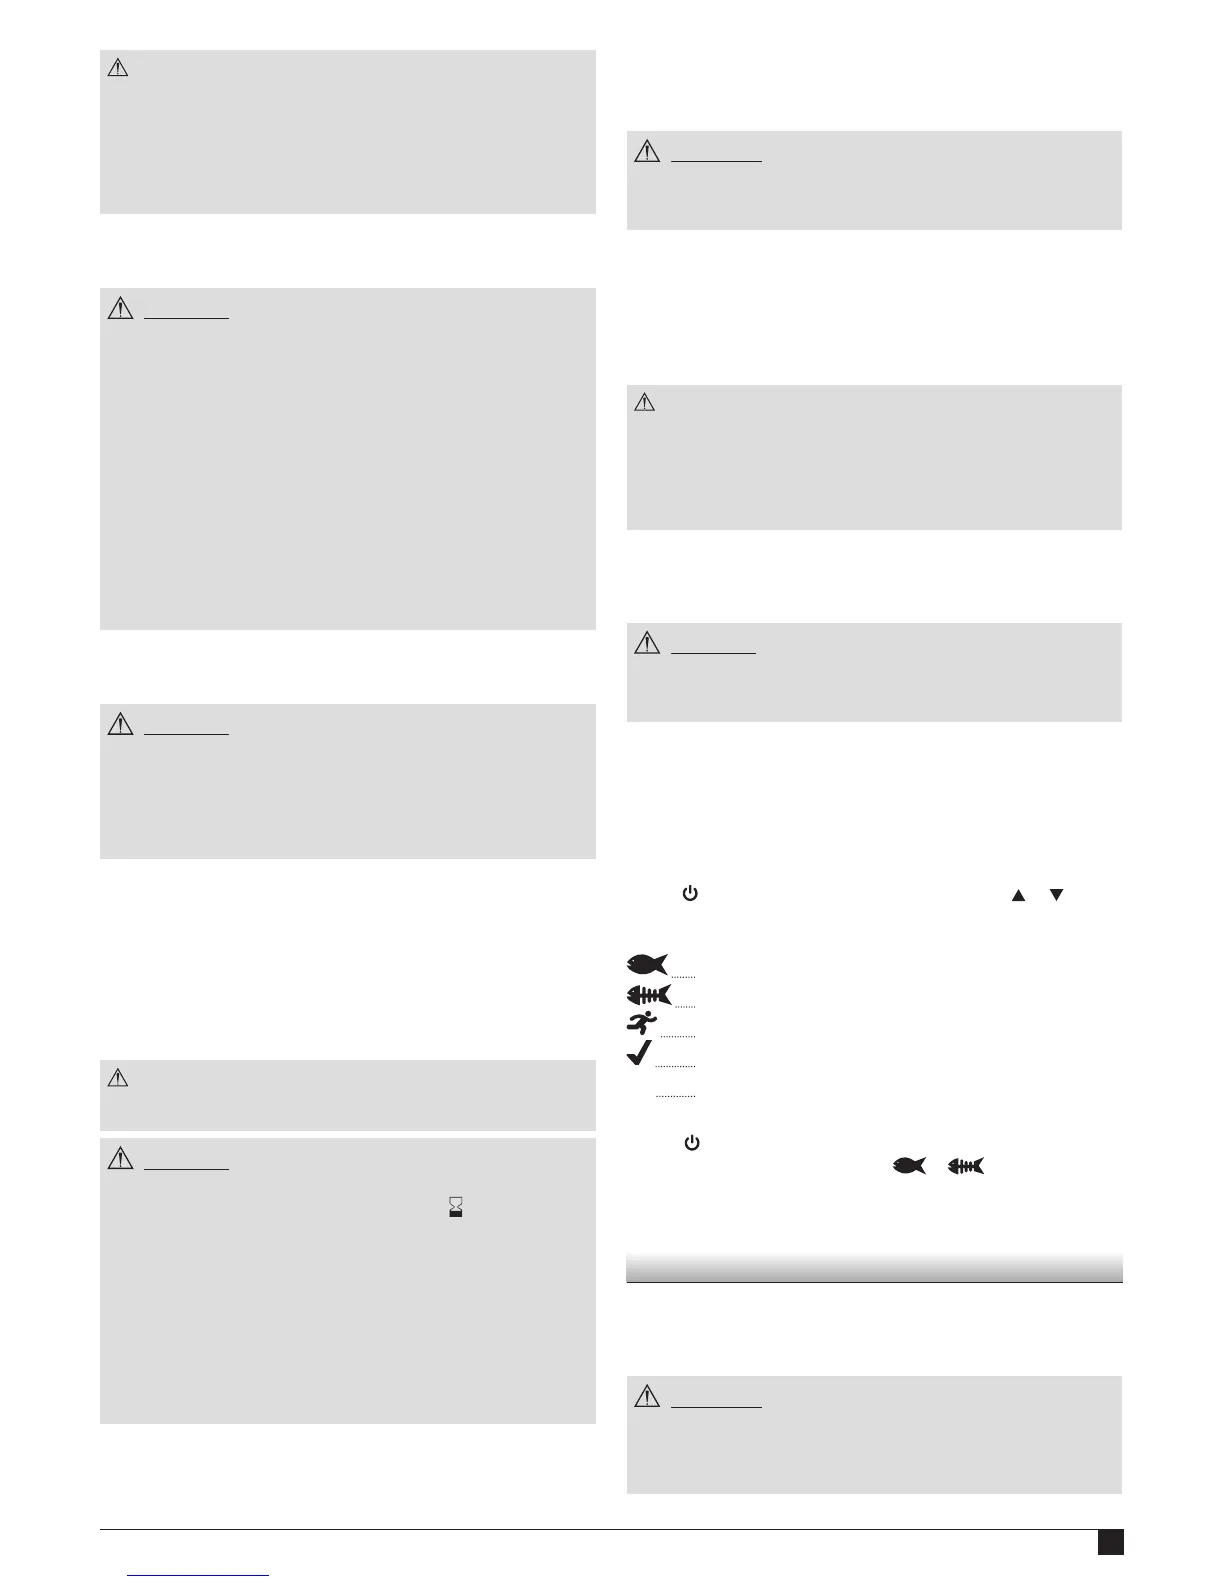
Press until the markers icons start blinking. Press or to scroll
through the icons (backwards or forwards) according to the following
sequence:
Before meal marker
After meal marker
Exercise marker
Check marker (General Purpose marker).
Void (Once confirmed it deselects any previously selected
marker).
2. Press to confirm the marker you selected. You can select more
markers (but only one when setting or ) by repeating steps
1 & 2.
3. Return to point 4 of the glucose testing procedure (§4.2).
5. Managing your Test Results
5.1. Reviewing past results
You can review past results stored in the memory. Your meter stores up
to 730 test results with dates, times and markers.
WARNING
Please make sure that the time and date are correct before the first
use, and adjust them if needed (§6.1). If the time and date settings
are not correct the meter will memorize the test results in the wrong
order.
 Loading...