4
1. Make sure the meter is off (to turn the meter off hold for 3 seconds
until the screen switches off).
2. Press for 2 seconds to turn the meter on and enter the memory
recall mode (the “mem” icon appears on the screen).
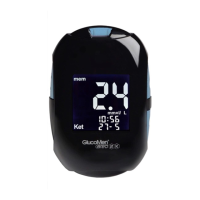
3. The most recent test result appears on the screen. The screen also
shows the date and time of the test and the corresponding markers.
4. Press or to scroll through all the stored data.
5. Press for 3 seconds to switch the meter off.
NOTE
● If there are no results in the memory, the screen
displays “ooo“.
● At the end of reviewing the individual test results,
the screen displays “ooo“.
● Keep or pressed to speed up the browsing
through the results.
5.2. Viewing results averages
You can view the result averages over the set intervals (1, 7, 14, 30, 60
or 90 days).
1. Follow steps 1 and 2 in §5.1.
2. Press to enter the average mode (the “AVG” icon appears on the
screen).
3. The 1-day average appears on the screen.
4. Press to scroll through the averages.
5. After reviewing the 90-das average, press to return to the memory
recall mode (step 3 of § 5.1).
6. Hold for 3 seconds to switch the meter off.
NOTE
● If there are less than 2 results in the memory for the averaged
period, the screen displays “ooo“. If there are no results, the screen
displays “ooo“.
● The averaging function equalises HI results to 33.3 mmol/L and LO
results to 1.1 mmol/L.
5.3. Data transmission
Test results stored in the GlucoMen® areo meter’s memory can be also
downloaded to GlucoLog® software or apps by means of either NFC,
a dedicated cable, or a Bluetooth dongle distributed by A. Menarini
Diagnostics only.
NOTE
● GlucoLog® software and apps, data cable, and Bluetooth dongles
are supplied separately. See relevant user manuals for instructions
on how to download data.
5.3.1. NFC Transmission
For data transmission by means of NFC the NFC function must be
enabled on the GlucoMen® areo meter (§6.5) and an NFC equipped
device (such as a Smartphone) with GlucoLog® apps.
1. Activate the NFC transmission on the GlucoLog® app of the NFC
equipped device.
2. Bring the GlucoMen® areo NFC antenna close (< 1 cm) to the antenna
in the NFC equipped device.
NOTE
● Data will be transmitted even when the meter is switched off or in
memory recall mode.
3. Data transmission will start automatically (the GlucoMen® areo meter
will turn on and the blinking icon will be displayed on the screen).
4. When the data transmission is completed, “End” will be displayed on
the GlucoMen® areo meter screen (together with the icon), and a
beeper will sound once.
5. Press for 3 seconds to switch off the meter.
WARNING
● Data transmission via NFC may decrease battery life.
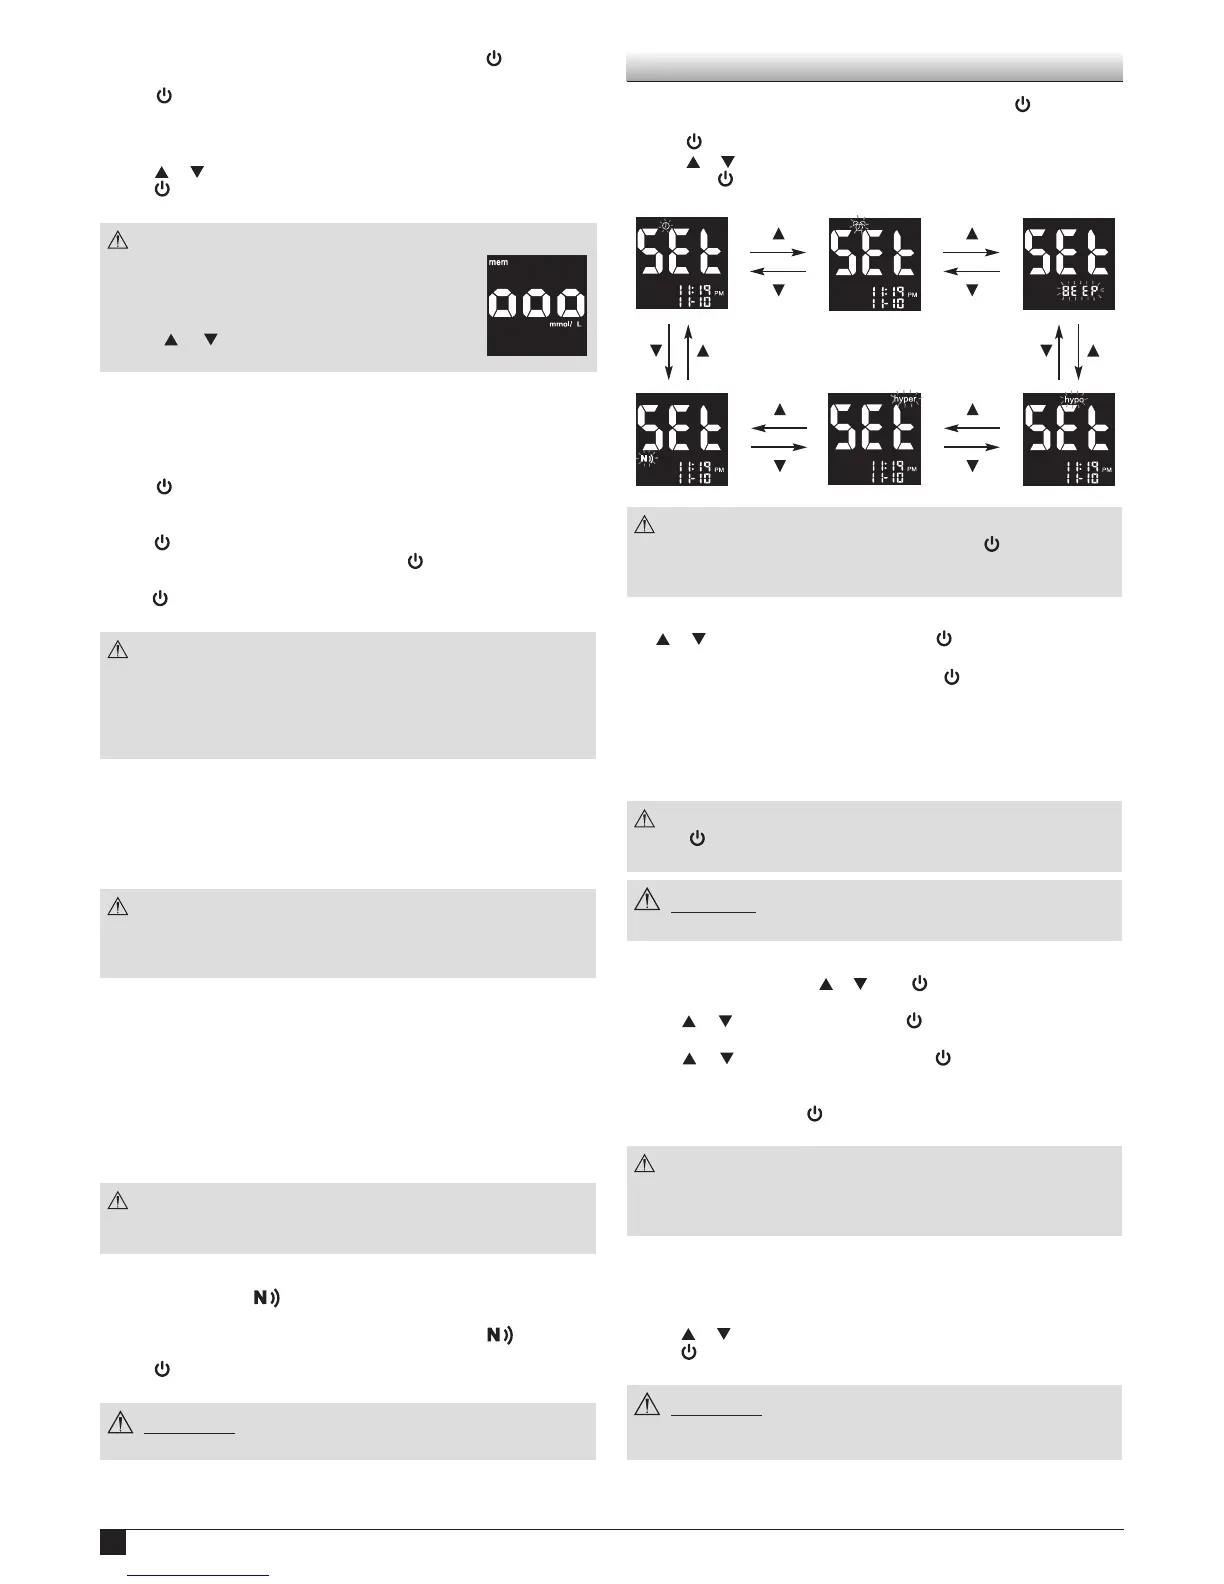
6. Meter Setup
i. Make sure the meter is off (to turn the meter off press for 3 seconds
until the screen switches off).
ii. Press for 4 seconds to enter the setup menu.
iii. Press or to scroll through the setting menus (see pictures below)
and press to enter each single menu
NOTE
● At anytime during set up, you may either press to exit, or insert
a test strip to perform a test. The changes made so far will be
memorized by the meter.
6.1 Date/Time setup
Use or to select the correct value. Press to confirm and move on
to the next step: year, month, day, time format (12H, 24H), hour, minutes.
After confirming the minutes (by pressing ) return to the setting
menus (step iii §6).
6.2 Alarm setup
You can set up to three alarms on your GlucoMen® areo meter.
When the alarm reaches the set time, the meter sounds for 30 seconds.
NOTE
● Press or insert a test strip to stop the acoustic meter alarm (the
alarm will remain set).
CAUTION
● Before setting the alarms please check that the time is properly set.
1. The display will show alarm 1 status (the default setting is OFF). You
can turn it on by pressing or . Press to confirm the selection and
move on to the next step.
2. Press or to select the hour. Press to confirm the selection and
move on to the next step.
3. Press or to select the minutes. Press to confirm the selection
and move on to the alarm 2 setting.
4. Set alarm 2 and 3 by following steps 2 to 3. After you have finished
setting all alarms, press to return to the setting menus (step iii §6).
NOTE
● The alarm will have the same format (12H, 24H) as when the time
set.
● Alarm settings will not be erased when changing the batteries.
6.3 Beeper setup
The beeper on your GlucoMen® areo meter is preset to ON. You can
adjust the beeper feature as follows.
1. Press or to turn the beeper ON or OFF.
2. Press to confirm and return to the setting menus (step iii §6).
WARNING
● Turning off the beeper could mean you miss many important cues
from your meter, such as confirmation or error messages.
 Loading...