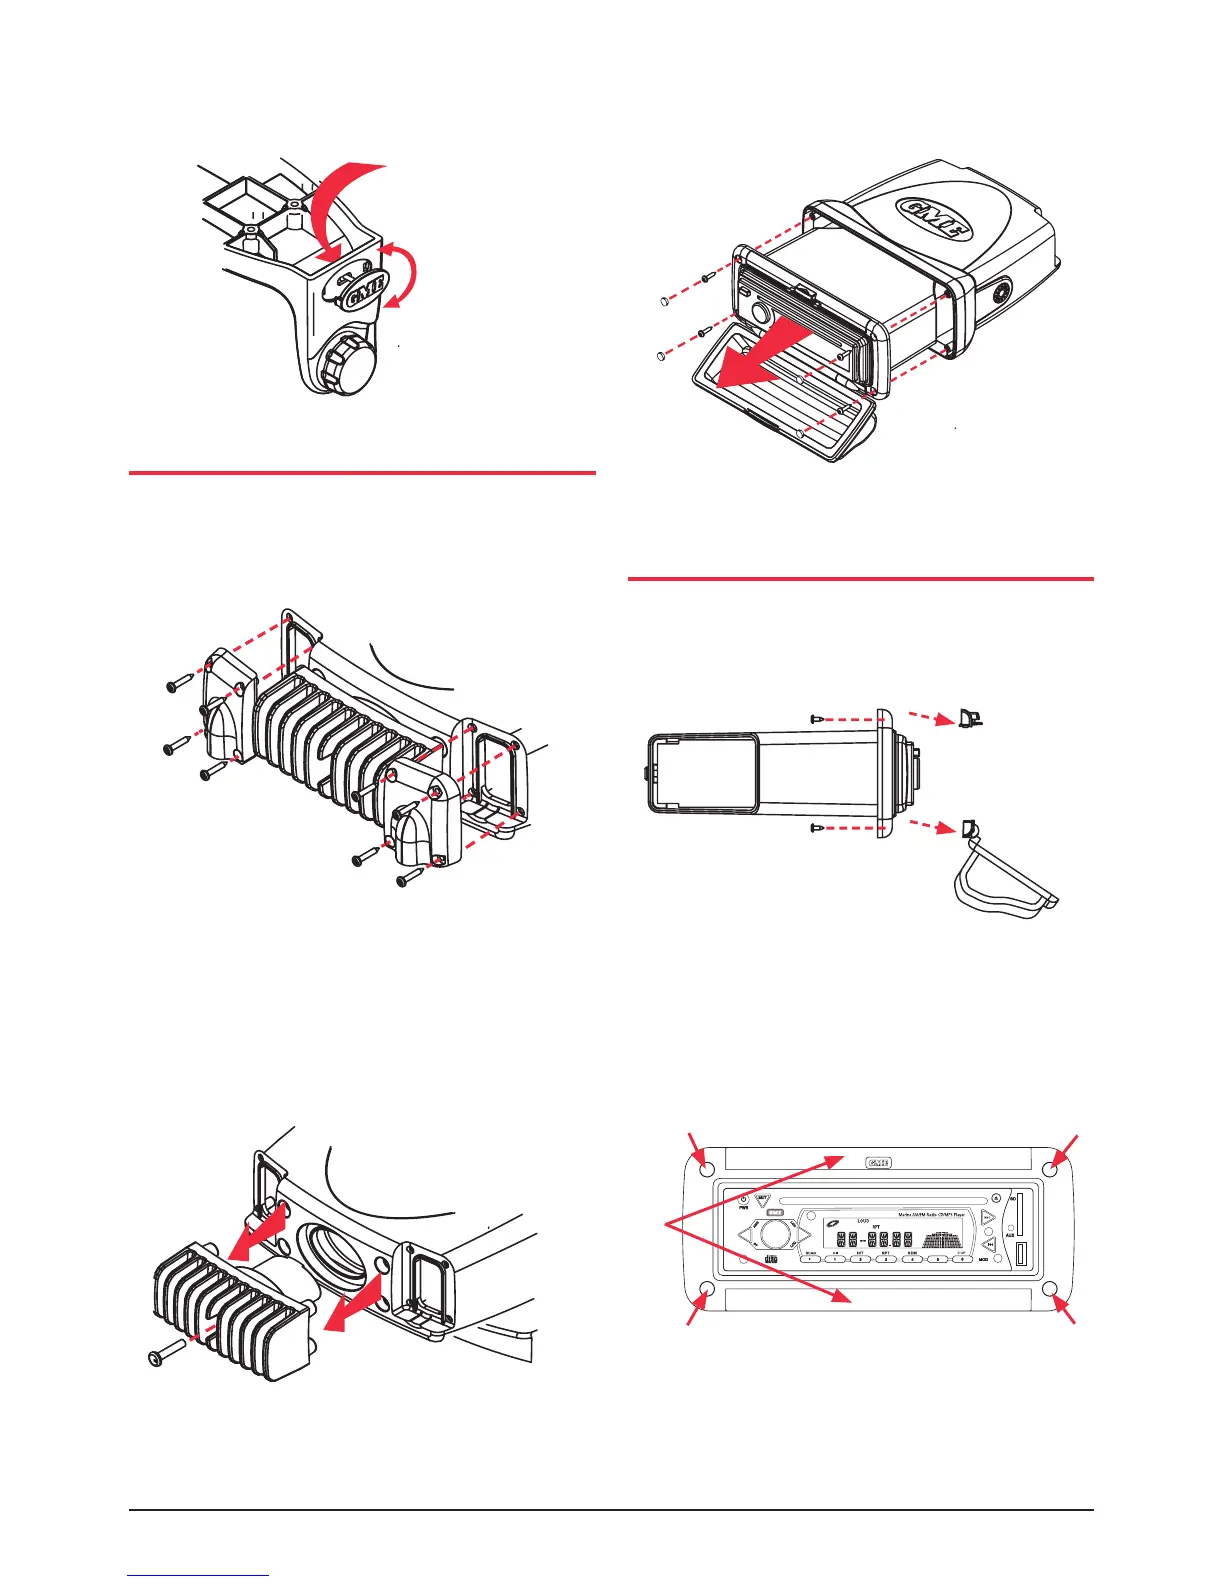
Foroverheadmounting,theGMElogosonthesideof
eachbracketcanberotatedasshownright.
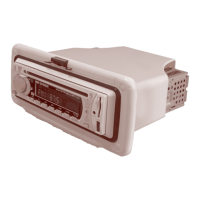
FLUSH MOUNTING - GR9240
AlthoughtheGR9240isabracketmountedunit,itcanbe
ushmountedbyfollowingthedisassembly
instructionsbelow.
1. Removethe4screwsfromeachcableclamp
panel at rear.
2. Remove the screw from the centre of the heat
dissipater and remove.
3. Remove the 4 screw caps and 4 screws from the front
caseandslidetheunitoutcompletely.
YourGR9240cannowbeushmounted.Replacement
screwcapshavebeenprovidedtocovertheexposed
screw heads.
REMOVING THE CLEAR COVER
IfyourGR9200willbemountedinadryprotectedlocation
awayfromthepossibilityofwateringress,thefrontclear
covercanbepermanentlyremoved.
1.Removethe4screwsfromthetopandbottominside
edgeofthemountframeasshownabove.Remove
toplatchassemblyandclearcover.
2. Fit replacement fill strips as supplied into top and
bottomframeedges.
3.Mountyourunitintothebulkhead.Usethescrewcaps
supplied to cover screw heads.
Press from
back
Turn
*Noterubbermountinggasketnotsuppliedwith
GR9240 unit.
Fill Strips
Screw
Caps
 Loading...