2
5
If you are going to install more than one sensor on the tank, always
start with the lowest. Repeat the Guide again for the next coming sensor.
You can have maximum 9 sensors on one tank and the App can manage
several tanks.
6
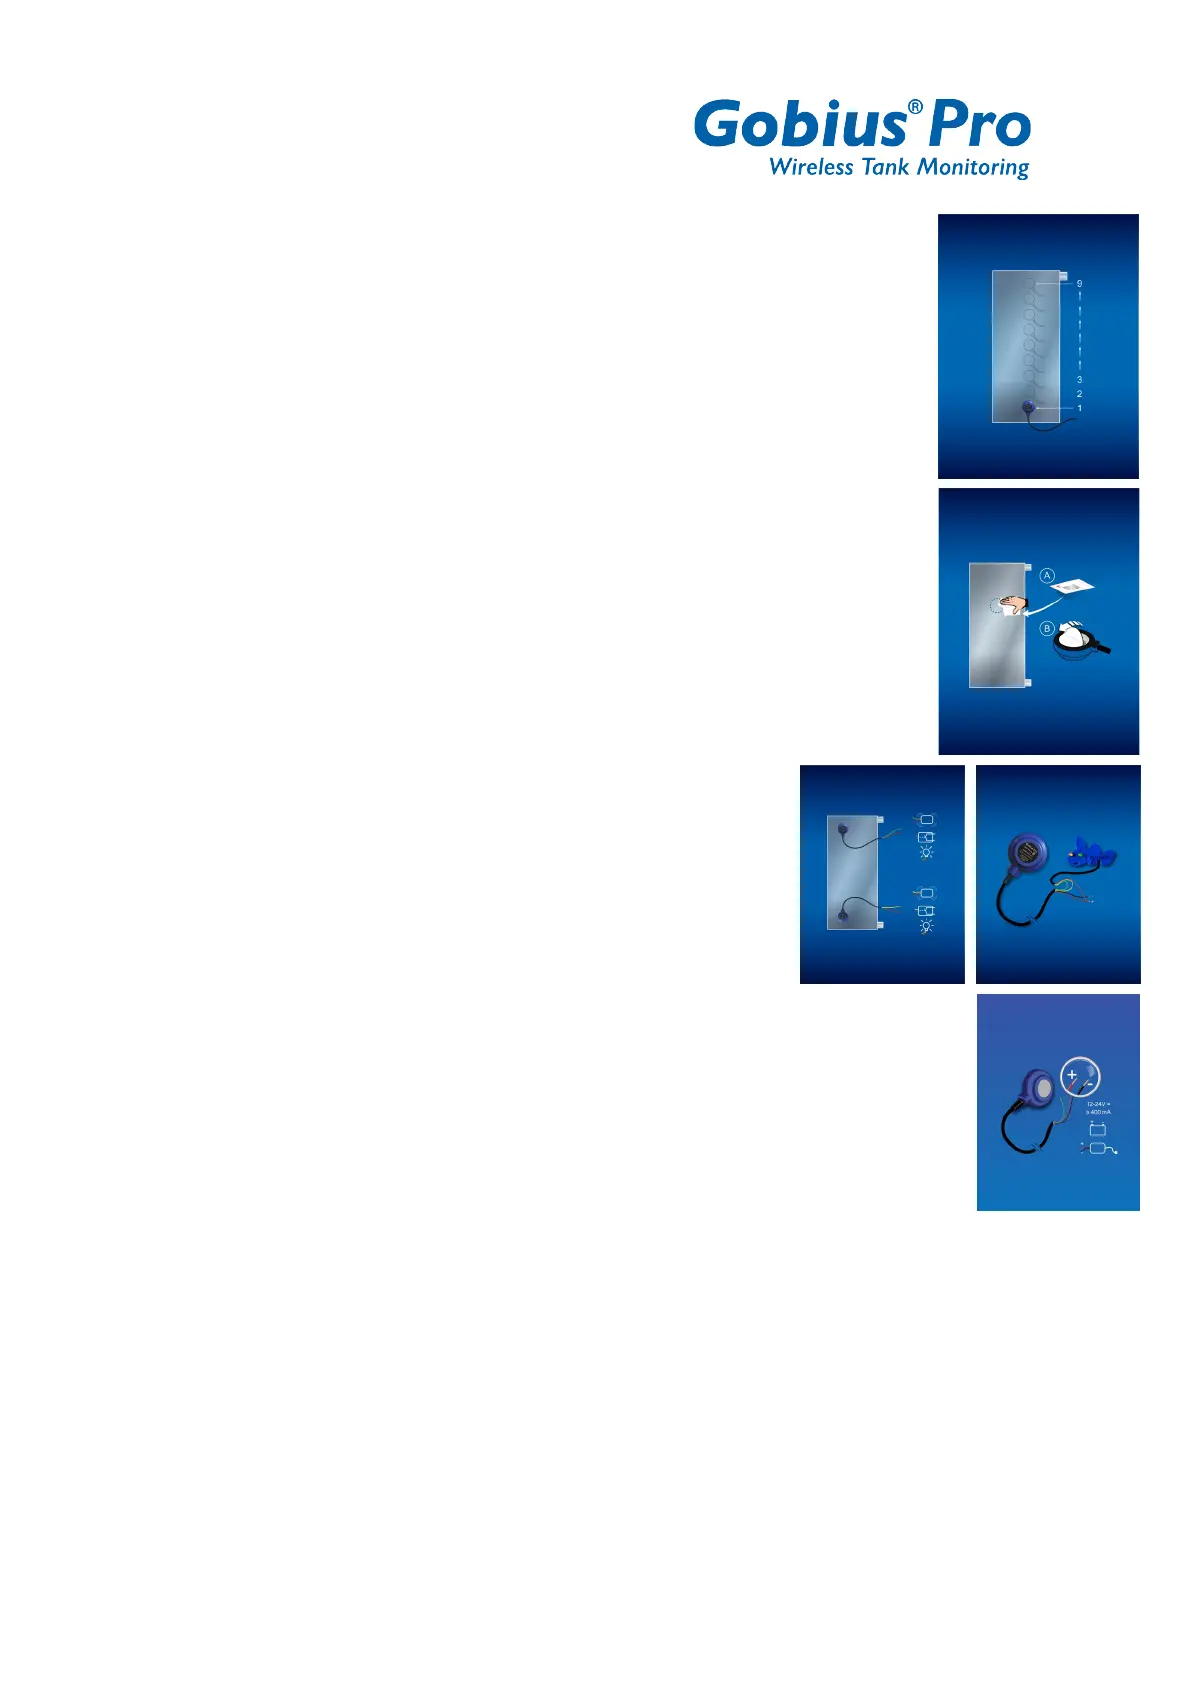
Mounting the sensor on the tank wall. Start with cleaning the place for
the sensor. Please use the 3M Cleaner. Check that the tank wall is not
concave, and that the temperature is above +20 C. Peal of the protective
paper on the tape and press firmly (hard) on the sensor some seconds
and wait a few minutes before proceeding with next step.
7
Each sensor has 2 digital outputs (On & Off signal).
You can connect lamps, relays or buzzers to each
sensor. In the package you get the “Gobius fish”
panel with two LEDs, red and green. See also last page.
8
Now it’s time for connecting the sensor to the power,
+ is red cable and - is black. The sensor is supporting 12-24 volts.
(If you connect the other way, nothing will be damaged).
9
Your smart phone has to have Bluetooth activated to get in contact with the
sensor. Please have a look in your phones Configuration. The Gobius App will
automatically connect to the sensor. You DON’T have to pair the sensor in your
phones configuration. No code is necessary for pairing the phone with the sensor.
10
The App is now searching for your sensor. When you have your sensor Bluetooth
connected, you can say “Hello” to the sensor. The sensor will give back an audible
signal.

 Loading...