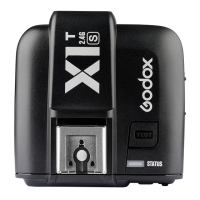
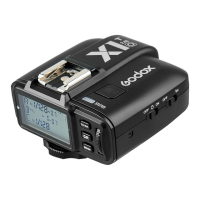
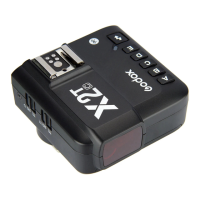
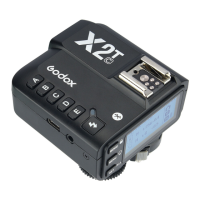
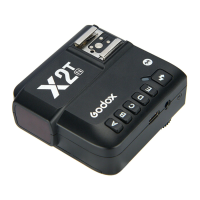
1. Turn off the camera and mount the flash trigger on camera hot shoe. Then, power on the
flash trigger and the camera.
1. The parameters on the screen can be adjusted by touch operations.
2. In the main interface, slide the screen up or down to check power steps or flash
exposure values of multiple groups.
3. If you need to switch to multi flash interface from the main interface, slide the screen
down from the top to display <Multi>, press it to enter multi flash setting.
4. If you need to switch to the main interface from multi flash interface, slide the screen
down from the top to display <Home>, press it to enter the main interface.
5. No matter in the main interface or multi flash interface, slide the screen down from the
top to display <Setting>, press it to enter C.Fn. menu settings.
6. In the menu interface, slide the screen from the left to the right can return to the main
interface.
7. In the sub menu interface, slide the screen from the left to the right can return to the
previous menu interface.
8. In single-group display interface, slide the screen from the left to the right can switch
to multi-group display interface.
9. In single-group display interface, you can switch the group by sliding the screen up or
down.
10. In single-group display interface, press <M> to switch to TTL auto flash mode, press
<TTL> to switch to M manual flash mode.
11. You can slide the progress bar to quickly adjust the power steps or flash exposure
values in any interface.
12. Press <-> can decrease the parameter values, press <+> can increase the parameter
values.
13. Press the < > can lock the screen. When the screen displays “Press for 2s to
unlock”, you can press and hold the screen for 2s to unlock.
14. Press the < > and < >, if they are lightened on means the functions are turned
on, otherwise the functions are turned off.
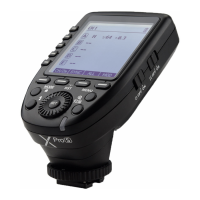
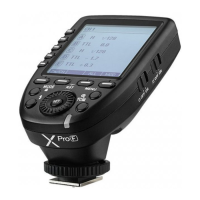
2. Slide the screen of X3 O down from the top to
display <Setting>, press <Setting> to enter C.Fn.
menu, then press <Wireless> to set CH and ID. Slide
the screen from the left to the right to return to the
main interface, on which you can set the flash mode
and output power level of groups.
Touch Operation Instruction
SCAN
Wireless Sync
CH ID
39 40
 Loading...