1. Turn off the camera and mount the flash trigger
on camera hot shoe. Then, power on the flash
trigger and the camera.
2. Slide the screen of X3 O down from the top to
display <Setting>, press <Setting> to enter C.Fn.
menu, then press <Wireless> to set CH and ID. Slide
the screen from the left to the right to return to the
main interface, on which you can set the flash
mode and output power level of groups.
3. Turn on the retro camera flash Lux Master, press
the MENU button to enter the main interface, turn
the adjust dial to wireless then press the set button
to enter wireless interface.
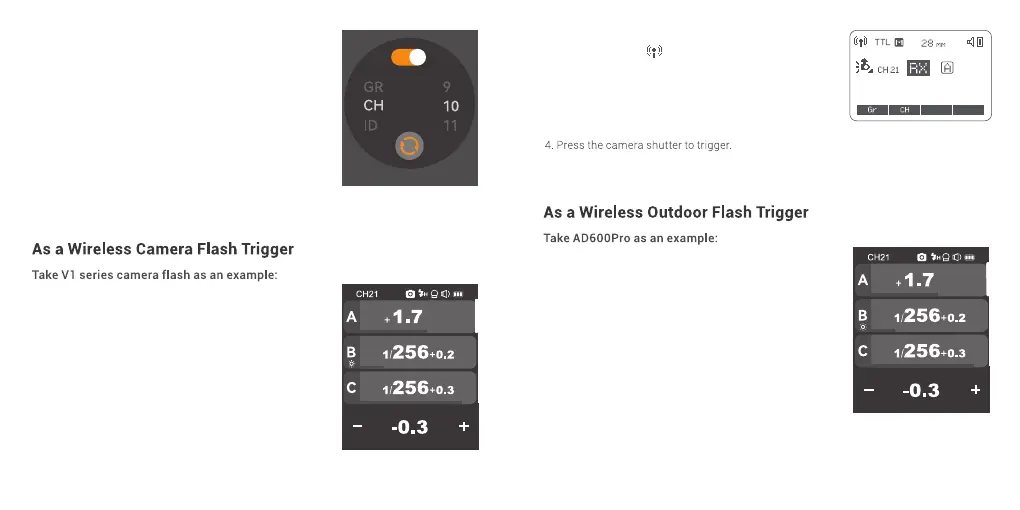
A:Slide the screen to select CH, GR or ID setting,
press to enter a certain setting, then slide to set the
parameters. Please set the channels and IDs of the
flash and X3 O to the same.
B:Press the “Wireless Sync” of the flash trigger and
wireless sync icon of Lux Master can set the
channels and IDs of them to the same.
4. Press the camera shutter to trigger.
3. Turn on the camera flash V1, press the wireless
setting button and < > and <RX> icon will be
displayed on the LCD panel. Press the < MENU >
Button to enter the C.Fn. menu, set its channel and
ID the same to the flash trigger.
Note: please refer to the relevant instruction manual when
setting the camera flashes of other models.
41 42
 Loading...