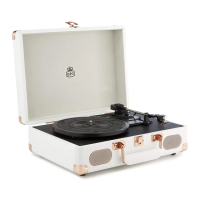
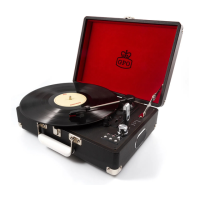
GPO Retro – GPO PR100
Setup Guide
Thanks for purchasing the GPO PR100. To correctly set up your unit and begin enjoying high
quality sound, please consult the following steps.
1. Unpack your GPO PR100 and remove the platter from its cardboard box.
2. Ensure that the elastic band around the interior rim of the platter is not twisted and
that it is flush with the platter’s base.
3. Unpack the base unit and place it on a flat, stable surface
4. Holding the platter with the flat side down, place a finger through one of the larger
holes and stretch the elastic band around this finger (see image below left).
5. Holding the platter with the flat side up, place a finger through the same hole and
stretch the elastic band around this finger. This will help you attach it to the drive
shaft. Hold the band securely with your finger and thumb (see image below right).
6. Gently lower the platter onto the central spindle of the base unit, ensuring that the
elastic band is stretched over the drive shaft.