Valve Assembly Installation
4 313230F
Valve Assembly Installation
Grounding
Assemblies not originally
equipped with cycle pin
indicator pin/switch
1. Determine which valve section and side is the most
convenient location for the switch.
2. Disconnect the electrical system.
3. Relieve pressure. See Pressure Relief Procedure in
the pump instruction manual included with your
operating system.
4. Remove piston plug and discard.
5. Install the appropriate proximity switch into the pis-
ton chamber using the supplied seal/gasket. For
MS and MH valve sections, torque to 6-8 ft-lb (8 -
10.8 N•m) for o-ring seal; 10 ft-lb (13.6 N•m) for
gasket seals. For MX and MGO torque adapter to
25-30 ft-lb (33.9 - 40.7 N•m) and the switch to 6-8
ft-lb (8 - 10.8 N•m).
6. Connect the electrical system.
Assemblies equipped with cycle
pin indicator/electrical
micro-switch
(Two options: Method A or Method B)
Method A: Installation in any piston
chamber not occupied by the cycle pin
indicator
1. Determine which valve section and side is the most
convenient location for the switch.
2. Disconnect the electrical system.
3. Relieve pressure. See Pressure Relief Procedure in
the pump instruction manual included with your
operating system.
4. Remove the piston plug. (Do not discard plug if
removing the cycle indicator pin. It is reinstalled in
step 6e.)
5. Install the appropriate proximity switch into the
piston chamber using the supplied seal/gasket. For
MS and MH valve sections, torque to 6-8 ft-lb (8 -
10.8 N•m) (for o-ring seal; 10 ft-lb (13.6 N•m) for
gasket seals. For MX and MGO torque adapter to
25-30 ft-lb (33.9 - 40.7 N•m) and the switch to 6-8
ft-lb (8 - 10.8 N•m).
6. Either leave the cycle indicator pin installed for
visual indication of cycle or remove as follows:
a. Unscrew cycle indicator body from valve and
discard.
b. Grasp indicator pin and pull pin/piston assem-
bly out of the feeder.
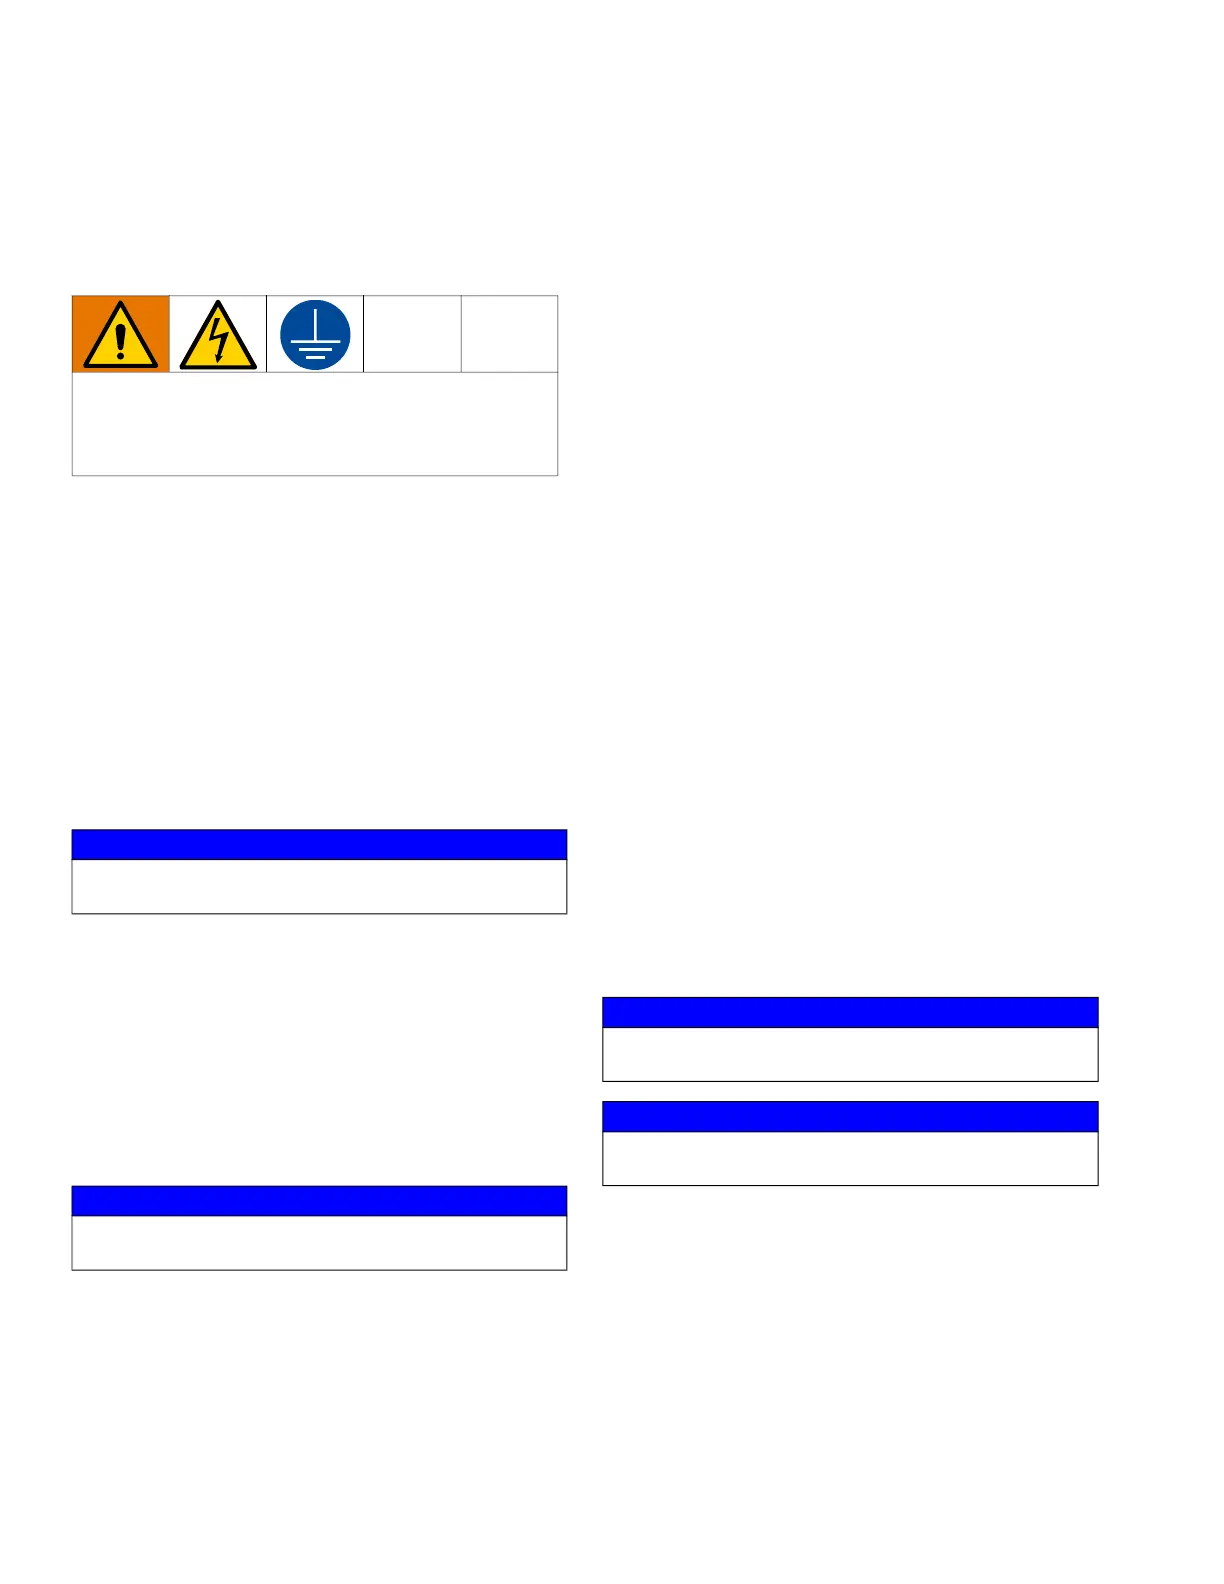
The equipment must be grounded to reduce the risk
of static and electric shock by providing an escape
wire for the electric current due to static build up or in
the event of a short circuit.
NOTICE
Do not over torque. Excessive torque will cause
switch failure.
NOTICE
Do not reuse gasket. If switch is removed for any rea-
son, replace with new gasket.
NOTICE
Do not over torque. Excessive torque will cause
switch failure.
NOTICE
Do not reuse gasket. If switch is removed for any rea-
son, replace with new gasket.