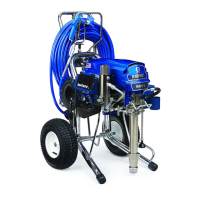
SPRAYING
Turn safety lever
of gun to OFF.
Point gun at area to be sprayed about 30 cm from surface, and begin moving gun before triggering.
A good spray pattern is evenly distributed as it hits surface. Set pressure just high enough to spray without heavy edges.
Use smaller tip size for thinner material and a larger tip size for thicker material if pressure adjustment cannot achieve even spray pattern.
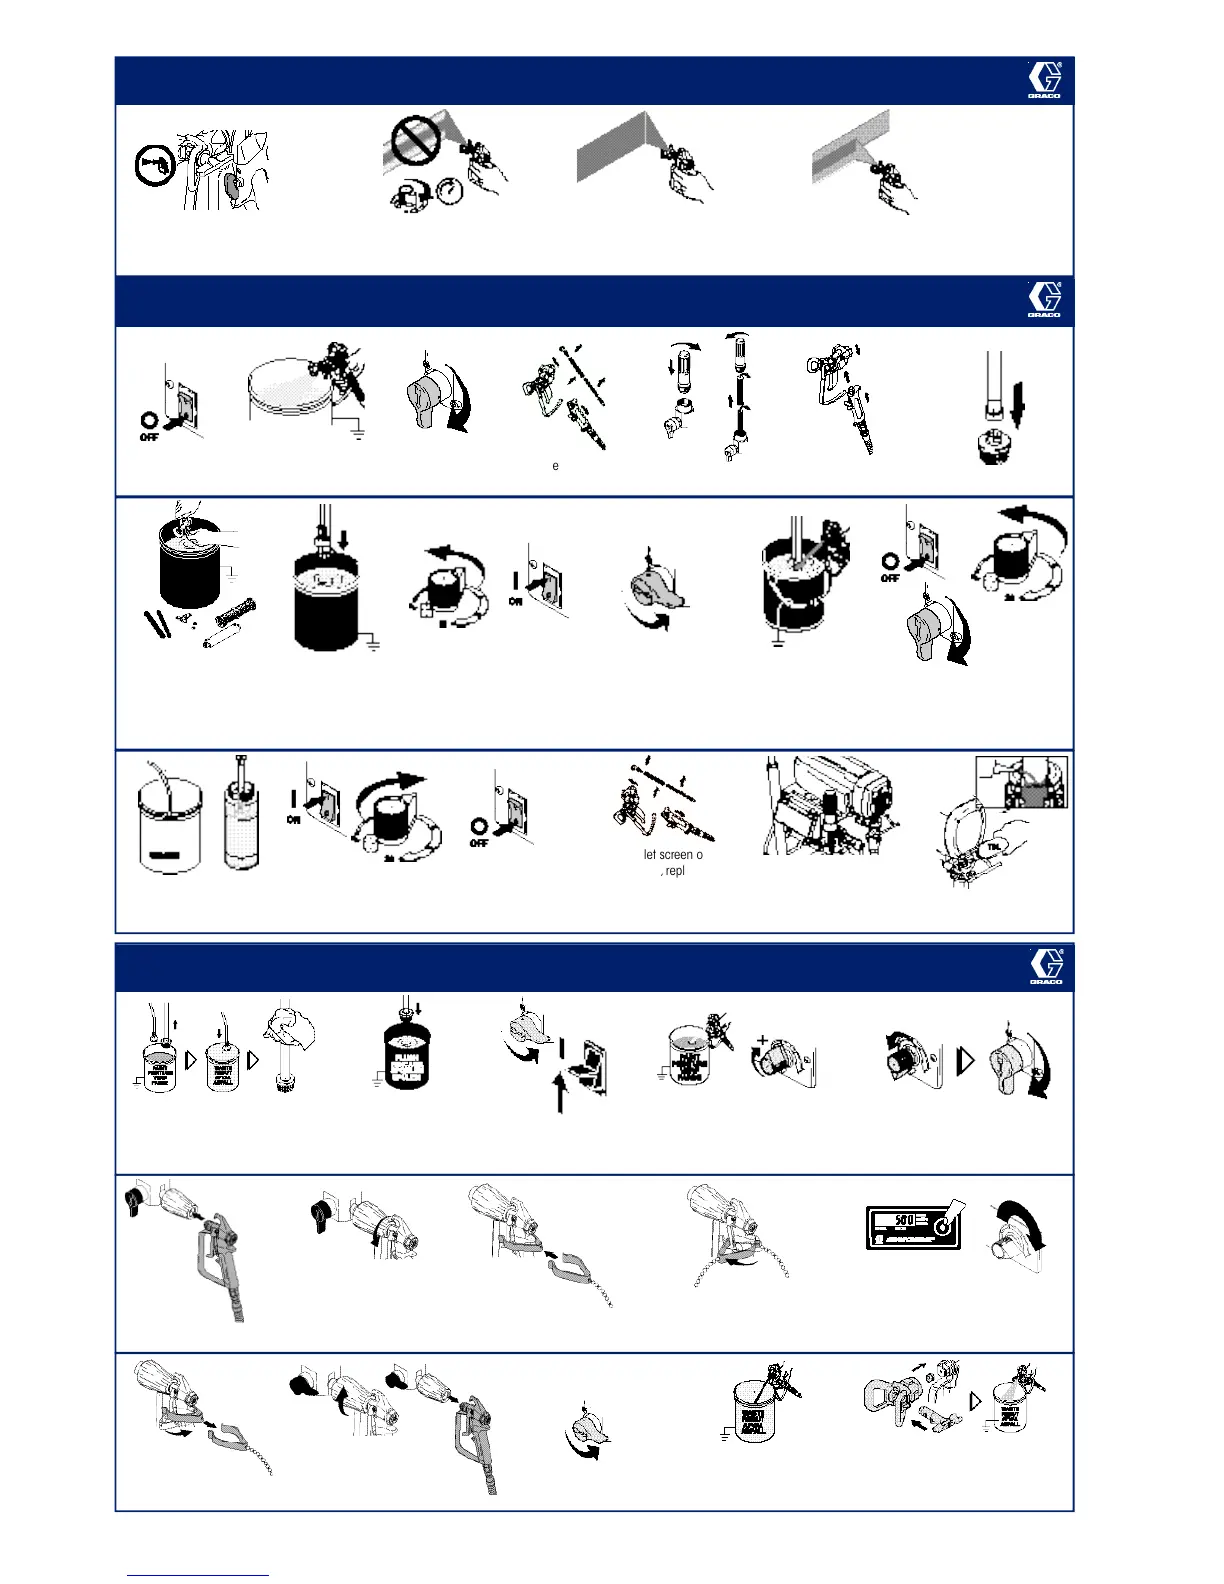
SHUTDOWN AND CLEANUP
* for AutoClean
2
™
: see bottom of this page
Set power
switch to OFF.
Trigger gun until
pressure is relieved.
Turn prime valve
to Prime position
(down).
Remove gun filter
assembly.
Unscrew tip & guard
from gun. Clean gun filter,
inlet screen, tip, guard
and manifold filter with
water and brush.
Set power switch to ON,
and increase pressure
until sprayer starts.
As soon as Pump Armor
comes out of drain tube,
set power switch to OFF.
Screw inlet screen onto
siphon tube, replace
manifold filter and spacer,
and assemble gun with
filter, tip and guard.
Wipe outside of sprayer,
hose and gun with rag
soaked in water or
mineral spirits.
Fill throat packing nut
with TSL
™
Place drain
tube and
siphon tube
in pail of water.
Turn pressure control knob
to lowest setting, set power
switch to ON, and increase
pressure until sprayer starts.
Let sprayer run and flush itself
for 2 minutes.
Keeping gun triggered
into water pail, turn prime
valve to Spray position
(horizontal).
Set power switch to OFF,
turn pressure control knob to
lowest setting, and turn prime
valve to Prime position (down).
Place drain tube in waste
pail and siphon tube in
container of Pump Armor
™
Assemble gun
without filter.
Unscrew inlet screen
from siphon tube.
Keep gun triggered
into pail for 1 minute,
until water coming
out of gun is clean.
Remove manifold
filter and spacer.
GRACO N.V. • Industrieterrein Oude Bunders
Slakweidestraat 31 • B-3630 Maasmechelen
Tel. (32) 89 770 700 • Fax (32) 89 770 777
Al l info r m a t i o n , i l l u s t r a t i o n s , an d s pec ificati ons in t hi s documen t are based on t he l ate st prod uct in fo r m a t i o n
a v ail abl e at t he tim e of pu bl ica tio n. The right is re s e r ved to make chang es at a ny tim e wit hou t n otice.
© 2002, 2006 Graco N.V. · Form No. 328006 E (rev.B)· 07/06 · Printed in Europe.
Graco is registered ISO 9001.
Remove suction and drain tubes from
paint. Place drain tube into waste pail
and wipe suction tube clean.
Place suction tube in
appropriate cleaning fluid.
Close drain valve.
Switch power ON.
To save paint from hose and pump,
trigger gun into paint pail and increase
pressure.When cleaning fluid appears,
release gun trigger.
Turn pressure all the way down.
Open drain valve.
Screw connector
onto gun.
Rotate trigger lock
clip 90° to lock
trigger open.
Press display button
until timer appears and turn
pressure control knob to highest.
Close drain valve.
With clean fluid, briefly trigger gun
into waste pail several times to
clear any debris from front of gun.
Install tip and guard and briefly trigger
gun into waiste pail to clean tip.
Reverse tip if necessary.
Place gun in
AutoClean connector.
Slide open end
over back of handle.
AUTOCLEAN
2
™
GUIDE
When finished, remove
trigger clip from gun handle.
Unscrew connector from gun.
Remove gun from connector.
 Loading...