©2014 Graco PD265297D 6/14
2
Pull harness straps
through seat back
and seat pad.
To Remove Existing Harness Tongues and Buckle and Attach Replacement Buckle
Remove chest
clip. DO NOT
DISCARD the
chest clip.
8
Re-attach chest clip.
MAKE sure not to
twist straps.
Re-insert straps through slots
in seat pad and seat back.
See carseat owner’s manual
for proper height setting for
your child.
To loosen straps, lift
harness tighter and pull
harness straps out .
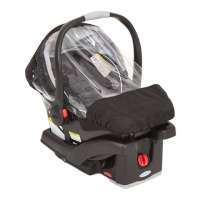
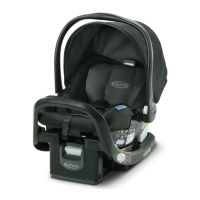
SnugRide® Classic Connect™ 30 Rear Adjust
Buckle Replacement Guide
Turn page over to
nish the rest of
the assembly
Steps 10 to 15
for the buckle
replacement.
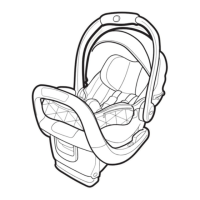
Re-insert straps back into the tightener
and cross the tails through the belt path as
shown.
1
3
7
9
You will receive ONE of
these Graco approved
replacement buckles.
Follow instructions for
proper installation.
Slide NEW buckle onto harness straps
from the back to the front. Depending
on your buckle, the tongues may have
“BACK” written on the back of tongue.
MAKE sure not to twist harness straps.
6
4
Unbuckle harness
by tilting top of
buckle down,
press top of
red button, and
pull tongues
out of buckle.
Remove and
discard tongues.
5