Do you have a question about the Graco SnugRide Click Connect Base and is the answer not in the manual?
Do not place the infant restraint in a vehicle seating location with a front air bag due to risk of serious injury or death.
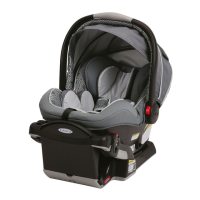
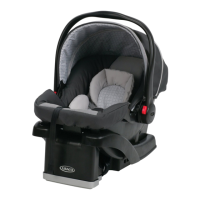
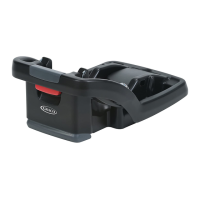
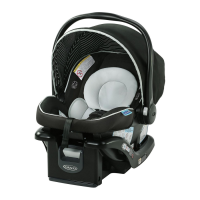
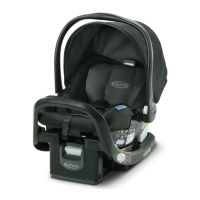
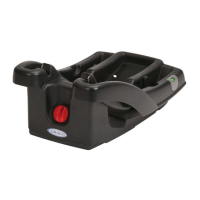
Read all instructions and ensure base is compatible with your specific infant restraint model.
Contact Graco at 1-800-345-4109 for questions or missing instructions.
Ensure the vehicle is on level ground and the seat allows adequate space for the restraint.
Route the vehicle belt through the base, use the lock-off, buckle the belt, and ensure it is not twisted.
Push down on base, pull belt to tighten, close lock-off, then push restraint into base until it clicks.
Check vehicle owner's manual for LATCH locations. Extend LATCH to maximum length and ensure vehicle is level.
Attach LATCH connectors to anchors, tighten by pushing down on base, and verify secure installation.
Release LATCH belt by pushing the button, then press the release hinge to detach the connector.
Ensure vehicle is level. View the indicator from the side to confirm correct recline based on infant's age.
Turn the knob to lower or raise the foot. Use a towel if needed to achieve the correct blue indication.
Push down on restraint. Twist and pull to check for movement. Restraint should not move more than 1 inch.
| Type | Infant Car Seat Base |
|---|---|
| Product Type | Car Seat Base |
| Compatibility | Graco SnugRide Click Connect infant car seats |
| Installation Method | LATCH or seat belt |
| LATCH System | Yes |
| Seat Belt Installation | Yes |
| Level Indicator | Yes |
| Weight | Varies by model |
| Dimensions | Varies by model |
| Safety Features | EPS energy-absorbing foam |
| Adjustability | Multiple recline positions |
| Safety Standards | Meets or exceeds U.S. Safety Standards |
| Weight Limit | For use with infants up to 35 lbs |
| Height Limit | Up to 32 inches |
| Base Weight | 8 lbs |