4
EN
Unpacking
To unpack the unit, proceed as below:
∙Take the unit out of the carton.
∙Remove all pieces of the packing.
∙Remove any possibly extant labels on
the unit. (not the rating plate).
Requirements for the installation
location
For safe and awless operation of the
unit, the place of location must meet
these prerequisites:
∙The unit must be set up on a rm, at,
level, non-slip and heat resistant base
that has sufcient load bearing capa-
city.
∙Select the place of location so that
children cannot reach the hot surfaces
of the unit.
∙The unit is not intended for installation
in a wall or a built-in cupboard.
∙Do not set up the unit in a hot, wet or
moist environment.
∙The electric socket must be readily ac-
cessible so that the power cord can be
easily unplugged.
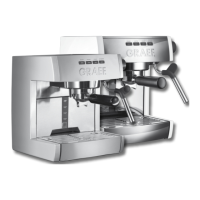
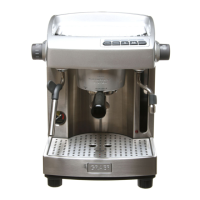
Operation
On-Off Switch
With the
button you turn the ma-
chine on and off.
MANUAL
With MANAUL function you can chose
the disered amount of coffee by your-
self.
Single Espresso
The single espresso function is pro-
grammed so that 30 ml espresso ow
into the cup
We recommend using the lter for 1
cup.
Double espresso
The double espresso function is pro-
grammed so that 60 ml espresso ow
into the cup.
We recommend using the lter for 2
cup.
Steam
Press
button for frothing milk.
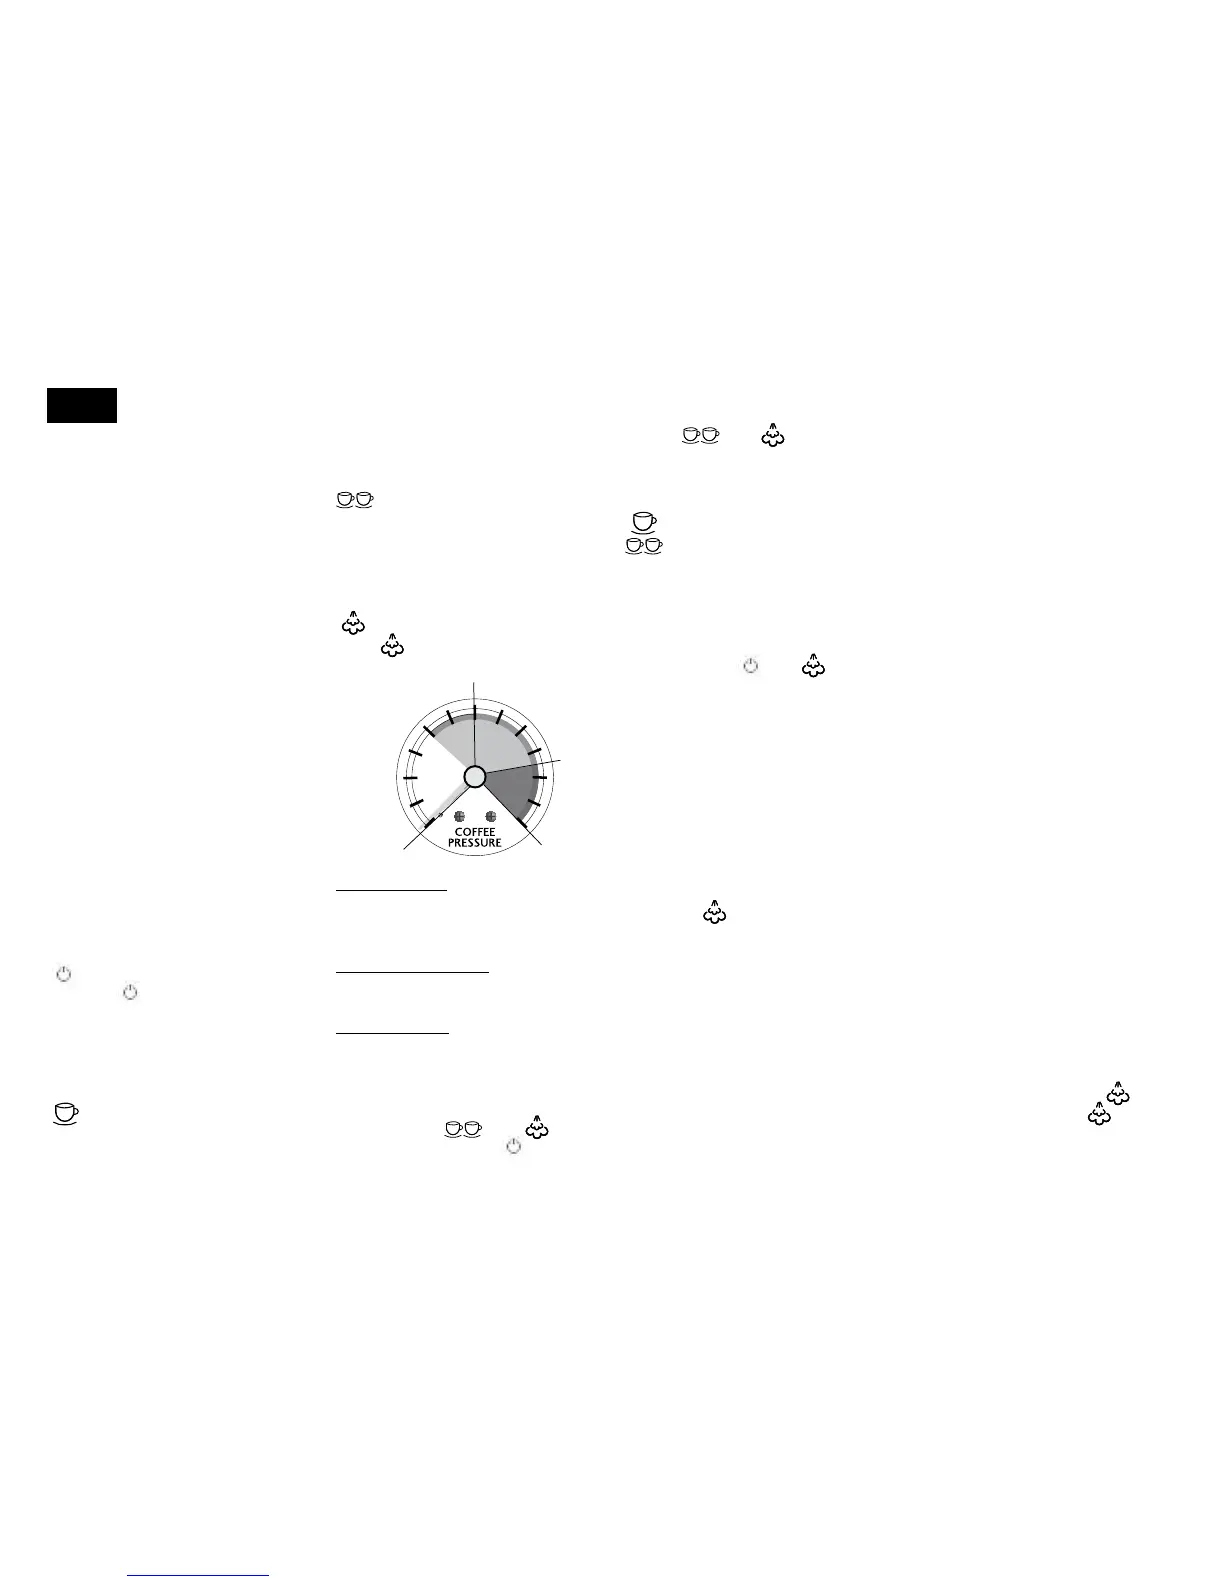
Espresso gauge
Unterdruck
Under pressure
Optimaler Druck
Optimal pressure
Überdruck
Over pressure
Low pressure: Coffee ground would
not be pressed well enough /insufci-
ent coffee ground/ wrong coarseness
settings
Optimal pressure: Optimal cof-
fee ground presing / optimal coffee
amount, right coarseness settings
High pressure: Coffee ground would
be pressed too strong / to much coffee
ground / wrong coarseness settings
Water hardness setting
Turn off the unit.
Press and hold
and buttons,
then press and release
button
Release
and buttons.
Select and save the desired water hard-
ness:
MANUAL = 180 L (Soft)
= 100 L (Moderately hard)
= 50 L (Hard)
What happend if achieving the limit
of water hardness setting
After the unit counted the water usage
is over the limit of water hardness set-
ting. In each time to power on, the unit
will ash from
to sequenti-
ally 4 cycles rst, then back to normal
working situtation.
After users conducted the coffee and
steam decalcication function, the unit
will reset the counting of water usage
and it would not ash again when po-
wer on until the water usage meet the
limit of water hardness setting again.
Milk frothing with Pannarello
∙Fill the enclosed container to 1/3 with
cold milk.
∙Press the button
∙Before using the milk frother nozzle,
the condensate that has collected there
should be drained off. To do that, aim
it at the drain grate and briey turn on
the steam.
∙Wait until only steam and no water es-
capes and close the control dial again.
∙Now immerse the milk frother nozzle
with the Pannarello into the milk to ap-
prox. 1 cm under the surface.
∙Open the steam control dial to the
limit.
∙Hold the milk container at a slight an-
gle while doing so.
∙Lower the milk can as soon as the milk
level rises.
PLEASE MAKE SURE that the milk
should not be heated to more than
70°C during this process; otherwise,
the froth will collapse and the beverage
will taste too sweet or possibly even like
burned milk!
∙A good tip for the correct temperature
is when the you cannot hold the con-
tainer for more than 3 seconds.
∙Turn off the control dial again.
By closing the valve and due to the
steam cooling off a vacuum arises in the
milk frother nozzle which then draws
some more milk.
∙For that reason, please wait a moment
before you pull the milk frother nozzle
out of the milk.
∙After frothing, briey knock the milk
can on the table top to remove the last
of the large air bubbles.
∙Swirling also helps uniformly distribute
the froth.
∙Clean the milk frother nozzle immedi-
ately after nishing the process using
a moist cloth. However, let the pipe
cool down for a few moments as it be-
comes very hot.
Making hot water
∙Make sure the light on button
is off. If not press the
button to
turn off the steam function.
∙Set a container under the milk frother/

 Loading...